


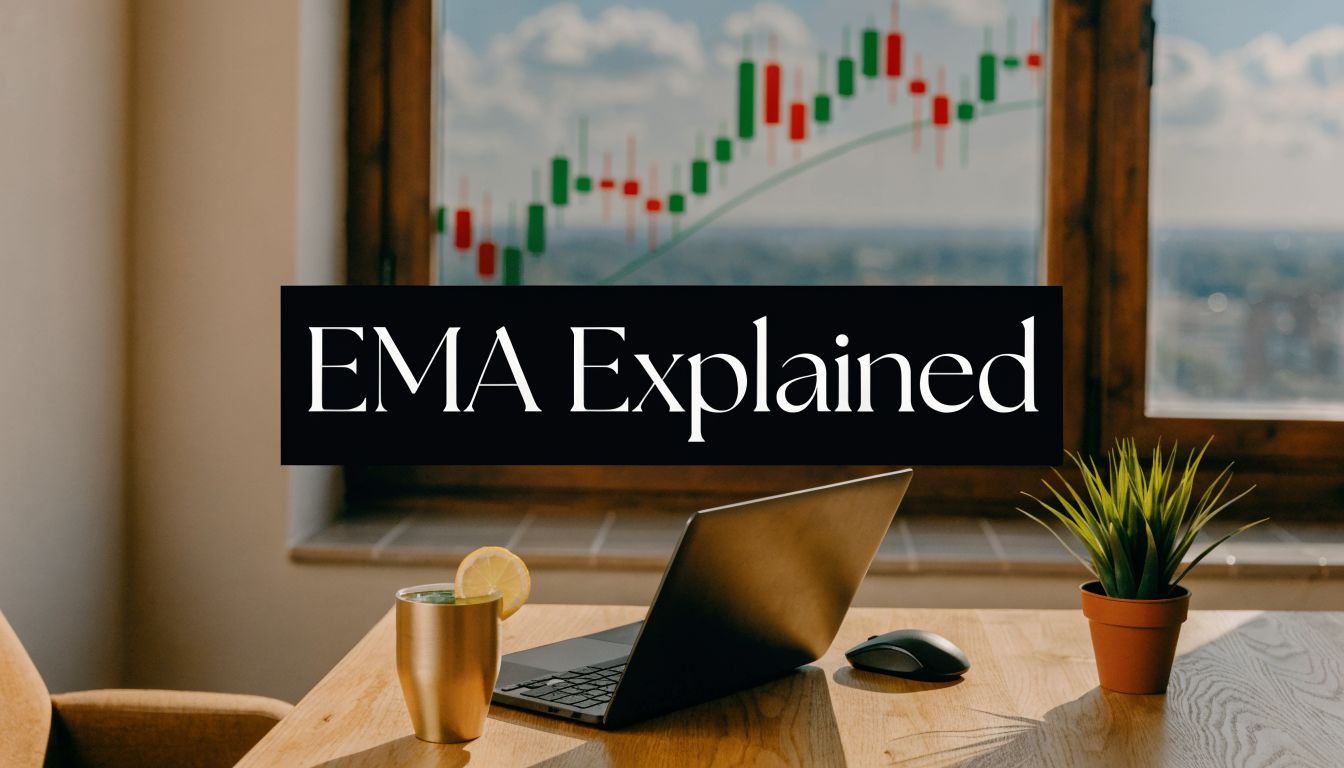
What Is Exponential Moving Average In Trading?
You open a chart, add a moving average, and the line looks clean. Price breaks out, the indicator turns, and by the time it gives a clear signal the move already feels half gone. Most traders hit that point early. They get frustrated with lag, then start hunting for a “faster” indicator that will somehow solve timing.
That’s usually where the Exponential Moving Average, or EMA, enters the picture.
The EMA is popular because it reacts faster to recent price changes than a simple moving average. It does that by giving more weight to the latest prices instead of treating every price in the lookback period equally. On a live chart, that means the line hugs price more closely and shifts direction sooner when momentum changes.
That speed is useful. It is not magic.
If you want the honest answer to what is exponential moving average in trading, it’s this: the EMA is a responsive trend and momentum filter. It can help you read context. It can help confirm what price is already suggesting. It should not be the reason you enter a trade by itself.
Price is still king. The candle structure, swing points, supply and demand zones, failed breaks, and impulsive moves matter more than a curved line on your screen. A good trader uses the EMA the way a carpenter uses a level. Helpful, precise, and secondary to the actual structure being built.
Introduction What is the Exponential Moving Average
The EMA is a type of moving average that puts more emphasis on recent price data. That single change is what makes it different from many basic indicators newer traders start with. Instead of smoothing price in a slow, even way, it adjusts more quickly when the market changes direction.
That’s why traders like it. In a trend, the EMA often turns before a comparable simple moving average does. If momentum is building, the EMA usually shows it sooner. If momentum is fading, the EMA will often flatten or roll over earlier as well.
But speed comes with a cost. A faster line also gets pulled around more easily when the market is messy. In a clean trend, that responsiveness is an advantage. In a range, it can become a trap.
Practical rule: Use the EMA to confirm trend direction and momentum, not to replace chart reading.
For traders who focus on pure price, that distinction matters. The EMA works best as a secondary tool. If price is pressing into a fresh demand zone and the market is already making higher highs and higher lows, an upward sloping EMA can add confidence. If price is chopping sideways through the same level again and again, an EMA signal means very little.
A useful way to think about it is simple:
- Price tells the story
- Structure gives the location
- The EMA helps confirm the pace and direction
That mindset keeps you from becoming indicator-dependent. It also answers the deeper question behind what is exponential moving average in trading. It isn’t just a formula. It’s a way of weighting recent price behavior so you can judge momentum with less lag, while still respecting the fact that no moving average can read the market for you.
Decoding the Math Behind the Exponential Moving Average
The math sounds more intimidating than it is. You don’t need to become a quant to use an EMA properly, but you should understand why it behaves the way it does.

Why the EMA moves faster
The EMA uses a smoothing factor that determines how much influence the current price has on the line. That factor is calculated as 2 ÷ (N+1), where N is the selected period, as explained in TraderLion’s EMA breakdown.
A practical example from that same explanation helps make it concrete. A 20-day EMA uses a multiplier of about 0.0952, calculated as 2 ÷ 21, which determines how much influence the current closing price has on the indicator.
That’s the heart of the EMA. Recent data gets a larger vote. Older data still matters, but it fades in importance.
To illustrate, imagine judging a team’s form. If a team played poorly three months ago but has played well in the last few games, you probably care more about the recent games. The EMA does the same thing with price.
The simplified formula
The working formula is usually shown like this:
Current EMA = (Price × Smoothing Factor) + (Previous EMA × (1 – Smoothing Factor))
That’s why the EMA updates smoothly instead of jumping around wildly. It blends the current price with the previous EMA value.
Here’s a simple fictional example using a 5-period EMA just to show the process:
Choose the period
Use 5.Calculate the smoothing factor
2 ÷ (5 + 1) = 2 ÷ 6 = 0.3333Get a starting value
Traders often start with a simple average for the first value.Apply the formula
If the previous EMA was 100 and the new closing price is 103:
EMA = (103 × 0.3333) + (100 × 0.6667)
EMA = 34.3299 + 66.67
EMA ≈ 100.9999
So the new EMA becomes roughly 101.
That small move shows the logic. The line moves toward current price, but it doesn’t copy it.
The EMA behaves like an adaptive thermometer. It responds to the latest temperature faster than an old-fashioned average would, but it still smooths the reading enough to stay useful.
Why traders should care about the math
The “exponential” part matters because it explains the indicator’s personality.
- Shorter EMAs react faster because the recent price gets more weight
- Longer EMAs move more slowly because the current price has less influence
- All EMAs lag, but they usually lag less than an SMA of the same period
Once you understand that, the line stops feeling mystical. You can look at a 9 EMA, 20 EMA, or 50 EMA and know why each one behaves differently. You’re not just following a colored line. You’re reading a weighted average that intentionally leans toward what price has done most recently.
EMA vs SMA A Tale of Two Averages
If both indicators average price, why do traders often choose one over the other?
The answer is in the weighting. An SMA gives equal importance to every price in the lookback period. An EMA leans more heavily on the latest prices. That one structural difference changes how each line behaves on a chart.
According to Charles Schwab’s comparison of simple and exponential moving averages, the smoothing factor is 2/(N+1), and in a 10-day EMA the most recent data point makes up 18.2% of the calculation while the oldest data point represents only 3%. That’s why the EMA naturally reacts faster to reversals than the SMA.

EMA vs SMA key differences
| Characteristic | Exponential Moving Average (EMA) | Simple Moving Average (SMA) |
|---|---|---|
| Weighting | More weight on recent prices | Equal weight on all prices |
| Speed | Reacts faster to price changes | Reacts more slowly |
| Trend shifts | Shows reversals sooner | Confirms later |
| Noise | More sensitive in choppy conditions | Smoother and steadier |
| Best use | Momentum and active trend reading | Broader trend smoothing |
A trader who wants faster feedback usually prefers the EMA. A trader who wants a cleaner, slower reference line may prefer the SMA.
The real trade-off
Many beginner explanations fail on this point. They act as if “faster” automatically means “better.” It doesn’t.
An EMA often gets you closer to the beginning of a move, but it also increases the risk of reacting to noise. In a market that chops back and forth, the EMA can keep pulling you into low-quality signals. The SMA lags more, but that lag sometimes acts like a filter.
If you want a broader perspective on moving average types, Colibri Trader has a useful overview on different types of moving averages in forex trading.
A faster indicator gives earlier information. It does not give certainty.
That’s the practical decision. If your trading style depends on reading momentum shifts quickly, the EMA usually fits better. If you care more about smoothing and don’t mind slower confirmation, the SMA may suit you better. Neither one should be driving the trade on its own.
Three Core Ways Traders Use the Exponential Moving Average
Most traders use the EMA in one of three ways. Some use only one. Others mix all three. The problem starts when they treat any of them like a stand-alone entry system.

Trend identification
This is the cleanest use of the EMA.
Longer EMAs such as the 50-day or 200-day often act as dynamic support and resistance, and traders commonly read price above the EMA as bullish momentum and price below it as bearish momentum, as described in Axiory’s EMA guide.
That matters less as a signal and more as context.
If price is consistently holding above a rising 50 EMA, you’re usually looking at a market where buyers still control the structure. If price is below a falling EMA and every rally fails quickly, the path of least resistance remains down.
A practical framework looks like this:
Bullish context
Price is above a rising EMA and the market keeps printing higher lows.Bearish context
Price is below a falling EMA and rallies struggle to break prior swing highs.Neutral context
Price keeps crossing the EMA and the slope is flat.
That last one matters most. A flat EMA often tells you the market has no urgency.
Dynamic support and resistance
The second use is far more practical than most crossover systems. In a healthy trend, price often pulls back toward an EMA before continuing.
This does not mean the EMA itself is magical support or resistance. It means trending price often mean-reverts toward an average before moving again. When that average lines up with a prior breakout level, demand zone, or supply zone, the setup becomes much more interesting.
For traders who want examples of moving average strategy combinations, Colibri Trader also covers several approaches in its article on moving averages in trading strategies.
Here’s where traders usually improve: they stop buying because price touched the EMA, and start paying attention to where that touch happens.
If an EMA pullback lands in the middle of nowhere, it’s weak context. If it lands at a level the chart already respects, it becomes useful confluence.
A short visual explainer can help if you want to see common EMA chart behavior in action.
Crossover signals
The third common use is the crossover. A shorter EMA crossing above a longer EMA is often read as bullish. A shorter EMA crossing below a longer EMA is often read as bearish.
This is popular because it feels objective. You don’t have to interpret much. The line crossed or it didn’t.
That simplicity is also the weakness.
Crossovers work best when the market is already trending and expanding. They work poorly when price is rotating inside a range. In practice, a crossover should be treated as a prompt to inspect the chart, not as a blind trigger.
A sensible process is:
Check structure first
Is the market trending, breaking out, or trapped in a box?Read location next
Did the crossover happen near a meaningful level, or in random space?Use price action for confirmation
Did the candles reject the level, break structure, or show momentum?
A crossover without those checks is just automation disguised as analysis.
Beyond the Indicator Using EMAs with Price Action
Here, the EMA demonstrates its utility.
Most traders ask, “What signal is the EMA giving me?” A better question is, “Does the EMA support what the chart is already telling me?” That shift changes everything.
Structure first, indicator second
A price-action trader starts with levels and behavior. The EMA comes later.
The order should look like this:
Mark the important structure
Draw the supply zone, demand zone, support, resistance, or trendline.Wait for price to reach that location
Don’t anticipate a touch just because the EMA is nearby.Read the candles and momentum
Look for rejection, compression, breakout failure, or continuation pressure.Use the EMA as confirmation
Is it aligned with the trade idea, or fighting it?
That’s the difference between using a tool and leaning on a crutch.
If you want to sharpen that chart-reading skill directly, Colibri Trader has a straightforward resource on how to trade with price action.
What good EMA confluence looks like
Say price is in an uptrend. The market has already printed higher highs and higher lows. A prior resistance level has broken and may now act as support. Price pulls back into that area, and the EMA is rising into the same zone.
That’s useful confluence.
Now compare it with a weaker setup. Price has been chopping sideways for hours or days. The EMA keeps flattening and price crosses it repeatedly. Then you get a bullish candle right at the EMA. Many traders buy that. There’s no edge in it if the structure is still messy.
The key is alignment.
Strong setup
Trend, level, and EMA all point in the same direction.Weak setup
EMA says one thing, but structure is poor or location is random.No-trade setup
The market is ranging and the EMA is flat.
Why this matters in choppy markets
One of the biggest weaknesses of EMA-based trading shows up when the slope disappears. Data cited in TradingView’s Angle of MA explanation shows that when the EMA-20 angle becomes near-flat, it enters a “No Trade Zone,” and 9/21 EMA crossovers can generate up to 70% false signals in sideways forex pairs in that context, as discussed in TradingView’s angle-based EMA analysis.
That should change how you use the tool.
Don’t ask an EMA to solve a ranging market. It’s a trend-following tool. In a range, price structure matters more than indicator behavior.
A practical decision filter is simple:
- Take interest when the market is trending and the EMA supports the directional bias.
- Get selective when price is approaching a key area but momentum is weakening.
- Stand aside when the EMA is flat and price is rotating between obvious boundaries.
That’s how professional use of the EMA looks. Not worship. Not rejection. Just proper context.
Avoiding Common EMA Traps and Whipsaws
The EMA can help. It can also bleed a trading account slowly if you misuse it.
The most common mistake is obvious once you’ve seen it enough times. Traders apply a trend-following tool in a non-trending market, then blame the indicator when the losses pile up. The indicator isn’t broken. The context is.
Trap one using EMA signals inside ranges
A ranging market keeps forcing the EMA to flip its message. Price trades above it, below it, then above it again. Crossovers appear, fail, reverse, and fail again.
If the chart is boxed in, the EMA won’t rescue you.
The fix is simple:
Mark the range first
If price keeps respecting horizontal boundaries, treat the market as rotational, not trending.Ignore clean-looking crosses in dirty structure
A neat crossover inside congestion is still congestion.Wait for expansion
Let price break and hold outside the range before giving EMA signals more weight.
Trap two over-optimizing the period
Some traders spend too much time trying to find the perfect EMA setting. They test a 13, then a 17, then a 19, then a custom ribbon, until the chart starts fitting the past perfectly.
That usually leads to curve-fitting.
An emerging trend has involved EMA ribbons such as 8, 16, 32, and 64 EMA, and while some backtests on volatile assets show better win rates, these systems can also amplify noise and encourage over-optimization, as noted in this YouTube discussion of EMA ribbon strategies. For many traders, that complexity works against the price-action principle of keeping analysis clean.
Trap three adding too many moving averages
Indicator clutter creates fake confidence. A chart with five or six EMAs can feel impressive while making simple decisions harder.
Use one or two with a clear purpose.
A practical setup might be:
| Problem | Better choice |
|---|---|
| You want trend context | Use a single higher-period EMA |
| You want pullback guidance | Pair one trend EMA with price levels |
| You want confirmation | Add candles and structure, not more lines |
Clean charts force honest decisions. Crowded charts make it easier to justify bad ones.
Trap four ignoring the higher timeframe
An intraday EMA setup can look excellent until you zoom out and realize price is running straight into a major higher-timeframe level. That’s how traders get trapped in low-quality continuation entries.
Always ask where the setup sits inside the bigger picture. If higher timeframe structure contradicts the lower timeframe EMA, trust structure first.
Integrating the EMA into Your Trading Plan
The EMA deserves a place on many charts. It’s responsive, practical, and far more useful than a lot of traders realize. But its value comes from how you use it, not from the line itself.
If you’ve been asking what is exponential moving average in trading, the professional answer is straightforward. It’s a weighted moving average that reacts faster to recent price changes and helps you read momentum and trend context. That’s useful. It is not a complete strategy.
Keep the hierarchy clear:
- Price first
- Structure second
- EMA as confirmation
Use the EMA to filter trades, not force them. Let it support decisions made from levels, trend quality, and candle behavior. If the chart is trending cleanly and the EMA agrees, good. If the chart is choppy and the EMA keeps flipping, step aside.
That approach is repeatable. It also keeps you honest, because it prevents the indicator from becoming the reason you ignore what price is doing in plain sight.
If you want to build that kind of chart-reading skill, Colibri Trader focuses on practical price action, supply and demand, and disciplined trade selection without turning indicators into the center of the strategy.