Master Supply and Demand Trading in 3 Easy Steps
Trading based on supply and demand zones is an effective approach for stocks, forex, and commodities. This beginner’s guide will teach you how to master supply and demand trading in three simple steps.
Introduction to Supply and Demand Trading
Supply and demand trading leverages the concept that prices tend to increase when demand exceeds supply, and prices fall when supply exceeds demand. Skilled traders can identify key support and resistance levels based on supply and demand and make profitable trades.
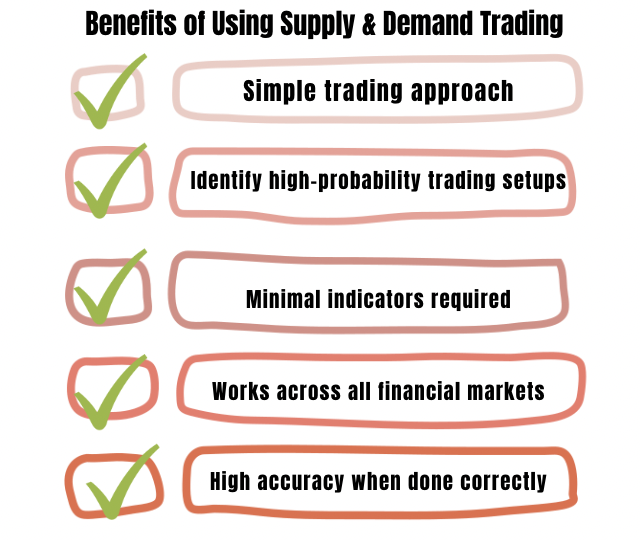
Benefits of Using Supply & Demand Trading
- Simple trading approach
- Identify high-probability trading setups
- Minimal indicators required
- Works across all financial markets
- High accuracy when done correctly
This article focuses on how complete beginners can start identifying supply and demand zones and trade them profitably. With the right guidance, anyone can master the core concepts of supply and demand trading.
Step 1: Identify Supply and Demand Zones
Before taking trades based on supply and demand, you first need to identify zones on the chart.
What are Supply and Demand Zones?
A supply zone indicates an area on the chart where selling pressure overcomes buying pressure, driving prices down.
A demand zone shows where buying pressure overcomes selling pressure, pushing prices higher.
These supply and demand zones act as key support and resistance levels.
How to Identify Supply and Demand Zones
Here are the most important characteristics to help you spot supply and demand zones accurately:

When looking back historically on a chart, make sure to mark the precise areas where rejection occurred, rather than large zones. Zoom in close on the action.
Step 2: Confirm Your Entry and Exit
Once supply and demand zones are identified, you need confirmation before entering and exiting a trade.
Entry Confirmation
Look for these additional signs before entering long or short positions:
- Candlestick patterns – Bullish engulfing, piercing line
- Chart patterns – Double bottom, head and shoulders
- Momentum indicators – MACD, RSI
Use a checklist to ensure each setup meets your trading criteria before risking capital.
Exit Confirmation
Set stop losses below key support and resistance levels rather than exiting based on emotions. Possible exit strategies include:
- Close 50% of position at 2x risk, move stop loss to breakeven
- Trail stop below previous support/resistance zones
- Use reversal candlestick patterns to close the full position
Discipline and patience is rewarded when trading around supply and demand.
Step 3: Use Effective Risk Management
With a high probability trading edge from combining supply, demand and confirmations, risk management completes the puzzle.
Risk Management Best Practices
Follow these guidelines for mastering risk management:
- Risk 1%-3% per trade – For a $10,000 account, risk $100-$300
- Trade size position – Stick to standard position sizes for your account
- Set stop loss orders – Manage risk on every single trade
- Manage emotions – Avoid revenge trading and overconfidence
Cut your losses quickly if the price moves against you, and let your winners run to maximize profits.
Start Applying Supply and Demand
As a beginner, you now have a solid foundation to find high-probability setups in any financial market. Keep practicing these steps below to become a master:
- Identify fresh supply and demand levels
- Confirm setups with additional signals
- Manage risk on every trade
Implement solid risk management habits early, and supply and demand trading will pay dividends for years to come. You can supplement your education through our more advanced articles:
- Price Action and Supply and Demand
- Supply and Demand Trading- The Ultimate Guide
- The Advanced Supply and Demand Zones
With dedication and discipline, practically anyone can succeed with supply and demand trading with the right education.
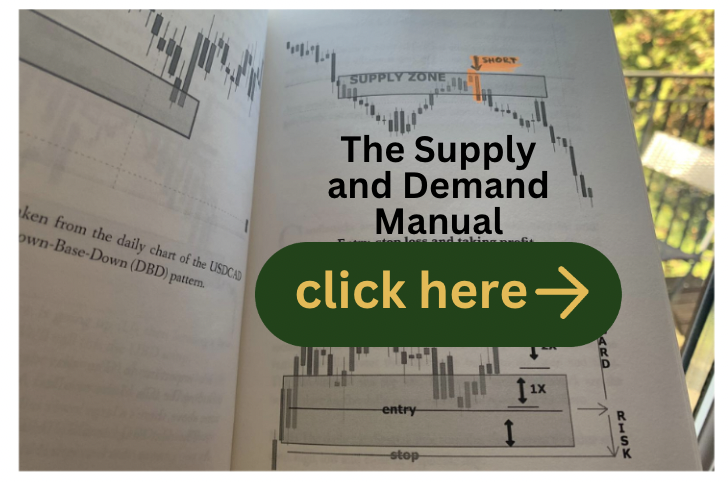
If you are considering a quick step into this way of trading, you can consider our Supply and Demand trading manual that will provide you with just that plus the effective IBWT pattern to trade with S&D zones.