


What Is a Trading Plan? Your Guide to Consistent Profits
A trading plan is your personal rulebook for navigating the markets. It’s a comprehensive, written document that spells out your strategy, your approach to risk, and your rules of engagement. This ensures every single decision you make is based on logic, not gut-wrenching emotion.
Let’s be honest: without a plan, you’re just gambling.
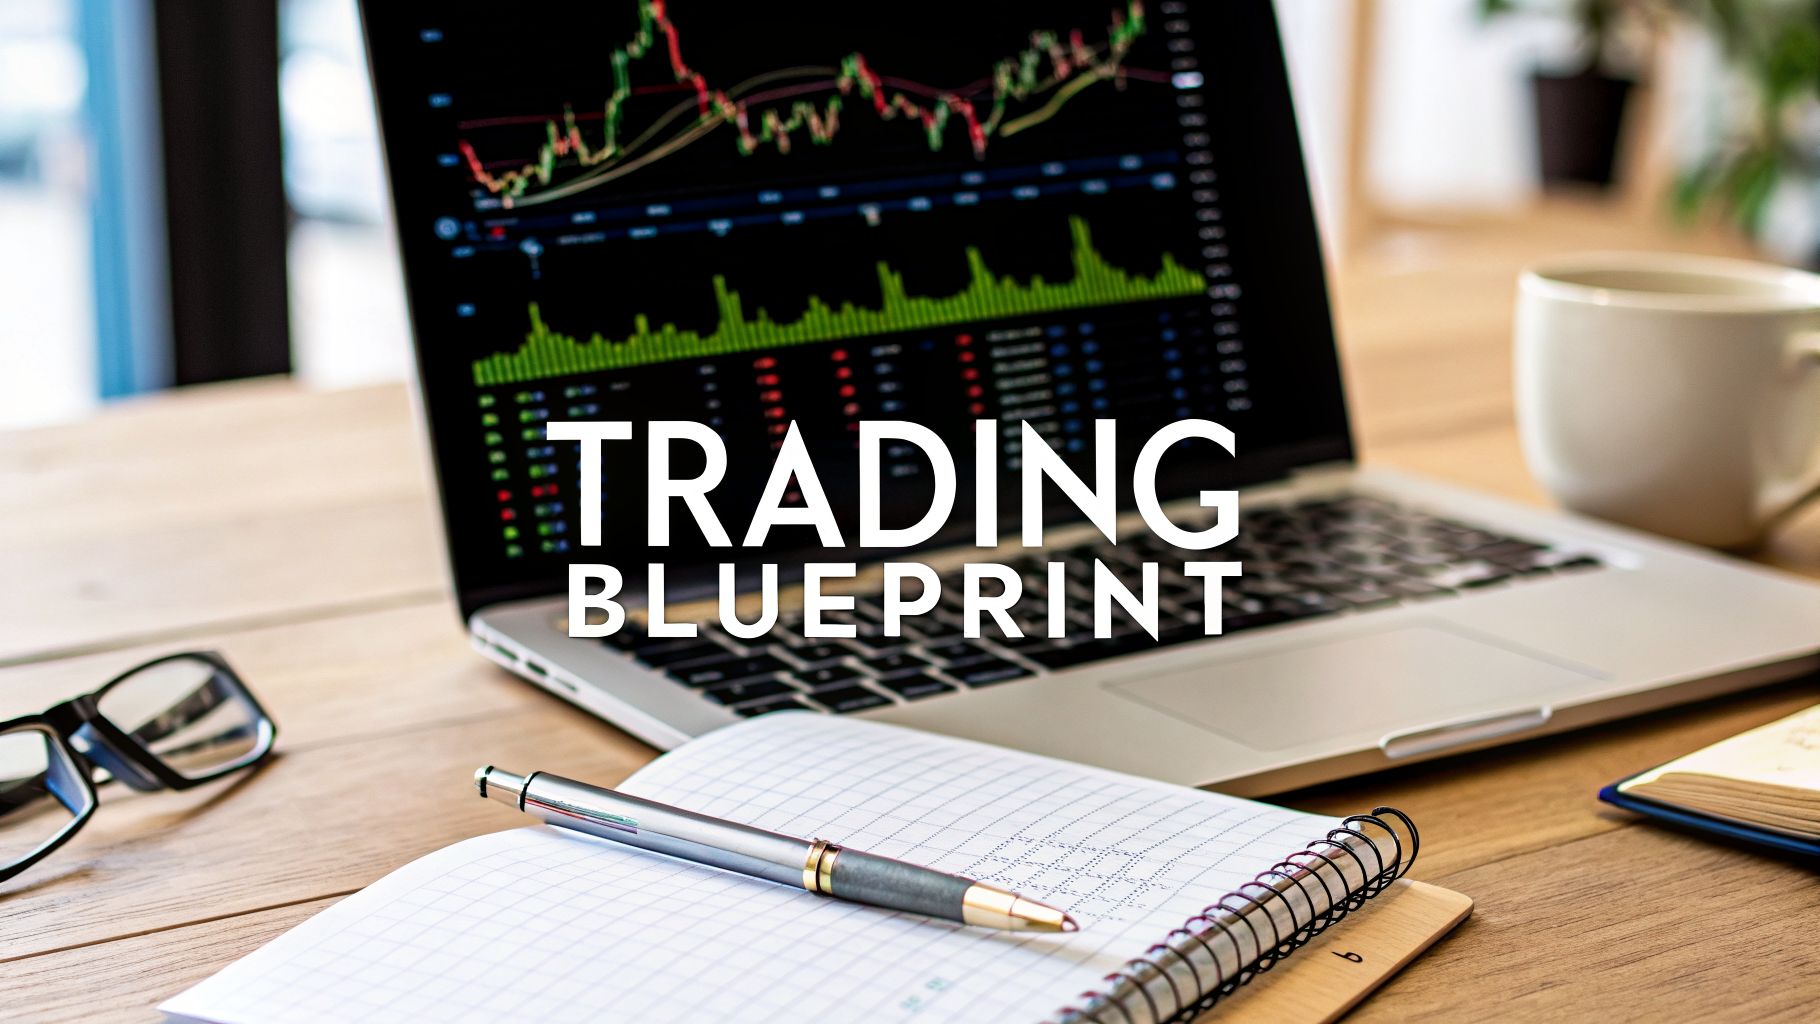
Your Blueprint for Trading Success
Think of your trading plan like a pilot’s pre-flight checklist. Before a pilot even thinks about taking off, they go through a meticulous review of every system—engines, navigation, controls, everything. This systematic process is designed to eliminate human error and make the flight as safe and predictable as possible.
Your trading plan does the exact same thing for your journey in the markets.
It forces you to define every single aspect of your trading before you put a single dollar at risk. This preparation is your best defense against the powerful psychological forces of fear and greed that derail so many aspiring traders. When the market is whipping around and your money is on the line, your plan is the calm, objective voice of reason that keeps you grounded.
Why Most Traders Fail Without a Plan
The reality of trading is harsh. Trading without a predefined system is a fast track to draining your account. Just look at the numbers: only 13% of day traders manage to stay consistently profitable over six months. Even more shocking, a mere 1% achieve long-term success over five years.
Why? Because without a plan that dictates entry/exit rules, risk limits, and position sizing, emotions take over. You can learn more about the common struggles traders face on Unbiased.com.
A trading plan transforms trading from a speculative gamble into a structured business. It is the single most important document you will ever create to ensure your longevity and profitability in the markets.
At its core, a good trading plan is built on two simple things: logic and rules. This simple hierarchy keeps your actions consistent and well-reasoned.

This visual shows how every component of your plan stems from these two pillars. This structure is what gives you the confidence to execute flawlessly, even under pressure.
The 5 Pillars of a Successful Trading Plan
A solid trading plan isn’t just a few notes scribbled on a pad. It’s a structured document built on five critical pillars. Each one answers a key question, leaving no room for guesswork when you’re in a live trade.
Below is a quick overview of these five pillars. We'll be diving deep into each one throughout this guide.
| Pillar | Core Question It Answers |
|---|---|
| 1. Trading Strategy | What specific market conditions and price action patterns will I trade? |
| 2. Risk & Money Management | How much capital will I risk per trade, and how will I size my positions? |
| 3. Rules for Entry | What exact criteria must be met before I can enter a trade? |
| 4. Rules for Exit | Where will I take my profits, and where will I cut my losses? |
| 5. Performance & Review | How will I track my trades, review my performance, and improve over time? |
By establishing clear, non-negotiable rules for each of these pillars beforehand, you create the framework you need for disciplined trading. This is how you build consistency, and consistency is what ultimately leads to profitability.
Building Your Core Trading Strategy
If your trading plan is the blueprint for your business, then your strategy is the engine that actually makes it go.
A strategy isn't just a hunch or a feeling about what looks good on a chart. It’s a specific, repeatable process you can execute over and over, designed to give you a real statistical edge. It answers the most important question: "How will I find and execute high-probability trades?"
For a lot of traders, myself included, the most direct way to read the market is through price action trading. This approach is all about interpreting the raw movement of price on a chart, without getting bogged down by lagging indicators that are often a step behind. It's about learning to read the story the market is telling you, right now.

Reading the Market With Price Action
Price action analysis means identifying key patterns and levels that signal potential turning points or continuations. Instead of cluttering up your charts with a dozen indicators, you just focus on a few core elements.
Market Structure: Is the market making higher highs and higher lows (an uptrend)? Or is it making lower highs and lower lows (a downtrend)? Maybe it’s just chopping sideways in a range. Figuring this out is your first step to making sure you’re trading with the market's dominant flow, not against it.
Support and Resistance: Think of these as historical price levels where the market has shown its hand before. Support is a price floor where buyers have repeatedly stepped in. Resistance is a ceiling where sellers consistently take over.
Supply and Demand Zones: These are broader areas on a chart where a massive imbalance between buyers and sellers happened in the past, often triggering a very strong move. Trading from these zones means you’re positioning yourself where the big institutions are likely placing their orders.
When you master these concepts, you start anticipating what the market might do next instead of just reacting to what it already did. Your trading plan needs to spell out exactly how you'll use this information to frame your setups. For a deeper dive, check out our complete guide on how to develop a robust trading strategy.
Defining Your Ideal Trading Setups
The best traders I know are specialists. They don't try to catch every move the market makes. They become absolute experts at spotting and executing just a handful of high-probability setups that fit their style.
Your strategy needs to define these setups with crystal clarity.
For example, you might decide your entire trading world revolves around these two setups:
- Pin Bars at Key Support Levels: You will only look for buy signals when a bullish pin bar forms after price pulls back to a solid support level during an uptrend. Nothing else.
- Engulfing Candles at Demand Zones: Your bread and butter might be entering a long trade when a powerful bullish engulfing candle prints inside a demand zone you’ve already identified, signaling that buyers are rushing back in.
Your job as a trader isn't to trade all the time. It's to wait patiently for your specific, A+ setup to appear. A well-defined strategy gives you the discipline to say "no" to everything else.
The Non-Negotiable Step of Backtesting
Having a theory about what works is one thing. Proving it with data is everything. Before you risk a single dollar of real money, you absolutely must validate your strategy through backtesting.
This means scrolling back in time on your charts and "trading" your rules as if it were happening live. You meticulously record every win, loss, and missed opportunity.
This process is non-negotiable for two reasons. First, it gives you the hard statistical proof that your strategy actually has a positive expectancy—that it's profitable over a large number of trades. Second, and maybe even more important, it builds unshakable confidence in your system. When you inevitably hit a losing streak (and you will), you'll have the data to remind you that your edge is real. That confidence is what will keep you sticking to your plan instead of panicking.
Mastering Risk to Protect Your Capital
Let’s be brutally honest: a winning strategy is completely worthless if one bad trade can blow up your account.
Profitability in trading isn't about being right 100% of the time. Far from it. It’s about ensuring your losses are small and survivable while your wins are meaningful. This is where risk management comes in—it’s the absolute foundation of your trading career.
Without disciplined risk management, even the most accurate strategy will eventually crash and burn. Think of it like a high-performance race car. The engine (your strategy) is powerful and exciting, but without a reliable braking system (your risk rules), a single miscalculation ends in a catastrophic wreck.

This section of your trading plan is non-negotiable. It defines exactly how you will protect your capital, ensuring you can survive the inevitable losing streaks and stay in the game long enough for your edge to play out.
The Cornerstone of Risk: The 1 Percent Rule
The single most important rule for preserving your capital is the 1% rule. This principle is almost laughably simple, yet it's incredibly powerful.
Here it is: you should never risk more than 1% of your total account equity on any single trade.
If you have a $10,000 account, your maximum risk on one trade is just $100. That might feel small, but it's your ultimate defence against emotional decisions and crippling losses. By capping your risk, you make sure that no single trade can ever significantly hurt you.
Think about it. Following this rule means you would need to lose 100 trades in a row to blow your account—a statistical near-impossibility. It immediately detaches your emotions from the outcome of any one setup, freeing you to focus on executing your strategy flawlessly.
Calculating Your Position Size Correctly
The 1% rule only works if you pair it with proper position sizing. Your position size isn't a guess; it's a specific calculation that connects your risk-per-trade to your stop-loss placement.
Here’s how you calculate it, every single time:
- Determine Your Max Risk in Dollars: This is simply 1% of your account balance. (e.g., 1% of $10,000 = $100).
- Define Your Stop-Loss in Pips: Based on your analysis, where is your trade idea proven wrong? Let's say your stop-loss is 50 pips away from your entry.
- Calculate the Pip Value: This varies by currency pair. Let's assume for EUR/USD, 1 standard lot has a pip value of $10.
- Calculate Position Size: Divide your maximum dollar risk by your stop-loss in dollars (Stop Pips x Pip Value).
Example in Action
With a $10,000 account, your max risk is $100. Your stop is 50 pips. The risk per standard lot is 50 pips * $10/pip = $500. To find your position size, divide your max risk by this amount: $100 / $500 = 0.2 lots (or 2 mini-lots). This is your correct position size for this trade.
This calculation must be a mandatory step in your plan before you even think about hitting the "buy" or "sell" button. To dig deeper into the mechanics, check out our detailed guide on risk management strategies for traders.
Setting Your Daily Loss Limit and Reward Ratio
Risk doesn't stop with a single trade. You also have to protect yourself from the "death by a thousand cuts" scenario—a string of small losses that add up because you let emotion take over.
This is where a maximum daily loss limit is your saviour. A common and effective rule is to stop trading for the day if your account is down by 2% or 3%.
Once you hit that number, you shut down your platform. No second-guessing, no "one last trade." This hard rule prevents revenge trading and protects both your capital and your mental energy for the next session.
Finally, your plan must define your target risk-to-reward ratio. This ensures your winning trades are significantly larger than your losers, giving you a real mathematical edge. A minimum ratio of 1:2 is a great place to start, meaning for every $1 you risk, your target is to make $2. With a ratio like that, you can be wrong more often than you are right and still come out profitable.
These risk controls are what separate amateurs from professionals. While many retail traders globally are known to struggle, those who find success almost always build it on a battle-tested plan that puts risk management first. It's no surprise that traders in regions with a strong focus on education and structured money management often see better outcomes.
Defining Your Rules for Entry and Exit
If a winning strategy is your engine and solid risk management is your brakes, then your entry and exit rules are the steering wheel. This is the part of your trading plan that tells you exactly when to get in and when to get out, removing all the hesitation and second-guessing that happens in the heat of the moment.
Your rules need to be so crystal clear and mechanical that another trader could look at your plan, see the same chart, and do the exact same thing you would. That level of objectivity is what separates the pros from the amateurs. It makes sure you're trading based on your proven edge, not on destructive emotions like FOMO or greed.
The entire point is to turn your trading into a disciplined, repeatable process.
Crafting Your Trade Entry Checklist
Before you ever dream of clicking "buy" or "sell," a potential trade has to pass a series of non-negotiable checks. Think of it like a pilot's pre-flight inspection. If even one little thing is off, you don't take off. Period.
This checklist is your ultimate quality filter. It keeps you on the sidelines until a high-probability setup that fits your strategy perfectly comes along.
Your entry checklist should confirm three core things:
- Market Context: Does the big picture support your trade idea? If you’re looking to go long, is the market actually in an uptrend? This top-down view ensures you’re swimming with the current, not against it.
- Key Location: Is the price sitting at a meaningful spot on your chart? This could be a major support or resistance level, a validated supply or demand zone, or a key moving average that has acted as a turning point before.
- Specific Price Action Signal: Has your trigger appeared? This is the specific candlestick pattern—like a bullish pin bar or a bearish engulfing candle—that screams, "Now's the time."
Example Entry Checklist
- Is the 4-hour chart in a clear uptrend (making higher highs and higher lows)?
- Has the price pulled back to a previously tested support level?
- Has a clean, bullish pin bar with a long lower wick formed right at this support level?
I only enter the trade if the answer to all three questions is a resounding "YES."
This mechanical process forces you to be patient and disciplined, which is the best defense against those low-quality, impulsive trades that slowly bleed an account dry.
Defining Your Three Critical Exit Scenarios
Knowing when to get in is important, but knowing when to get out is what actually makes you money. Most new traders spend 90% of their energy trying to find the perfect entry and just leave the exit to chance. That's a fatal mistake.
Your exit rules are what protect your capital and lock in your profits. Your plan must have a clear, pre-defined action for three distinct scenarios.
1. Taking Profit at Your Target (The Win)
This is your planned profit objective. You decide on this before you even enter the trade, based on your read of the market structure. A smart approach is to set your target just before the next major area of resistance (for a long trade) or support (for a short trade). This rule stops you from getting greedy and watching a great trade turn into a loser.
2. Cutting Losses at Your Stop-Loss (The Loss)
Your stop-loss is the exact price where your trade idea is proven wrong. It's your financial safety net, and it's non-negotiable. A logical stop-loss goes where the market shouldn't go if you're right—like just below the low of your bullish entry candle or a key support level. This rule must be sacred. You never move your stop-loss further away to give a losing trade "more room to breathe."
3. Managing the Trade (The In-Between)
What happens if a trade moves in your favor but hasn't hit your target yet? Your plan needs rules for this, too. One of the best techniques is the trailing stop-loss. For example, once the trade moves in your favor by a 1:1 risk-to-reward ratio, you might move your stop-loss up to your entry point (breakeven). This takes all the risk off the table and lets you ride any further upside, stress-free.
By defining these three exit protocols, you create a complete lifecycle for every single trade. You have a plan for a win, a loss, and everything in between. This is how you stay in control, no matter what the market throws at you.
Using a Trading Journal to Improve Performance
If your trading plan is the rulebook, then your trading journal is the game tape. It’s hands down the most powerful tool you have for making systematic improvements, turning raw data into real insights that sharpen your edge and build discipline.
Think of it like this: elite athletes don’t just show up and play. They spend countless hours reviewing every single play to see what went right and, more importantly, what went wrong. A trading journal is your version of that game tape, giving you the chance to objectively analyze your performance, away from the heat and emotion of a live trade.

What to Track Beyond Wins and Losses
A truly great journal goes way beyond just logging your profit and loss. To actually drive real improvement, you have to capture the context around each and every trade. This is what separates a simple logbook from a powerful feedback loop.
Here's what your journal entries should absolutely include:
- Trade Rationale: Why did you take this trade? Be specific. Write down the exact reasons based on the criteria in your trading plan.
- Setup Screenshot: A picture is worth a thousand words, especially in trading. Grab a screenshot of the chart the moment you entered, and don't be afraid to mark it up.
- Psychological State: How were you feeling? Were you calm and objective? Or were you impatient, maybe a little greedy, or even fearful? Be honest.
- Execution Quality: Did you follow your plan to the letter? If not, where did you slip up?
By consistently recording this info, you start building a rich dataset on your own behaviour and decision-making. For anyone looking to get started right away, we have a ready-to-use template that can make this a whole lot easier. You can learn more about setting up your own trading journal in Excel.
The Power of the Weekly Review
Just collecting the data is only half the battle. The real magic happens when you sit down for your weekly or monthly review. This is where you step back from the individual trees (your trades) to see the whole forest (your overall performance).
Your trading journal is where you have an honest conversation with yourself. It reveals the gap between the trader you want to be and the trader you currently are, giving you a clear path to bridge it.
During your review, you’re on the hunt for patterns. Are you making the same mistakes over and over, like moving your stop-loss on losing trades or jumping into setups out of sheer boredom? On the flip side, which of your setups are performing the best? This data-driven review is what makes continuous improvement possible.
Research actually backs this up. A study of 20,000 day traders found that those who failed to evolve their strategies consistently lost money. But the traders who stuck with it and learned from their trades showed genuine, non-random skill, with the winners coming back 96.4% of the time. It just goes to show how essential a systematic review process, powered by a journal, is for any kind of long-term success.
This feedback loop—trade, record, review, adjust—is the engine that drives your progress. It lets you spot and get rid of costly mistakes while doubling down on what’s actually working. At the end of the day, it’s this disciplined process that closes the gap between inconsistent results and professional-level performance.
Trading Plan FAQ
Even when you've got the basics down, real-world questions always pop up. This section is all about tackling the common "what ifs" and practical hurdles traders face when building and using their plans. I'll give you clear, straight-up answers to help you navigate the challenges that come with trading like a pro.
Think of this as the final piece of the puzzle, answering those nagging questions that can throw even the most dedicated trader off their game.
How Often Should I Revise My Trading Plan?
Your trading plan should be a living, breathing document—not something you carve in stone and forget about. But that absolutely does not mean you should change it on a whim, especially not in the heat of a losing streak or while you've got live trades open. The plan is there to save you from emotional decisions; messing with it under stress defeats the whole purpose.
A structured approach is always better.
As a rule of thumb, give your trading plan a formal review on a monthly or quarterly basis. This keeps you agile enough to adapt to shifting market behavior but prevents those knee-jerk reactions that wreck accounts.
When it's time for a review, your trading journal is your single most important tool. You're not guessing here; you're using cold, hard data to make informed decisions.
- Dig Into Your Performance Data: Look for patterns. Are your rules too tight, causing you to miss good setups? Is one of your entry signals proving less reliable than you thought? Your journal has the answers.
- Make Adjustments Based on Evidence: Only change a rule if your journal provides overwhelming proof that it's necessary. For instance, if 80% of your losses last month came from trades taken right before a major news release, you’d add a rule to stay on the sidelines during those times.
- Never Revise Under Fire: The golden rule is simple: never, ever change your core strategy or risk rules after one bad trade or during a live session. All changes happen with a clear head, away from the charts.
Treat your plan like the business plan it is. Serious businesses don't change their model on a bad day; they analyze, reflect, and then act.
What Is the Single Most Important Part of a Trading Plan?
Every piece of the plan—strategy, entry rules, journaling—is critical. They all work together. But if you ask most professional traders to pick just one thing, the answer is almost always the same.
The single most important part of any trading plan is risk and money management.
Hands down. You could have a mediocre strategy with a 40% win rate and still print money if your risk management is dialed in. On the flip side, you could have the world's best strategy, but without an ironclad grip on risk, a few bad trades can—and will—blow up your account. It's the ultimate safety net.
Your rules on risk are the bedrock of your entire trading career. They are what will keep you in the game through the losing streaks that are an unavoidable part of trading.
Here’s why it’s the king of all components:
- It Protects Your Capital: Simple rules like the 1% rule mean that no single trade can ever cripple your account. This is the secret to longevity.
- It Kills Emotion: When you know your maximum loss is a small, pre-defined amount you're comfortable with, fear and greed lose their power. You can execute your plan calmly.
- It Forces a Positive Edge: By setting a minimum risk-to-reward ratio (like 1:2), you mathematically ensure your winning trades are bigger than your losing ones. Over time, this gives you a powerful advantage.
Think of it like this: your strategy is what finds the opportunities, but your risk management is what keeps you in business long enough to profit from them. It is the real engine of profitability.
What Should I Do If My Trading Plan Isn't Working?
First things first, we need to define "not working." It doesn't mean you had a losing day or a bad week. Drawdowns happen to everyone. The real problem is a consistent, downward-trending equity curve over a decent sample size of trades.
Before you tear up your plan and start over, run through this diagnostic checklist.
Step 1: Audit Your Execution
The number one suspect is never the plan itself; it’s the trader. Crack open your journal and be brutally honest.
- Have you followed your plan to the letter, with 100% discipline, for at least 20-30 trades?
- Did you jump into trades that didn't meet every single one of your criteria?
- Did you panic and move your stop-loss or snatch profits way too early?
More often than not, a plan "isn't working" because the trader isn't actually following it. If your journal shows you've been breaking the rules, the plan isn't the problem—your discipline is.
Step 2: Check the Market Environment
Okay, so you've been disciplined, but the results are still poor. The next culprit could be a mismatch between your strategy and the current market conditions.
Markets move in cycles, from strong trends to choppy, sideways ranges. A trend-following system will get chewed up and spit out in a ranging market, while a range-bound strategy will get steamrolled by a powerful trend.
Ask yourself: Has the personality of the market changed? Is my strategy, which I backtested in a high-volatility market, now struggling because things have gone quiet? Your plan isn't a magic wand for every condition.
Step 3: Go Back to the Lab
If you've confirmed your discipline and ruled out a market mismatch, then it's time to put the plan back on the drawing board. Don't panic. This is just a signal to return to your research and backtesting.
Start tweaking one variable at a time. Is your stop-loss placement too tight for the current volatility? Is your profit target a bit too greedy? Is a specific price action pattern you rely on not performing as well on your chosen timeframe anymore?
This methodical, data-driven approach will help you pinpoint the weak link and make the precise adjustments needed to get back on track.
At Colibri Trader, we teach that a trading plan is the foundation of any successful trading career. Mastering price action is all about building a repeatable, rules-based system that you can rely on. If you're ready to stop guessing and start trading with a proven plan, explore our programs and begin your journey to consistent profitability today. Learn more at https://www.colibritrader.com.