


Supply and Demand Zone Trading Strategies to Boost Profits
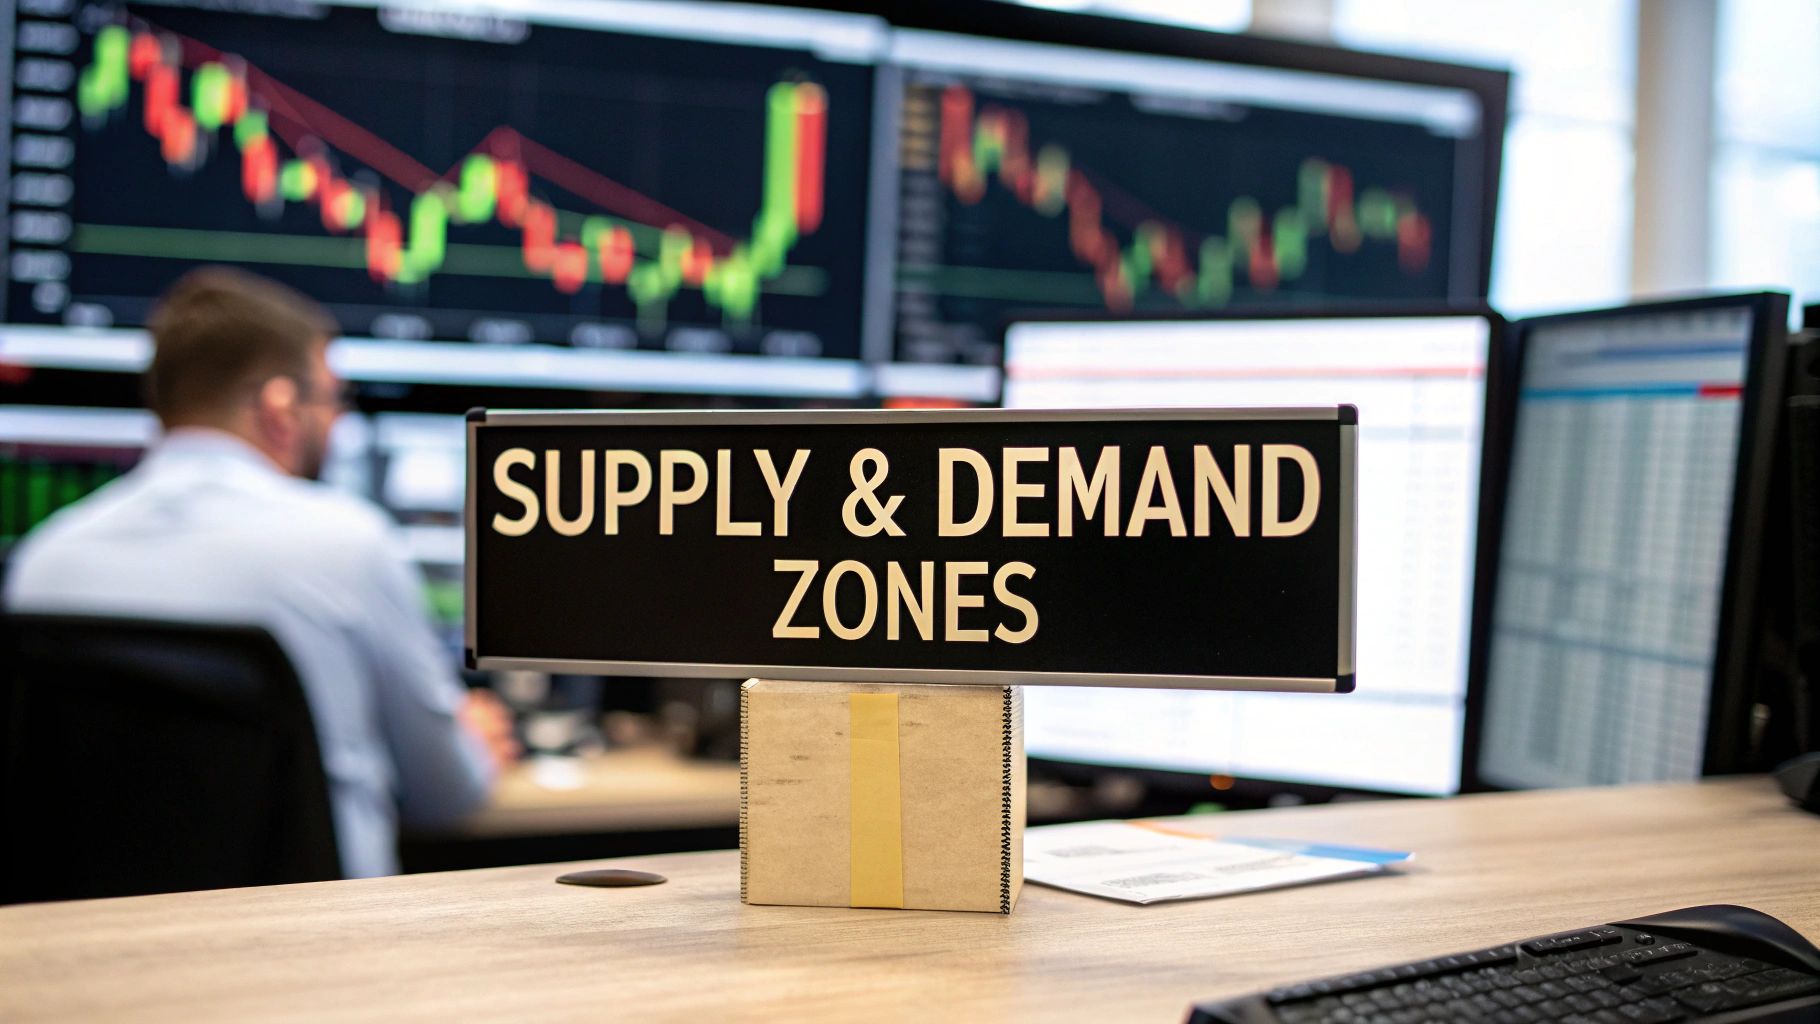
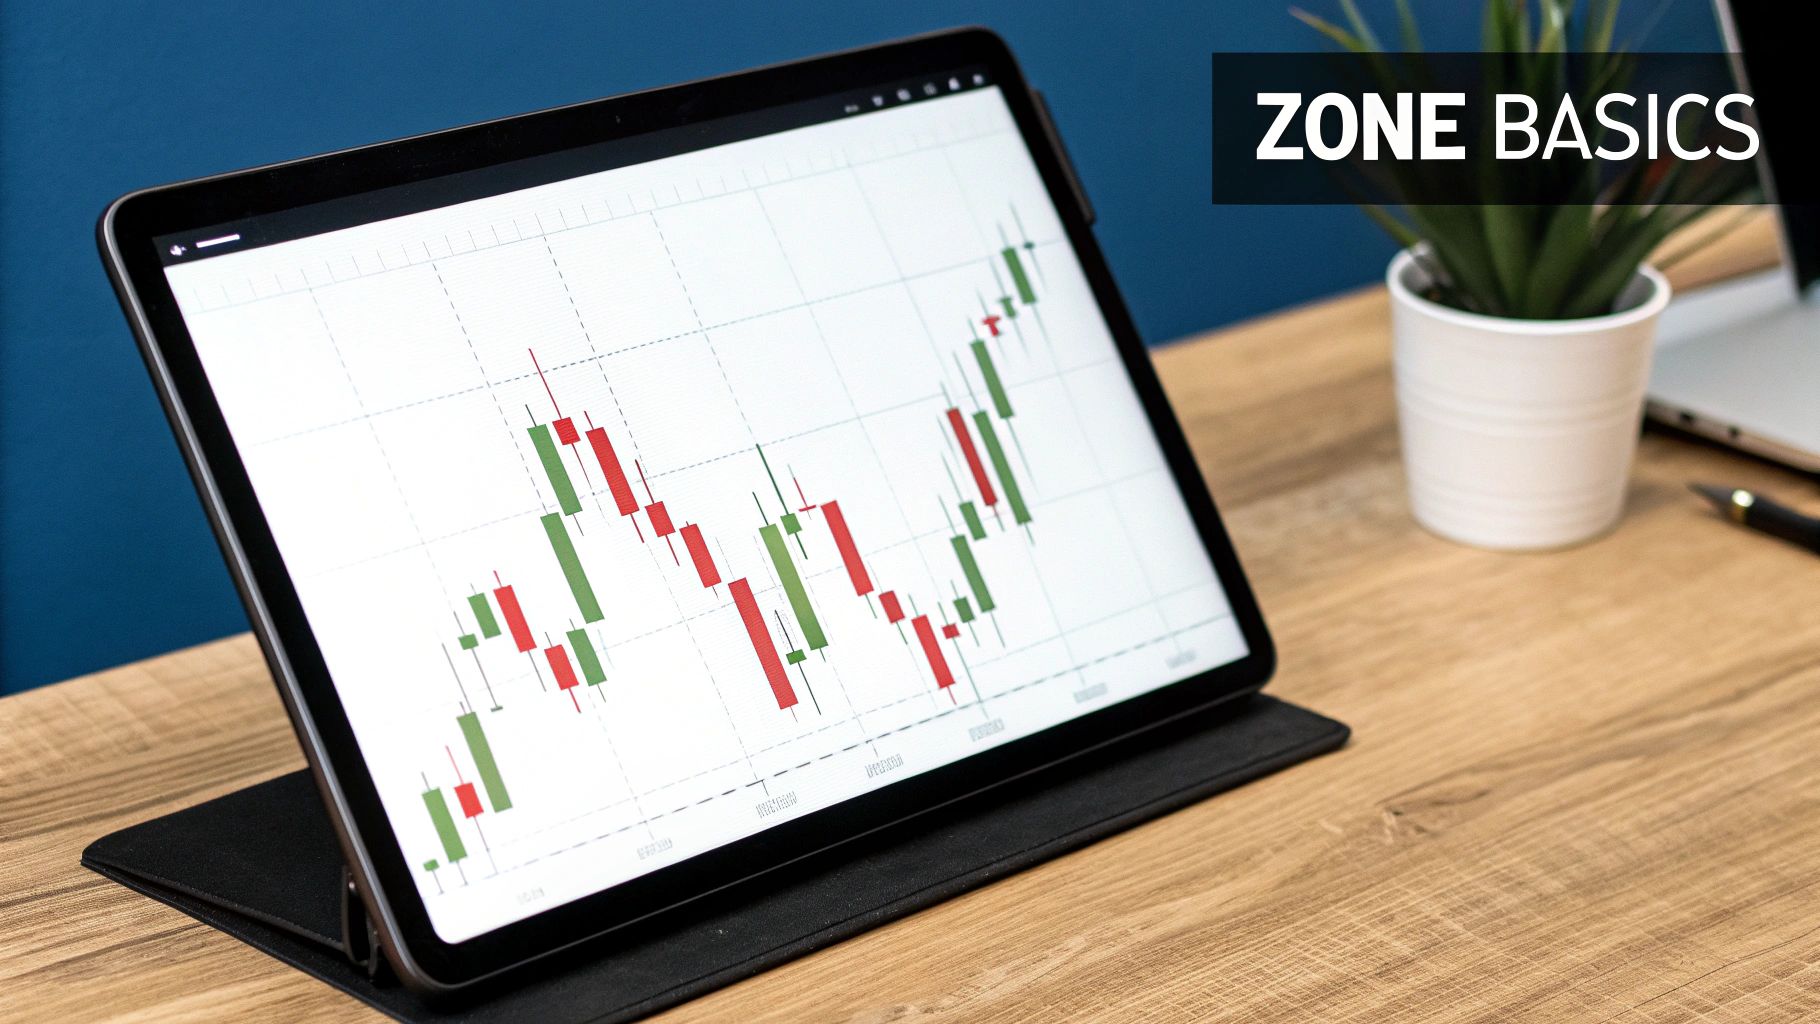
Understanding Supply And Demand Zone Trading Fundamentals
Supply and demand zone trading isn't about predicting the future; it's about understanding the past. This powerful strategy focuses on identifying supply zones (areas of high selling pressure) and demand zones (areas of high buying pressure) on a price chart. These zones typically form after periods of consolidation, where the price moves sideways before a significant breakout. This consolidation represents a temporary balance between buyers and sellers.
How Supply And Demand Zones Form
Think of it like a tug-of-war between buyers and sellers. When one side overpowers the other, the price moves sharply in their direction. This sudden shift leaves behind a zone where the losing side may attempt to regain control. A sharp drop in price after consolidation creates a supply zone, an area where sellers previously dominated.
Conversely, a rapid price increase after consolidation forms a demand zone, an area where buyers were in control. This back-and-forth creates the patterns supply and demand traders seek. The Rally-Base-Drop (RBD) pattern exemplifies this, where a sharp price drop follows a four-bar consolidation, creating a supply zone.
Supply and demand trading pinpoints these key zones on price charts. A supply zone, typically above the current price, forms after a sharp drop following consolidation, indicating significant sell orders. A demand zone, below the current price, marks a swift upward movement after consolidation. The price often retests these zones before moving decisively. This pattern, consistently appearing in trading systems, offers traders precise entry and exit points, highlighting the role of these zones in market psychology and price dynamics in markets like forex and stocks. Learn more about supply and demand zone trading here: Supply and Demand Trading Strategy.
Why These Zones Work
These zones represent significant imbalances between supply and demand, often involving large institutional traders, like banks and hedge funds, who can significantly influence market movements with their order flow. When these institutions accumulate or distribute large positions, they create the very supply and demand zones that retail traders can capitalize on. You might be interested in: How to master supply and demand trading.
Understanding basic marketing principles can enhance any trading approach. To gain a better understanding of marketing within the context of supply and demand, consider exploring resources like affiliate marketing for beginners. Recognizing these zones is just the first step. Successfully trading them requires precise identification, effective entry and exit strategies, and disciplined risk management. These skills will be further developed as we explore the nuances of supply and demand zone trading.
How Institutional Money Creates Trading Opportunities

Ever wondered why certain price levels act like magnets, attracting significant market reactions? The answer lies in the actions of institutional traders. Understanding how these major players, like banks and hedge funds, operate is vital for supply and demand zone trading. Their high-volume trades leave noticeable marks on price charts, forming the very zones retail traders aim to capitalize on.
Institutional Accumulation and Distribution
Institutional traders don't buy and sell randomly. They execute trades strategically in phases. The accumulation phase involves gradually buying an asset at lower prices, establishing a demand zone. This often happens during periods of consolidation as institutions build substantial positions without dramatically affecting the price.
The distribution phase, on the other hand, occurs when these institutions unload their accumulated assets, typically at higher prices. This forms a supply zone as the market absorbs a large influx of sell orders. Identifying these phases is crucial for predicting potential market reversals.
Volume and Price Action: The Telltale Signs
Institutional activity leaves clues in the form of volume and price action. A sharp upward price move coupled with a significant volume spike can signal institutional accumulation and the creation of a demand zone. Conversely, a sudden price drop with high volume may suggest institutional distribution and the formation of a supply zone. Understanding how factors like supply chain dynamics influence these zones adds another layer of insight. It's worth exploring resources like supply chain dynamics for more information.
Predicting Institutional Order Flow
While predicting the future is impossible, recognizing patterns in institutional behavior can improve trading decisions. Institutional investors exert significant influence on supply and demand zones. Their high-volume trading creates visible shifts in price action on charts. These zones become key inflection points, highlighting imbalances between buying and selling pressure.
The forex market, for instance, with its daily volume exceeding $7.5 trillion, is heavily influenced by institutional transactions. To learn more about how these dynamics play out, you can check out this resource on supply and demand zone trading: Master Supply & Demand Zone Trading Strategies. These zones, shaped by substantial buy and sell orders, often foreshadow price reversals and significant volume changes.
By grasping how institutional money influences supply and demand zones, retail traders gain a valuable advantage. Learning to think like an institutional trader—identifying accumulation and distribution phases, analyzing volume, and interpreting price action—unlocks the potential for more precise zone identification. This knowledge empowers traders to pinpoint the strongest zones and avoid weaker ones, ultimately improving trading outcomes.
Precise Zone Identification Techniques That Actually Work
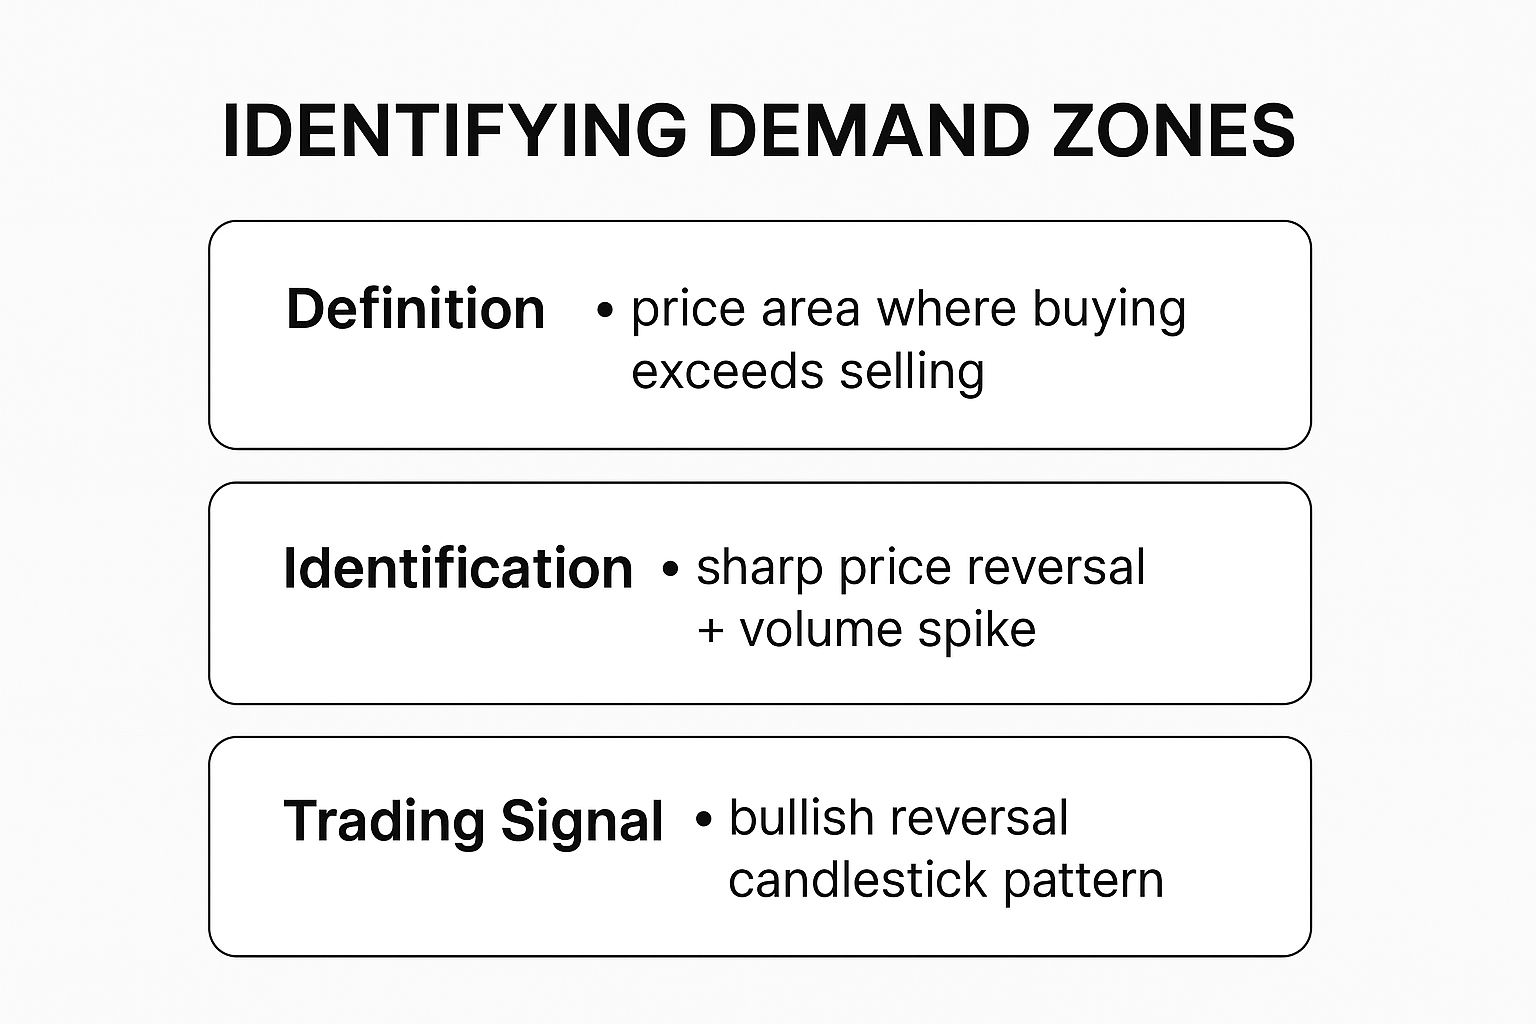
The infographic above provides a helpful overview of demand zone trading. It breaks down the key elements: what demand zones are, how to identify them, and the trading signals they can generate. It's a handy visual guide for spotting these potentially lucrative trading areas.
Demand zones represent price areas where buying pressure overwhelms selling pressure. This is often indicated by a swift price reversal accompanied by a surge in trading volume. These zones frequently precede bullish reversal candlestick patterns, offering potential entry points for astute traders. Understanding this dynamic is crucial for effective supply and demand zone trading.
Analyzing Price Rejection and Consolidation
Pinpointing zones accurately is paramount for profitable trading. This involves more than just marking highs and lows. It necessitates a careful analysis of price action within those zones. A strong rejection, for example, where the price quickly moves away from a zone, helps define its boundary. The speed of this movement often reflects the intensity of the underlying buying or selling pressure.
The length of time a price consolidates within a zone also offers valuable clues. A longer consolidation suggests greater trader interest and potential volume accumulation, increasing the likelihood of a substantial price movement. Conversely, a brief, shallow consolidation might point to a weaker zone, susceptible to false breakouts.
Interpreting Volume Data
Volume plays a critical role in validating a supply or demand zone. High volume during the initial price rejection and subsequent consolidation strengthens the zone's significance. This volume, especially what's known as 'underwater volume', reveals where substantial buying or selling took place, possibly indicating institutional activity.
Analyzing volume on lower timeframes can further refine zone identification. Zooming in allows for a more detailed examination of price and volume interactions, aiding in pinpointing precise zone boundaries. This involves looking at where price rejection was most pronounced, how long consolidation occurred at specific levels, and where the highest traded volumes appeared (the 'underwater volume').
To illustrate, a strong rejection point, where the price rapidly exits a zone, helps define the zone’s boundary. The duration of consolidation signifies trader interest and potential volume buildup. The traded volume around particular price points highlights where large numbers of participants entered or exited positions. These combined factors allow traders to determine the zone's true significance and improve the strategy's reliability across various markets. Explore this topic further.
Multi-Timeframe Analysis
Analyzing zones across multiple timeframes adds another layer of confirmation to the trading strategy. Confirming a zone identified on a higher timeframe with similar zones on lower timeframes increases the likelihood of a successful trade. This multi-timeframe analysis ensures a cohesive view of supply and demand from different market perspectives.
To help traders evaluate potential trading opportunities based on zone characteristics, the following table summarizes key differences between strong and weak zones:
Zone Strength Assessment Criteria
A comparison of strong vs. weak zone characteristics to help traders evaluate trading opportunities
| Zone Characteristic | Strong Zone | Weak Zone | Trading Implication |
|---|---|---|---|
| Price Rejection | Rapid, sharp reversal | Slow, gradual reversal | Strong rejection signals stronger underlying pressure |
| Consolidation Duration | Longer period | Shorter period | Longer consolidation suggests more significant potential move |
| Volume | High volume during rejection and consolidation | Low volume during rejection and consolidation | High volume confirms strength of the zone |
This table highlights the importance of considering multiple factors when assessing a zone’s strength. Strong zones typically exhibit rapid price rejections, extended periods of consolidation, and high trading volume, suggesting a higher probability of a significant price move. Conversely, weak zones display opposite characteristics, increasing the risk of false breakouts.
By combining these techniques – analyzing price rejection, assessing consolidation, interpreting volume, and utilizing multi-timeframe analysis – traders can identify high-probability trading zones and avoid the traps of false signals.
Entry And Exit Strategies For Maximum Profitability

Identifying strong supply and demand zones is only the first step. To truly profit from these zones, traders need solid entry and exit strategies combined with effective risk management. This maximizes profit potential while minimizing potential losses. This section explores the practical application of supply and demand zone trading.
Aggressive Vs. Conservative Entries
Several approaches exist for entering trades within supply and demand zones. Aggressive entries involve entering as soon as the price hits the zone's edge. This aims to maximize the reward-to-risk ratio by catching the start of a significant price move. However, it carries a greater risk of false breakouts.
Conservative entries prioritize confirmation. Traders might look for candlestick patterns or volume spikes within the zone before committing capital. This approach offers a higher probability of success but might sacrifice some profit by entering later.
Setting Stop Losses and Taking Profits
Proper stop-loss placement is critical for managing risk. A stop-loss order automatically exits the trade if the price moves unfavorably, limiting losses. For long trades (buy orders), stop-losses are placed slightly below the demand zone. For short trades (sell orders), they're placed just above the supply zone.
Profit-taking strategies are equally important. One approach involves setting take-profit targets near the opposing zone. For example, in a long trade within a demand zone, the target could be just below the next supply zone. Another strategy is scaling out, taking partial profits at different levels as the trade progresses.
Risk Management and Position Sizing
Effective risk management is paramount. This means carefully determining the position size for each trade. One common method is risking a fixed percentage of capital per trade, typically 1-2%. This ensures no single losing trade significantly impacts the account balance.
Position sizing should also account for the zone's strength and market volatility. Stronger zones and lower volatility may warrant larger positions, while weaker zones and higher volatility require smaller positions.
Handling Challenging Scenarios
Not every trade unfolds perfectly. Supply and demand zones can experience breaks, false breakouts, and multiple retests. Knowing how to manage these is crucial for long-term success.
A zone break occurs when the price moves decisively through a zone, possibly signaling a shift in market sentiment. A false breakout happens when the price briefly enters a zone but quickly reverses. Multiple retests can indicate strong support or resistance, or weakening boundaries. Each requires adjustments to the trading plan.
By understanding these entry and exit strategies, setting appropriate stop-losses, practicing sound risk management, and adapting to changing market conditions, traders can greatly improve their profitability using supply and demand zones.
Common Mistakes And How To Avoid Them
Even seasoned traders make costly errors in supply and demand zone trading. Let's explore some common pitfalls and how to avoid them.
Misinterpreting Zone Strength
One frequent mistake is misjudging zone strength. Traders might enter trades based on weak zones, characterized by shallow consolidations, low volume, and weak price rejections. These weak zones are prone to false breakouts, leading to losses.
Focus on zones with sharp price rejections, significant volume, and extended consolidations for higher probability trades. This forms the foundation of successful supply and demand zone trading.
Poor Entry Timing
Another common error is entering a trade too early or too late. Entering too early, before confirmation of a reversal, exposes traders to whipsaws and false signals. Conversely, waiting too long can diminish profits.
Look for confirming signals like candlestick patterns or volume spikes within the zone before entering. Patience can dramatically improve your results.
Holding Losing Positions
Many traders struggle with letting go of losing positions. Hope can be a costly emotion in trading. When a trade moves against you and the price breaks decisively through a zone, it's crucial to accept the loss and exit.
Holding onto a loser, hoping for a reversal, can quickly deplete capital. Disciplined exit strategies are essential for long-term success.
Neglecting Market Context
Ignoring overall market conditions is a critical mistake. While supply and demand zones are powerful, they don’t exist in isolation. News events, economic data, and market sentiment can all influence prices.
Always consider the broader market context before entering a trade. This involves staying informed about relevant market developments and understanding their potential impact on your strategy.
Psychological Pitfalls
Supply and demand zone trading presents unique psychological challenges. The temptation to chase price after a missed entry or to doubt a good setup can lead to impulsive, unprofitable decisions.
Develop mental discipline to stick to your trading plan and avoid emotional reactions to market fluctuations. This discipline separates consistent winners from struggling traders. Focus on the process over the outcome, and trust your analysis. Addressing these psychological traps can improve trading performance.
Learning From Mistakes
The most effective traders view mistakes as learning opportunities. Analyzing past trades, especially losses, offers valuable insights.
Maintain a trading journal to document your entries, exits, and the reasoning behind each trade. Regularly review this journal to identify patterns and refine your decision-making. Consistent self-reflection helps develop the consistency that marks successful traders.
Advanced Strategies For Experienced Traders
Basic supply and demand zone trading provides a solid foundation. However, truly mastering this technique requires exploring more advanced strategies. This section delves into sophisticated techniques employed by seasoned traders to refine their approach and potentially boost profitability.
Multi-Timeframe Zone Analysis
Analyzing zones across various timeframes can offer invaluable insights. For instance, a demand zone observed on a weekly chart holds significantly more weight when corroborated by a corresponding zone on the daily chart. This multi-timeframe confirmation strengthens the likelihood of a successful trade.
This broader perspective helps traders visualize the overall market context and identify zones that resonate across different time horizons. It helps filter out less reliable zones that may seem promising on a single timeframe but lack support on other timeframes. You might be interested in: How to master advanced supply and demand zone trading.
Combining Zones With Technical Indicators
While supply and demand zone trading centers around price action, integrating complementary technical indicators can offer further validation. Moving averages, for example, can help confirm trend direction as the price nears a supply or demand zone. Oscillators such as the Relative Strength Index (RSI) or Stochastic Oscillator can pinpoint overbought or oversold conditions within these zones, potentially signaling impending reversals.
Advanced Zone Concepts: Clusters and Hidden Zones
Experienced traders often look beyond individual zones to discern more nuanced patterns. Zone clusters, where multiple zones overlap or converge, signify areas of substantial market activity and can trigger significant price fluctuations.
Hidden zones, frequently missed by less experienced traders, emerge when a zone forms without a distinct consolidation period. These zones are often generated by rapid price spikes or plunges and can present high-reward prospects for those who recognize them.
To help understand how these concepts work together across different timeframes, consider the following framework:
A systematic approach for analyzing zones across timeframes can help traders make more informed decisions. The table below outlines a simple framework for multi-timeframe zone analysis.
Multi-Timeframe Zone Analysis Framework
A systematic approach to analyzing zones across different timeframes for optimal trading decisions
| Timeframe | Purpose | Zone Criteria | Trade Management |
|---|---|---|---|
| Weekly | Long-term trend identification | Strong historical support/resistance | Wider stop-loss, larger profit targets |
| Daily | Intermediate trend confirmation | Confluence with weekly zones, significant price reactions | Moderate stop-loss and profit targets |
| 4-Hour | Entry and exit points | Smaller consolidation areas within daily/weekly zones | Tighter stop-loss, shorter-term trades |
This framework helps traders align their trading decisions with the prevailing market structure across different time horizons. It provides a structured approach to identifying high-probability trading setups based on the confluence of zones and technical indicators.
Trading Zone-to-Zone Movements
A particularly lucrative strategy involves capitalizing on price movements between supply and demand zones. Pinpointing a robust demand zone, for example, and establishing a profit target near the subsequent significant supply zone creates a well-defined risk-reward scenario. This approach offers clear entry and exit points, enhancing profit potential while mitigating risk.
Adapting to Different Market Conditions
Supply and demand zones function effectively across diverse market conditions, but adapting your strategy accordingly is crucial. In strongly trending markets, concentrating on zones aligned with the prevailing trend's direction is paramount. Conversely, in range-bound markets, trading between zones can prove highly advantageous.
Specialized Tools and Risk Management
Specialized tools and software can significantly enhance zone identification and trade management. These tools can automate certain aspects of analysis, flagging potential zones and issuing alerts for entry and exit points.
Advanced risk management techniques are essential for experienced traders, especially when managing larger positions. These techniques include scaling out of positions as the trade progresses and adjusting stop-losses based on market volatility. Such measures allow for profit protection while maximizing potential gains in favorable setups.
Building Your Personal Trading Plan
Success in supply and demand zone trading depends on a systematic approach. This approach should be aligned with your personal goals, risk tolerance, and trading style. This means developing a personalized trading plan that uses the principles we've discussed. This plan will be your roadmap, guiding you through market changes and helping you maintain discipline.
Defining Your Trading Rules
A strong trading plan starts with clearly defined rules for zone identification. This includes specific criteria for several key factors:
- Price Rejection: How sharp and fast must the price reversal be to qualify as a valid zone?
- Consolidation Quality: What characteristics define a strong consolidation period? What is the ideal duration?
- Volume Characteristics: What volume levels indicate substantial institutional activity?
These rules should be consistent across various markets and timeframes. This consistency will give you a dependable framework for making trading decisions.
Establishing Entry and Exit Criteria
Next, you need to define your entry criteria. Will you use aggressive entries, aiming for maximum profit? Or will you opt for more conservative entries with higher probability confirmations?
Similarly, establish clear exit strategies. This includes setting stop-losses to limit potential losses and take-profit targets to secure profits. Your profit-taking strategy might involve scaling out of positions. Another option is to set fixed targets based on opposing zones. Learn more in this article on How to Master Trading Plan Creation.
Risk Management and Position Sizing
Risk management is crucial. Your trading plan should detail your approach to position sizing. Base this sizing on factors like zone strength, market volatility, and your personal risk tolerance. A common practice involves risking a fixed percentage of capital per trade (e.g., 1-2%). This prevents any single loss from significantly impacting your account.
Backtesting and Performance Tracking
Before using your trading plan, thorough backtesting is essential. This means applying your rules and strategies to historical market data. You'll be assessing their effectiveness in various market conditions. Backtesting can reveal potential weaknesses. It also allows you to refine your approach before risking real money.
Keeping detailed trading records is also crucial for ongoing improvement. Track your entries, exits, and the reasons behind each trade. Regularly review these records to find patterns in your performance, both wins and losses. This allows you to constantly adapt and improve your strategy.
Patience and Discipline
Finally, trading success requires patience and discipline. Not every trade will be profitable, and markets can change quickly. Stick to your plan, avoid emotional decisions, and focus on the process, not short-term results. This long-term perspective is essential for consistent profitability.
Want to improve your trading? Explore the resources and training programs at Colibri Trader to build the skills and confidence you need for consistent trading success.