


Master Price Action Trading Forex: Your 2026 Guide
If your chart looks like a control panel and you still hesitate every time price moves, you're in the same place most forex traders start. A few moving averages, an oscillator or two, maybe a volatility band, and somehow the chart gets less clear instead of more useful.
That frustration usually isn't a discipline problem first. It's a reading problem. You're trying to make a trading decision from tools that react after price has already moved.
Price action trading in forex strips that back to what matters. The job isn't to memorize every candle pattern on the internet. The job is to read where price is, what structure it's forming, and whether buyers or sellers still control the next move. The pattern matters. Its location matters more.
What Is Price Action Trading
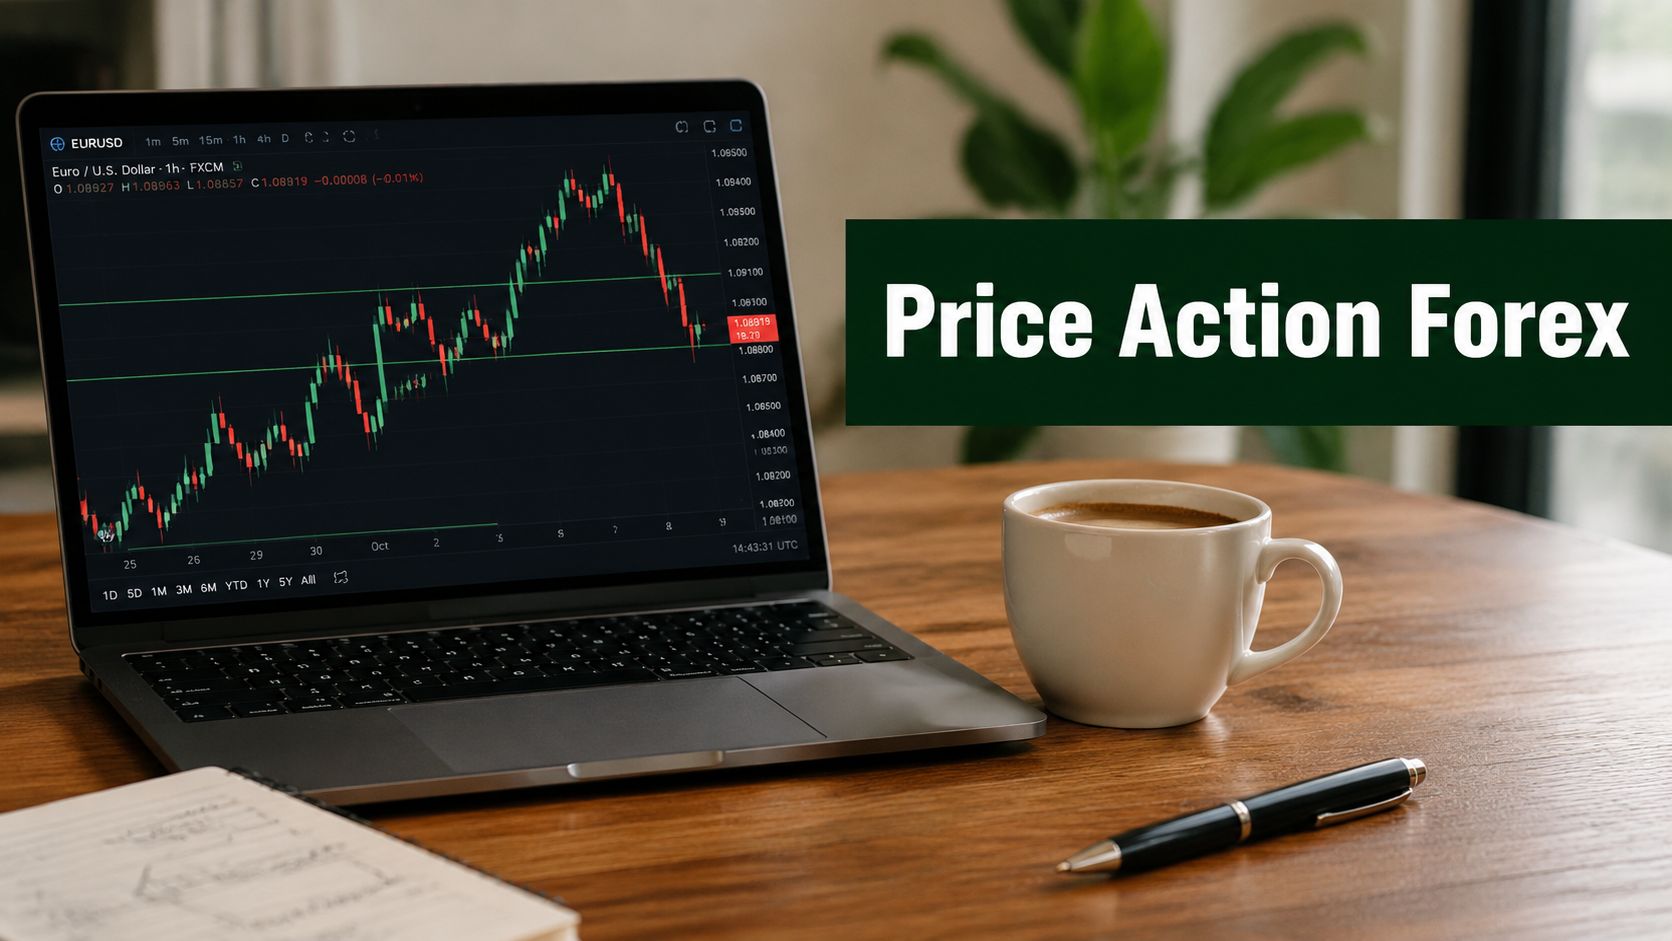
Price action trading is the practice of reading raw price movement on a clean chart instead of relying on a stack of indicators. It doesn't mean you ignore structure, levels, or risk. It means you start with the one thing every tool is derived from. Price.
Modern price action trading grew as a minimalist response to indicator-heavy charting, with traders using a clean or naked chart and focusing on support, resistance, candlesticks, trend structure, and swing highs and lows instead of lagging calculations, as described in CapitalXtend's explanation of naked-chart price action.
What price action is not
A lot of beginners think price action means spotting one candle and buying or selling immediately. That's not it.
It isn't:
- Pattern collecting where every pin bar becomes a trade
- Prediction theater where you try to call tops and bottoms on every pair
- Indicator replacement where you swap RSI for a candlestick cheat sheet
A naked chart can still be traded badly. If you don't know where price sits inside the larger structure, a candle pattern is just decoration.
What price action actually looks like
A practical forex chart for price action usually includes very little:
| Element | What you're reading |
|---|---|
| Support and resistance | Where price has reacted before |
| Swing highs and lows | Whether structure is trending or breaking down |
| Candles | How price behaves at decision points |
| Space on the chart | Whether price has room to move into the next level |
That last point gets ignored. Clean charts help because they leave room for judgment. You can see whether price is pressing into resistance, rejecting from support, or stalling in the middle of nowhere.
Practical rule: If the chart isn't clear without an indicator, adding another indicator usually won't fix the problem.
The appeal of price action isn't that it's simple in the lazy sense. It's simple in the useful sense. You stop asking what three tools say and start asking a tighter question. Is price trending, ranging, or failing at a key level right now?
That's the foundation of every sound price action trading forex method.
Why Price Action Works in Forex
Forex is a natural home for price action because the market is built around constant repricing. Every order, every macro expectation, every reaction to policy or risk sentiment gets expressed through price. By the time a lagging indicator prints a signal, the market has often already shown its hand in the candles and swing points.
The scale of the market matters here. The Bank for International Settlements reported that global foreign exchange turnover reached $7.5 trillion per day in April 2022, up 14% from $6.6 trillion per day in April 2019, and spot trading made up 30% of global FX turnover in 2022, according to this summary citing BIS forex turnover data.
Price is the final output
In forex, price is the visible result of buyers and sellers adjusting to information in real time. That's why price action works. It doesn't try to outsmart the market with a formula first. It reads the output directly.
Picture footprints on wet sand. You may not have seen who walked there, but you can still tell direction, pace, and where they turned. On a forex chart, candles and structure leave the same kind of trail.
What matters is not that price moved. What matters is how it moved.
- Clean impulse suggests one side is in control
- Shallow pullback suggests that control is holding
- Repeated rejection suggests a level is still defended
- Messy overlap suggests indecision, not opportunity
Why indicators often create delay
Indicators can be useful for some traders, but they have a trade-off. They summarize what already happened. Price action keeps you closer to the live auction.
That matters most in forex because major turning points often happen around repeated levels, failed breaks, and retests. Traders who wait for full indicator confirmation often get a later entry, a wider stop, or both.
Good price action traders aren't trying to predict every move. They're reading whether the market is accepting or rejecting a level.
This is also why beginners get confused when they ask which candlestick works best. That's the wrong priority. In forex, the better question is whether the market context supports continuation, reversal, or no trade at all.
A pin bar at a major level after a failed break can mean something. The same pin bar in the middle of a messy range often means nothing.
Reading the Language of the Market
Most charts look random until you learn what to read first. Once you do, the noise drops fast. The chart starts to make sense as a sequence of reactions at key areas, not as a blur of candles.

Start with support and resistance
Support and resistance are the chart's memory. These are the zones where price has previously stalled, reversed, or accelerated. They aren't magic lines. They're areas where traders have shown clear interest before.
Support acts like a floor. Resistance acts like a ceiling. Neither holds forever, but both deserve attention because price often reacts when it returns.
When marking them, don't obsess over one exact pip. Think in zones. Forex often probes through a level and then snaps back, which is why rigid line drawing can mislead newer traders.
For a practical breakdown of level reading and chart structure, see Colibri Trader's guide on how to read price action.
Then read market structure
Structure tells you who controls the chart. The most actionable signal is the sequence of higher highs and higher lows in an uptrend, and lower highs and lower lows in a downtrend. When that sequence breaks, the market often shifts toward consolidation or reversal, as noted in Wikipedia's overview of price action trading.
Here is the simplest read:
| Structure | What it suggests |
|---|---|
| Higher highs and higher lows | Buyers are maintaining control |
| Lower highs and lower lows | Sellers are maintaining control |
| Broken sequence | Trend may be weakening |
| Repeated overlap | Range conditions or indecision |
This matters more than any single candle. A bullish candle inside a strong downtrend isn't enough by itself. If structure still favors sellers, buying is usually countertrend and lower quality.
What to look for on a live chart
When opening a forex chart, I reduce it to three questions:
- Where are the obvious reaction zones
- Is price trending or ranging
- Is current price near a meaningful location
That third question saves a lot of bad trades. Traders lose money forcing entries from the middle of the chart because they see a pattern and ignore location.
A candle pattern away from a meaningful level is usually just chart decoration.
The cleanest setups tend to come from alignment. Structure points one way, price pulls back into a known level, and the candle confirms that buyers or sellers are defending that area. That's when the chart reads like a sentence instead of a random word.
Key Price Action Patterns to Master
Most traders learn patterns backward. They memorize the shape first and ignore the location. That creates a bad habit. You end up treating candles like automatic signals instead of evidence.

A cleaner way to use patterns is this. First decide whether the market is in trend, range, or failed breakout mode. Then use the candle as confirmation.
For a broader reference library, Colibri Trader also has a guide to forex candlestick patterns.
Pin bar
A pin bar shows rejection. It has a small real body and a long wick on one side. The wick tells you price pushed in one direction and got rejected.
That sounds simple, but the context decides whether it matters.
A bullish pin bar makes sense when it appears:
- At support after a pullback in an uptrend
- At a failed downside break where sellers couldn't hold lower prices
- Near the edge of a range rather than in the middle
A bullish pin bar in the middle of congestion is weak. A bullish pin bar directly into higher timeframe resistance can also be weak. The candle isn't wrong. The location is.
Engulfing bar
An engulfing bar shows a stronger shift in short-term control. One candle's body fully overtakes the prior candle's body. That often tells you momentum changed quickly.
It's most useful when it appears at a level that already matters. For example, after price pulls back into support in an uptrend, a bullish engulfing bar can show that buyers are stepping back in with force.
Use it carefully in ranges. Engulfing bars appear often in choppy conditions because price keeps flipping from one side to the other.
If a pattern doesn't form at a level you already cared about, skip it.
Inside bar and breakout candles
Inside bars can signal compression before expansion. They can also signal nothing at all if the market is dead. The pattern matters less than where the compression happens.
A short way to filter them:
- Good location near a breakout point, trend pullback zone, or range edge
- Poor location in the middle of broad overlap
- Better trigger when the break aligns with the prevailing structure
- Avoid when price is pushing directly into an obvious barrier with no room to run
Modern price action trading developed around this minimalist logic. The naked chart keeps your attention on live price and structure instead of lagging calculations, as described in the earlier source on clean-chart trading.
A Practical Framework for Trade Execution
Analysis is cheap. Execution is where traders either protect themselves or expose every weakness in their process.
A good price action setup answers three questions before the order goes in. Where is the entry, where is the stop, and where is the trade likely to run into trouble?

Entry on the retest
One of the cleaner forex tactics is waiting for a level break and then trading the retest instead of chasing the initial move. Once resistance breaks, it often acts as support on a revisit. Once support breaks, it often acts as resistance on the way back.
That retest gives you a more controlled decision point. The edge is practical, not mystical. You can define the invalidation point clearly and avoid buying the top of an impulsive candle. This approach is described in a video on trading retests after level breaks.
For a more detailed order-entry guide, Colibri Trader has a walkthrough on how to enter a trade.
Stop placement and target logic
Put the stop where the trade idea fails, not where your discomfort begins. In price action terms, that usually means beyond the structure that justified the entry.
Examples:
- Retest long setup stop goes beyond the retest zone or recent swing low
- Failed breakout short stop goes beyond the false-break high
- Trend pullback trade stop goes beyond the pullback low or high, depending on direction
Targets should also come from structure. The next obvious support or resistance zone is the first place to assess whether the trade still has room.
A simple checklist keeps execution clean:
- Bias first. Trend, range, or failed breakout.
- Location second. Is price at a level that matters.
- Trigger third. Is the candle confirming the idea.
- Risk last. Does the stop make sense relative to the likely target.
This video gives a visual overview of trade planning with levels and execution logic.
If any one of those pieces is missing, the trade usually isn't ready.
Putting It All Together with Chart Examples
The easiest way to see price action clearly is to follow the sequence of decisions instead of jumping straight to entry. A chart should tell a story. If it doesn't, stay out.
Example one with-trend long
Take a common EUR/USD type setup. Price has been printing higher highs and higher lows. That already tells you buyers control structure. The next task isn't to buy immediately. It's to wait for price to pull back into an area that previously acted as resistance and may now act as support.
Price returns to that zone and slows down. A bullish engulfing bar appears after the pullback holds above the prior range. That's the clue, not the whole reason for the trade.
The trade plan is straightforward:
- Entry on the break or close of the bullish confirmation
- Stop below the swing low that defines the pullback
- Target at the next obvious resistance area where price reacted before
Why this works better than random pattern trading is context. The candle isn't being traded alone. It's confirming a pullback inside an intact uptrend, at a level that already matters.
Example two failed breakout short
Now switch to a GBP/USD style range. Price has been moving sideways. A lot of traders lose money here because they keep forcing trend logic onto a non-trending market.
Price pushes above range resistance, attracts breakout buyers, and then falls back under the level. That failed break is essential information. A bearish pin bar or bearish engulfing bar at the retest of the broken range high can become the trigger.
The sequence matters:
| Step | Read |
|---|---|
| Market condition | Range, not trend |
| Key event | Breakout failed |
| Confirmation | Rejection back below resistance |
| Trade idea | Short toward the opposite side of the range or next support |
In a range, the strongest signal often isn't the breakout. It's the market's refusal to hold the breakout.
Notice what's missing from both examples. No need for five indicators. No need to predict news. No need to identify every candlestick on the chart.
The process is repeatable because it starts with structure, then location, then trigger, then risk. That's the order that keeps price action trading forex grounded in actual decision-making rather than pattern hunting.
Common Pitfalls and How to Develop Your Skill
A trader sees a sharp rejection candle after London open, hits sell, and gets stopped out minutes later. The candle looked right. The location did not.

That mistake shows up again and again in forex. Traders spend too much time memorizing candle names and too little time reading the environment around them. A pin bar at weekly resistance after an overextended move means something. The same pin bar in the middle of chopped-up price usually means very little. That is the difference between reading price action and collecting patterns, a distinction also stressed in Trade That Swing's discussion of context over pattern chasing.
The traps that keep repeating
Poor location is one of the biggest problems. Traders take setups in the middle of a range, between clear levels, or after the move has already run too far. Even a clean trigger loses a lot of value when there is no obvious reason for price to react there.
Trying to pick tops and bottoms too early causes another round of avoidable losses. Reversal candles attract attention because they look dramatic, but a candle by itself does not reverse a market. In strong trends, continuation trades at sensible pullback points usually give a cleaner entry, a tighter invalidation level, and less guesswork.
Stops often reveal whether the trade idea was thought through. A stop should sit beyond the structure that invalidates the setup. If the trade is based on a swing high, range edge, or failed breakout, the stop has to respect that read. Fixed stops that ignore chart structure turn good analysis into bad execution.
Then there is overtrading.
A disciplined trader passes on plenty of decent-looking candles because the context is weak, the level is poor, or the risk is not clean. An impatient trader takes them anyway and ends up reviewing a batch of trades that never had much edge to begin with.
How skill develops
Skill grows from deliberate review, not random screen time. Hours on the chart only help if the review process is structured enough to show what keeps working and what keeps failing.
A practical routine is simple:
- Mark up charts after the session and label the condition first: trend, range, or transition
- Review losing trades and separate a bad read from bad execution
- Save clean examples of pullbacks, retests, and failed breaks that formed at levels that mattered
- Use one decision process repeatedly long enough to see patterns in your own results
That process sharpens your eye faster than learning ten more candlestick names. The useful question is rarely, "What pattern is this?" The better question is, "Why is this pattern forming here, and what would prove the idea wrong?"
Colibri Trader is one practical option for traders who want structured price-action education, naked-chart analysis, and training resources such as its Trading Potential Quiz and price action programs.
Traders improve faster when they get stricter about context, location, and execution.