


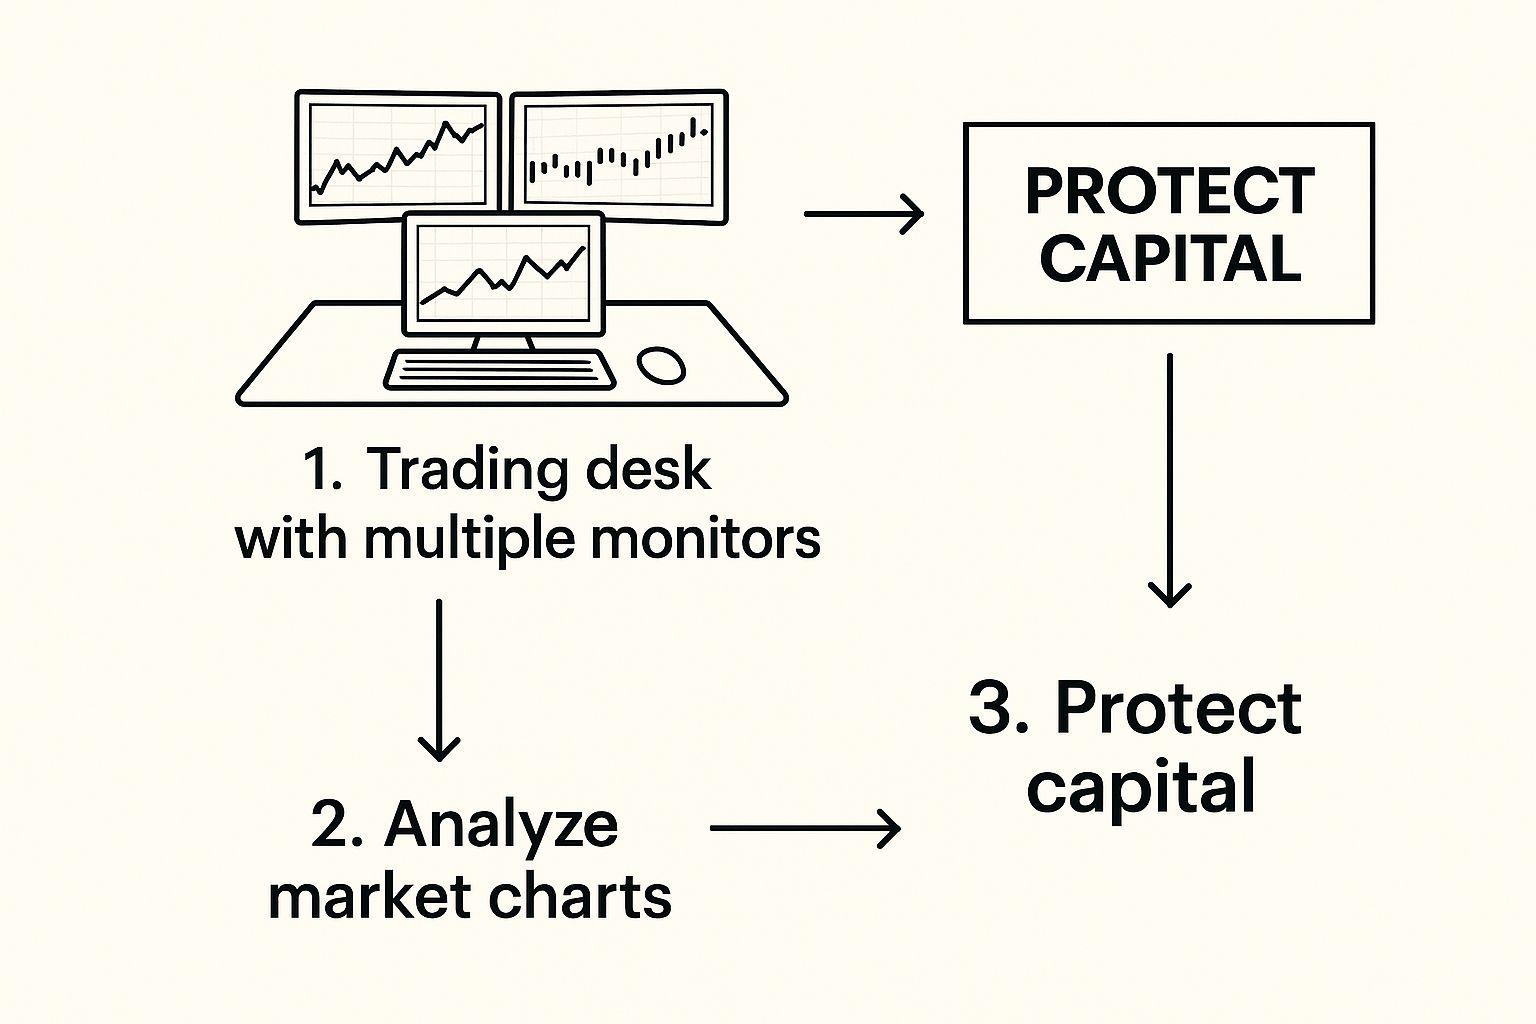
How to Set Stop Loss Orders That Actually Work

Using a stop loss isn't just a good idea—it's a non-negotiable part of trading professionally. Think of it as your automated exit plan, designed to cap your maximum loss on any single trade. It's a simple order to sell your position if the price hits a specific, predetermined level. This one move takes the emotion out of losing and builds rock-solid discipline into your risk management.
Why Smart Stop Loss Placement Is Not Optional
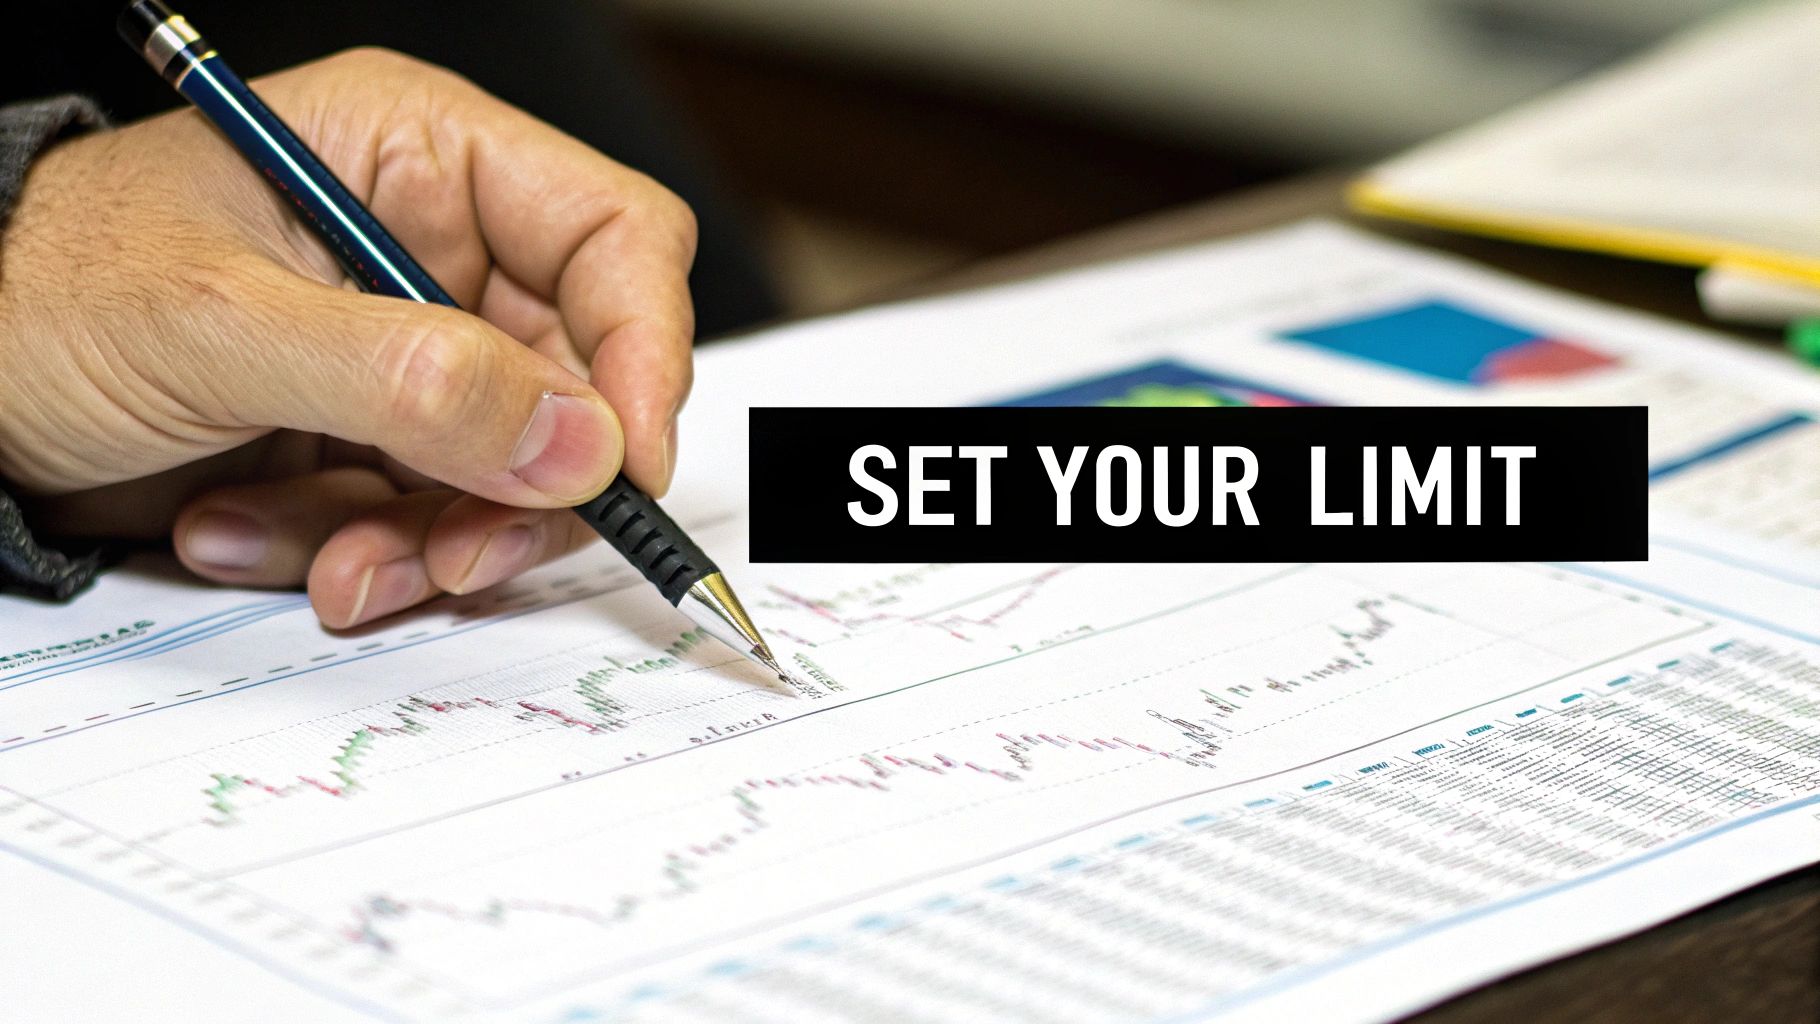
Let's get one thing straight: a stop loss is more than just a safety net. It's a foundational pillar of any viable trading strategy. I see so many new traders either skip them entirely or, just as bad, place them based on some random percentage they read about online, like a generic 5% or 10% rule.
That approach is completely backward. It totally ignores the unique personality and volatility of the asset you're trading.
A well-placed stop loss is your absolute best defense against the kind of catastrophic loss that can blow up an account. It’s what keeps you in the game long enough to find your edge. Don't see it as planning to fail; see it as proactively protecting your most crucial asset: your trading capital.
Beyond Just Damage Control
The real power of a stop loss goes way beyond just limiting the financial hit. It forces discipline. It makes you define your maximum pain point before you even click the "buy" button.
This pre-commitment is everything. It removes the decision-making from the heat of the moment, when your judgment is clouded by fear or a desperate hope that "it'll come back." Those emotions are account killers.
A trader's number one job isn't to be right every time—it's to manage risk so that the losses never take you out of the game. A proper stop loss is the single most important tool for this. It guarantees no single trade can do irreparable harm to your account.
The Strategic Advantage
When you learn how to set your stop loss based on what the market is actually doing—the market structure—you gain a massive strategic edge. Instead of guessing, you're using what the price action is telling you. You’re finding logical price levels that, if broken, would prove your original trade idea was wrong.
Here’s why this is the only way to do it:
- It’s objective. You're using real data from the chart—like a clear support level or a recent swing low—not a gut feeling.
- It adapts to the market. A wild, volatile stock naturally needs a wider stop than a slow, stable one. A price-action-based stop automatically accounts for this difference in behavior.
- It builds discipline. By defining your exit based on a technical breakdown, you kill the temptation to drag your stop further down as the price moves against you. That's a classic rookie mistake, and it's incredibly expensive.
Technical Strategies for Placing Your Stop Loss
Leaving arbitrary percentages behind is the first real leap you'll make toward trading like a pro. The most effective way to figure out where your stop loss really belongs is by listening to what the market's price action is telling you. This isn't about hunches; it's about finding logical price levels that, if broken, flat-out invalidate your reason for being in the trade.
The whole point is to place your stop where the market's everyday "noise" won't kick you out of a perfectly good trade too early. Your stop should only get hit when the market's structure has genuinely turned against you.
Using Support and Resistance Levels
One of my go-to methods, and one of the most reliable out there, is using key support and resistance levels. Think of these as price floors and ceilings where the market has historically had a tough time breaking through.
When you're going long (buying), your stop needs to be tucked just below a major support level. If you're shorting (selling), it goes just a tick above a clear resistance level.
Let's say a stock keeps bouncing off $50.00, making it a rock-solid support zone. If you decide to buy at $51.50, putting your stop loss at $49.75—just under that fortress of support—gives your trade a logical safety net. If the price does break below $50.00, it’s a clear signal the game has changed, and it's time to get out.
This visual really drives home the principle of using the chart itself to defend your capital.
The big takeaway here is that your main job is to define your risk and protect your trading account using exit points that make sense on the chart.
Identifying Recent Swing Highs and Lows
Another powerful price-action technique is to use the market's natural rhythm—its recent swing highs and lows. A swing low is simply the bottom of a temporary dip in an uptrend, and a swing high is the peak of a rally in a downtrend. These points are natural barriers.
For a long trade, find the most recent, significant swing low and place your stop just beneath it. For a short trade, do the opposite: find the last major swing high and set your stop just above it. This keeps your exit strategy perfectly in sync with the current trend.
By anchoring your stop loss to a recent swing point, you are essentially saying, "I believe the current trend will continue. If this key pivot point is broken, my thesis is likely wrong, and I will exit the trade."
Leveraging Volatility with the Average True Range
Markets aren't static; their volatility is always changing. A stop loss that's a fixed distance away might be way too tight on a wild day and far too loose on a quiet one. This is exactly where the Average True Range (ATR) indicator shines.
The ATR measures how much an asset's price has been moving, on average, over a set period. It gives you a dynamic way to adjust your stop for the market's current choppiness.
Here’s how you can put it into practice:
- For a long position: First, find your logical stop level using support or a swing low. Then, subtract a multiple of the ATR (like 1.5x or 2x ATR) from that price to give it more room.
- For a short position: Find your logical stop based on resistance or a swing high, and then add a multiple of the ATR to that price.
This little trick gives your trade breathing room that's directly tied to how much the asset has been swinging around lately.
And don't just take my word for it. An 11-year study highlighted the power of disciplined stop-loss placement, showing that stops set 10-15% below the entry price dramatically beat a simple buy-and-hold strategy. In fact, a 15% stop-loss level produced the highest average quarterly return. You can dig into the full stop loss research to see just how much of a difference a smart stop can make.
Choosing the right method for placing your stop loss is a critical decision that depends heavily on your trading style, the market's current condition, and your risk tolerance. To make it clearer, let's break down the main approaches.
Comparing Stop Loss Placement Methods
| Method | Best For | Pros | Cons |
|---|---|---|---|
| Support & Resistance | Traders who prefer clear, historically significant price levels. Excellent for range-bound or trending markets. | Based on proven market structure. Provides a logical reason for exiting a trade. | Levels can sometimes be subjective. False breakouts can trigger the stop prematurely. |
| Swing Highs & Lows | Trend-following traders who want to align their stops with the current market momentum. | Keeps you in a trade as long as the trend structure is intact. Easy to identify on a chart. | Can be too wide in choppy markets, increasing potential loss. A sharp reversal can blow past the stop. |
| ATR (Volatility-Based) | Traders in volatile markets or those who want a dynamic stop that adapts to changing conditions. | Adjusts for current market volatility, reducing premature exits. Removes emotional guesswork. | Can result in a very wide stop during high volatility, increasing risk. Relies on an indicator. |
Ultimately, there's no single "best" method. Many experienced traders, myself included, often combine these techniques. For example, you might identify a key support level and then use the ATR to determine exactly how far below that level you should place your stop to avoid getting shaken out by noise. The key is to be consistent and find what works for you.
Calculating Position Size Based on Your Stop Loss
Alright, this is where it all comes together. This is the moment your entire strategy clicks into place.
You’ve done the hard work of finding a solid trade setup. You’ve used your price action skills to find a logical spot for your stop loss. Now, it's time to connect that exit point to your wallet by figuring out the right position size. This single step is what truly separates disciplined traders from gamblers.
The single biggest mistake I see traders make is deciding how many shares they want to buy before they even know where their stop loss should be. When you do it that way, your risk is completely random. The professional approach is the exact opposite: let your stop loss location dictate your position size. This ensures you're risking a consistent, manageable amount on every single trade.
And that process starts by defining your absolute maximum risk per trade.
Embrace the One Percent Rule
A core principle in trading, and one that I live by, is the 1% rule. It's stunningly simple but incredibly powerful: never risk more than 1% of your total trading capital on any single trade.
If you have a $20,000 account, this means your maximum acceptable loss on one position is $200. Not a penny more.
This rule is your ultimate defense against the inevitable losing streak. Even if you get slammed with five losing trades in a row—and trust me, it happens to everyone—you've only lost 5% of your account. You can absolutely recover from that. Without this rule, a few bad decisions could wipe you out for good.
Your stop loss determines the price where you admit you're wrong. Your position size determines the dollar amount that being wrong will actually cost you. The 1% rule keeps that cost survivable.
This mindset is a cornerstone of sustainable trading. For a deeper look at protecting your capital, our guide on risk management for traders covers these principles in much more detail.
A Practical Walkthrough of Position Sizing
Let's make this real with a clear, step-by-step example. Imagine you're working with a $10,000 trading account and sticking firmly to the 1% rule.
Here’s how you’d calculate your trade:
-
Determine Your Maximum Dollar Risk: First things first. Your risk per trade is 1% of $10,000, which comes out to $100. This is the absolute most you can lose if your stop loss gets hit.
-
Identify Your Entry and Stop Loss Prices: After studying the chart, you decide to buy XYZ stock at $50.00. You’ve found a key support level and decided to place your stop loss just below it, at $48.00.
-
Calculate Your Risk Per Share: Now, find the distance between your entry and your stop. That’s $2.00 ($50.00 – $48.00). This is what you’re risking on each share.
-
Calculate Your Position Size: Finally, the easy part. Just divide your maximum dollar risk by your risk per share: $100 / $2.00 = 50 shares.
That's it. In this scenario, you can buy exactly 50 shares of XYZ stock. If the trade works out, fantastic. If it fails and hits your stop at $48.00, your loss is capped at precisely $100—perfectly in line with your risk management plan.
You have to do this for every single trade, without exception. Experts in risk management also stress that this calculation should adapt to how a stock behaves. For instance, you might use wider stops for more volatile stocks. To keep your dollar risk constant, this would naturally mean taking a smaller position size. This adaptive thinking is key to keeping your risk consistent even when market conditions get choppy.
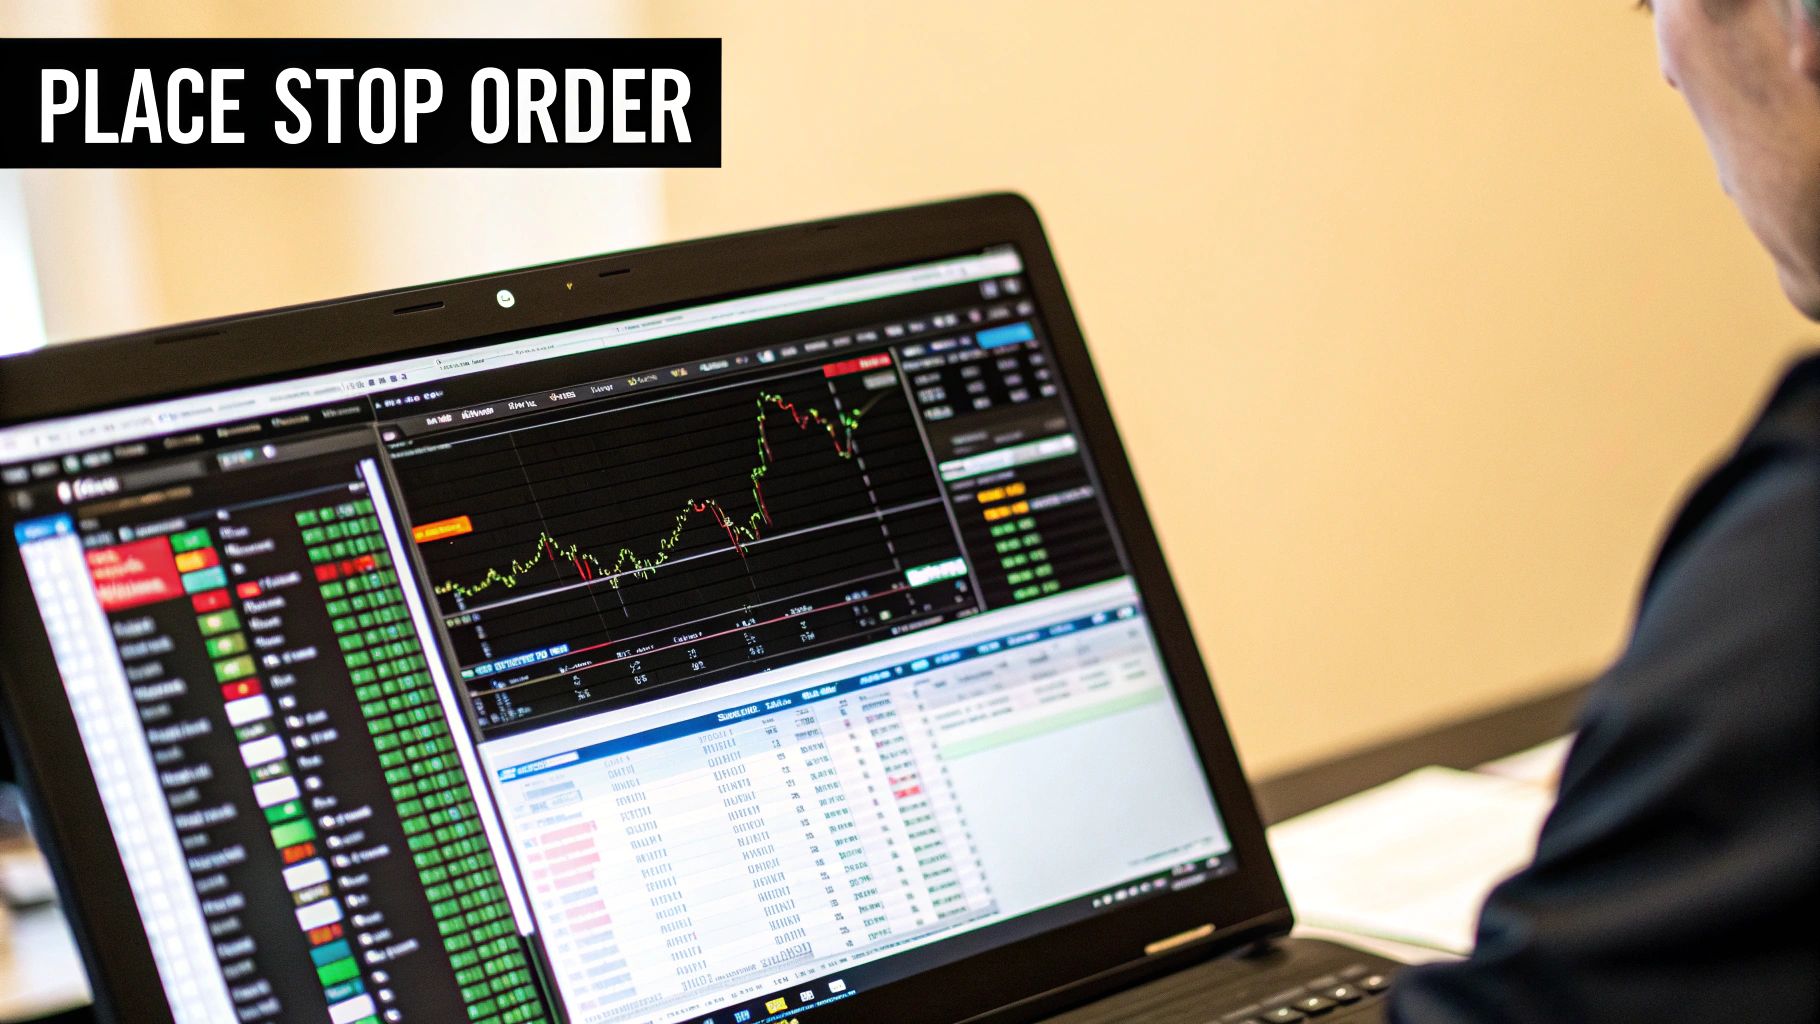
Using The Right Stop Order For Your Trade
Putting a target on the chart is one thing; getting out there at the price you meant is another. The stop order you choose can be the difference between a successful exit and a nasty surprise when the market goes haywire. Think of it like picking the right wrench for a repair—each tool has its own quirks.
Most traders start with a stop-loss order. It flips into a market order the moment your stop price is touched. That guarantees you’ll exit, but it doesn’t lock in the price. In a sharp downturn, you can suffer slippage, ending up far below your intended exit.
To see the differences at a glance, here’s a breakdown of each order type:
Choosing Your Stop Order Type
| Order Type | How It Works | Primary Goal |
|---|---|---|
| Stop-Loss Order | Converts to a market order when the stop price is triggered | Guarantee exit |
| Stop-Limit Order | Triggers a limit order; your stop and limit prices set boundaries | Protect exit price |
| Trailing Stop | Adjusts the stop level by a fixed % or $ amount as price moves up | Lock in gains while letting winners run |
With this quick guide, you can pick the tool that best fits the market you’re trading.
Understanding Stop-Limit Orders
A stop-limit order builds in two checkpoints: a stop price that kicks things off and a limit price that caps your worst fill. For instance, set your stop at $49.50 and your limit at $49.40. When price drops to $49.50, the order becomes live—but won’t fill below $49.40.
- Zero slippage risk if the market cooperates
- Precise control over execution price
- Possibility of no fill during a sudden gap
This method shines in liquid markets where gapping is rare. In choppy or thin markets, you risk staying in a trade as it slides past your limit.
Locking In Profits With A Trailing Stop
Think of a trailing stop as a profit-protection leash. You choose a percentage (say 5%) or dollar amount below the current price. As the market climbs, the stop moves up automatically; if price falls, the stop stays put.
- Hands-off way to safeguard gains
- Keeps you in a winning trend without manual tweaks
- Removes the stress of moving stops every session
A trailing stop strikes a balance: let winners run, but never give back the gains you’ve already made.
Imagine you buy at $100 and apply a 5% trailing stop. If the stock surges to $120, your stop rises to $114. A dip to $114 locks in profit, no babysitting required.
For more on balancing your exit points, explore our detailed guide to a stop-loss and take-profit strategy.
Choosing the right stop order isn’t a small detail—it’s part of the strategy that keeps losses in check and profits protected. Match your choice to the market’s behavior, and you’ll exit trades more often at the price you planned.
Common Stop Loss Mistakes and How to Avoid Them
Knowing how to set a stop loss is one thing. Knowing how to avoid the psychological and tactical traps that turn this tool against you is a completely different ballgame.
Even the most technically sound stop-loss strategy can be wrecked by a few common, but incredibly costly, mistakes. These errors almost always come from emotion and a lack of discipline, turning your best line of defense into a source of constant frustration.
The most frequent pitfall I see is setting your stop loss way too tight. It’s a classic rookie move, usually driven by an overwhelming fear of losing money. You end up placing your stop so close to your entry price that the market’s normal, everyday "noise" kicks you out of a trade that was otherwise perfectly fine.
Placing Stops at Obvious Psychological Levels
Another critical error is placing your stop right on a big, juicy, round number, like $50.00 or $100.00. These levels act like magnets for price.
Why? Because large institutional players know exactly where clusters of retail stop orders are sitting. This awareness often leads to "stop hunts," where the price briefly dips to trigger all those stops before snapping back in the original direction.
The way to avoid this is to give your stop some breathing room. Instead of placing it smack-dab on that round number, tuck it just slightly below a key support level or just above a resistance area. For example, if $50.00 is your key support, placing your stop at $49.88 might be just enough to survive a quick hunt and stay in the game.
The Danger of Moving Your Stop Loss
Perhaps the most destructive habit in all of trading is moving your stop loss further away once a trade starts going against you. This is pure, unadulterated emotional trading.
You’re essentially tearing up your original plan and widening your risk out of a desperate hope that the market will magically turn around. It's a gambler's mindset, not a trader's.
The moment you move a stop loss to accommodate a losing position, you have invalidated your original risk parameters. You are no longer managing a trade; you are gambling with your capital.
This single act can turn a small, manageable loss into a devastating one. For more on this and other pitfalls, our guide on common trading mistakes to avoid provides a critical checklist for building the discipline you need.
The solution is simple but requires immense willpower: never, ever move your stop further from your entry price. Your initial placement was based on objective analysis. Respect it. The only time a stop should move is to lock in profits on a winning trade (a trailing stop).
This discipline is essential because aggregated stop-loss orders can create powerful market effects. High-frequency data shows that when prices hit levels with a high concentration of stop orders, trends can accelerate rapidly, creating cascading price movements. By understanding these dynamics and steering clear of these well-known mistakes, you dramatically improve your odds and protect your hard-earned capital.
Frequently Asked Questions About Stop Loss Orders
Even with a solid strategy, every trader eventually hits a scenario that makes them second-guess their plan. Let's tackle some of the most common questions I hear about setting stop losses in the real world.
These are the moments where discipline is forged. Getting the details right reinforces the core principles that separate professional risk management from plain old guesswork.
Should I Use a Mental Stop or a Hard Stop Loss Order?
For almost every trader out there, especially if you're still building discipline, a hard stop loss is the only way to go. A hard stop is a real order you place with your broker. It takes emotion completely out of the picture.
A mental stop, on the other hand, is just an idea in your head. It’s a line in the sand you promise yourself you'll respect. But when a trade turns against you, it’s incredibly easy to start making excuses, to give it "just a little more room." This is how catastrophic losses happen.
A hard stop enforces your original plan, no questions asked, even if you step away from the screen. It's your mechanical enforcer of discipline.
How Often Should I Adjust My Stop Loss on a Profitable Trade?
Moving your stop on a winning trade should always be a systematic process, never an emotional one. Your goal is to lock in profits without choking the trade and cutting the winner short.
A very effective method is to trail your stop just underneath newly formed support levels as the price moves in your favor.
Let's say you're in a long trade. The price makes a new swing high and then pulls back, forming a new, higher swing low. That's your cue. You can manually move your stop loss to just below that new low. This way, you're protecting your gains based on the market's actual structure, not a random guess.
A classic mistake is moving the stop too tight, too fast. It feels good to lock in a small profit, but you often get stopped out right before the real move happens. Base your adjustments on technical milestones, not your P/L.
What Is a Good Stop Loss Percentage?
This is a trick question. The answer is: you should never use a fixed percentage.
A professional trader bases their stop loss on market structure and volatility, never an arbitrary number like 5% or 10%. Think about it—a 5% stop on a volatile crypto asset is completely different from a 5% stop on a slow-moving utility stock.
A day trader working on a 5-minute chart will naturally have stops that are a tiny percentage of the asset's price. A swing trader holding for days or weeks needs a much wider stop to absorb the normal daily and overnight swings.
The right way is to use tools like the Average True Range (ATR) or, even better, place your stop based on price action clues like swing lows or highs. This sets a stop that respects the asset's current behavior on your chosen timeframe.
Ready to stop gambling and start trading with a proven, price-action based strategy? Colibri Trader provides the no-nonsense education and mentorship you need to manage risk effectively and find consistent results. Discover your trading potential with our free quiz today.