


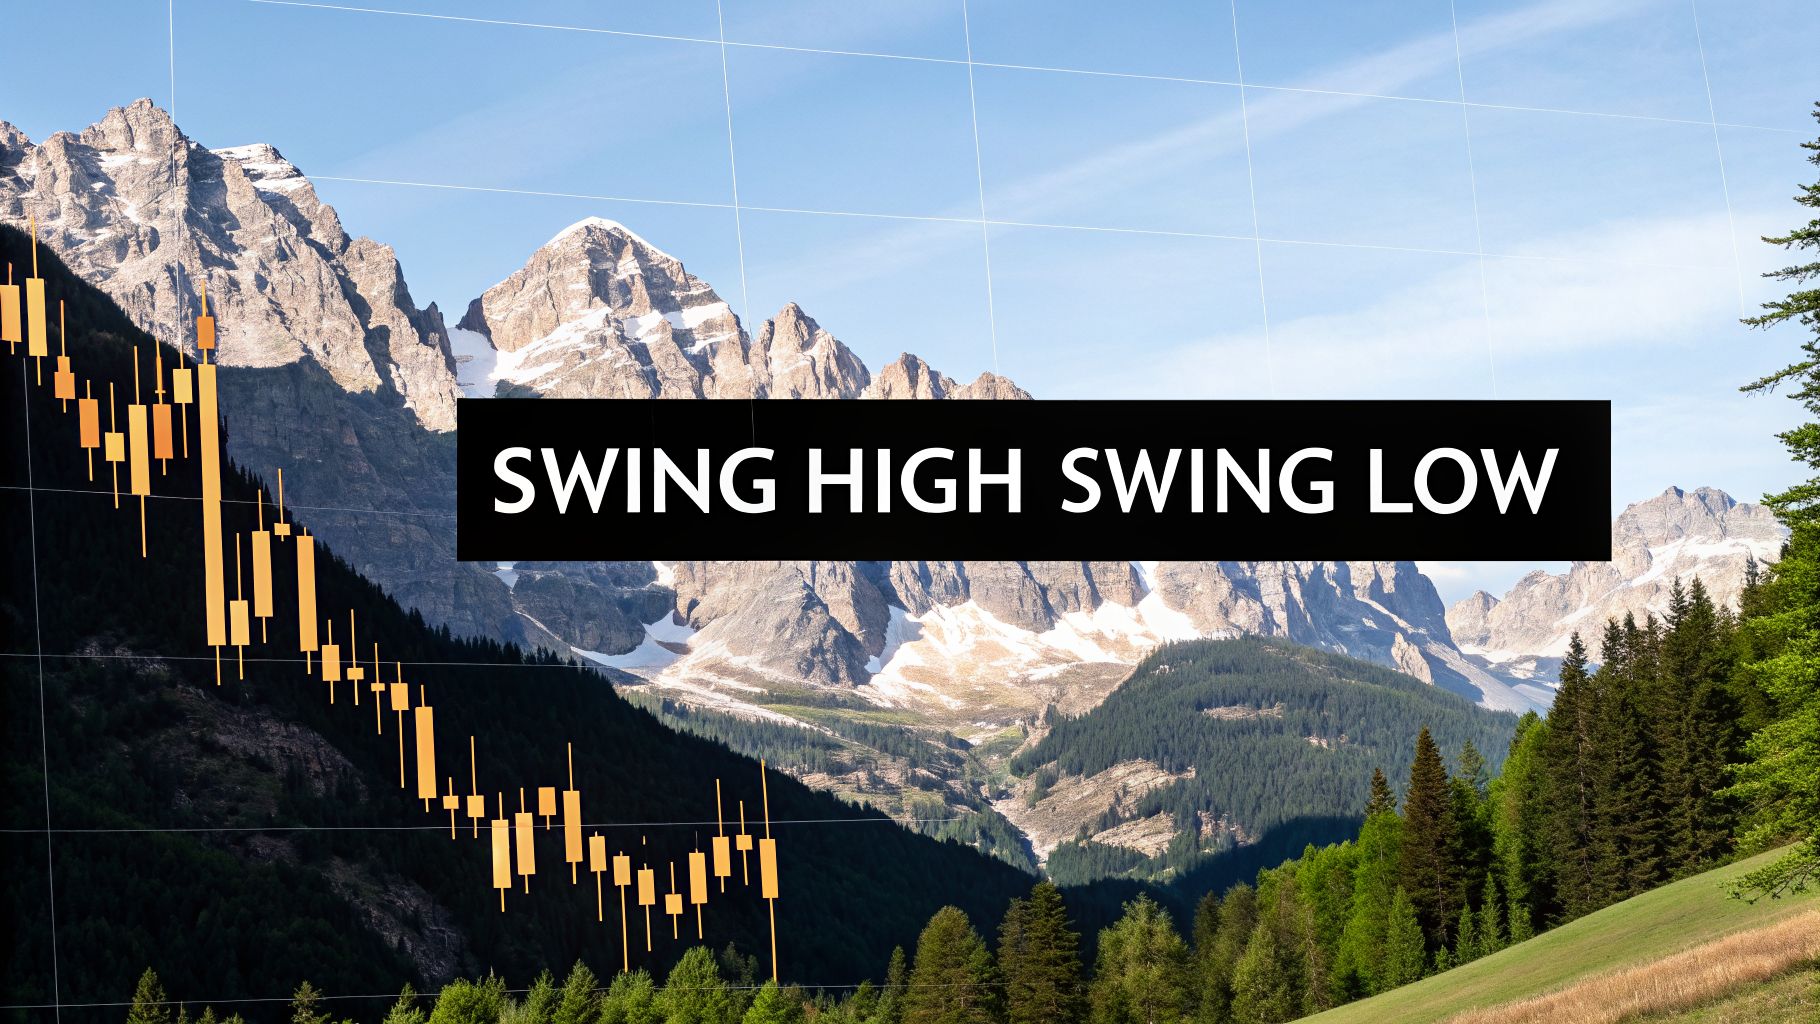
Swing High Swing Low: Your Guide to Market Structure
At its core, a swing high is simply a peak in price. Think of a single candle that has a higher high than the candles on either side of it. The opposite is a swing low—a valley where a candle’s low is lower than its neighbours. These are the absolute fundamentals, the basic building blocks every price action trader uses to read what the market is doing.
Reading the Market’s Story with Swing Highs and Lows
Most people see a price chart as just a bunch of random, jagged lines. I want you to see it as a story unfolding, candle by candle. Learning to identify swing highs and swing lows is how you learn to read the plot of that story. It’s a pure, indicator-free method that puts all your focus on what price is actually telling you.
It helps to think of a mountain range. The obvious peaks are the market's swing highs, and the deep valleys are its swing lows. By just following the sequence of these peaks and valleys, you can understand the market's narrative instantly, without any fancy indicators or software cluttering your view. This is the backbone of all market structure analysis.
The Language of Trends
The real magic happens when you look at how these swing points relate to each other. This is the simple language of trends, and mastering it is non-negotiable for a price action trader.
- Uptrend: This is when the market is climbing. You'll spot a clear series of higher highs and higher lows. Every new peak (swing high) goes past the previous one, and each new valley (swing low) is also higher than the last.
- Downtrend: This is a falling market. Here, you'll see a pattern of lower highs and lower lows. Each peak is lower than the one before it, and each valley digs deeper than the last.
- Consolidation (Range): The market can't make up its mind. Price is stuck moving sideways, failing to make any meaningful new highs or lows. It's just bouncing between a well-defined peak and valley, signaling a temporary stalemate between buyers and sellers.
A core principle of price action trading is that a trend remains in effect until a swing high or low is decisively broken. Understanding this simple rule is the first step toward trading with the market's momentum, not against it.
To help you quickly identify these patterns, I've put together a simple reference table.
Quick Guide to Market Structure
Use this table as a quick cheat sheet to instantly recognize what the market is telling you through its swing point formations.
| Market Trend | Swing Point Pattern | What It Means |
|---|---|---|
| Uptrend | Higher Highs & Higher Lows | Buyers are in control, pushing prices upward. |
| Downtrend | Lower Highs & Lower Lows | Sellers are in control, pushing prices downward. |
| Consolidation | Equal Highs & Equal Lows | The market is undecided; buyers and sellers are in balance. |
This simple framework helps you map out the constant battle between buyers and sellers in a clear, visual way.
This approach forces you to pay attention to the single most important piece of information on your chart: the price itself. When you identify each new swing high and swing low, you're tracking who is winning the fight. An uptrend shows buyers are firmly in control, while a downtrend shows the sellers have the upper hand.
It’s a framework that gives even total beginners a massive advantage. You cut through all the noise from lagging indicators and start seeing the market with real clarity. If this is new to you, learning more about what market structure is will build a rock-solid foundation for your trading. Once you master this skill, you stop guessing and start reading the story the market is telling you.
How to Reliably Identify Swing Points on Any Chart
Knowing the theory behind a swing high swing low is great, but spotting them on a live chart when the pressure is on? That's a different game entirely.
The good news is this isn't about gut feelings or guesswork. It's a mechanical process of spotting specific candle formations that signal these key turning points in the market. It’s a skill you can learn and repeat.
So, how do we spot them? It all comes down to comparing a candle to its neighbours. The most common methods use a set number of surrounding candles to confirm a peak (a swing high) or a valley (a swing low).
The Three-Candle Formation
The three-candle pattern is the most basic and quickest way to define a swing point. Think of it as your first, most immediate signal for minor shifts in momentum.
- Three-Candle Swing High: This is a simple three-candle formation. The middle candle must have a higher high than the candles on its immediate left and right. The two candles on the outside have lower highs, creating a small peak.
- Three-Candle Swing Low: The opposite is true here. You're looking for a three-candle pattern where the middle candle makes a lower low than the candles on either side of it. This forms a little valley.
This method is useful for seeing short-term pivots, but be warned: it can create a lot of "noise," especially on lower timeframes. Every tiny pullback can look like a swing point, and most of them won't be significant for your overall trade plan.
Professional Discipline: A critical rule I live by is to always wait for the candle to close before calling a swing point. An open candle is a liar. What looks like a new swing high can easily become a long wick in the final seconds, trapping anyone who jumped the gun.
The Five-Candle Formation
If you want a more reliable signal, many traders, myself included, prefer the five-candle pattern. This approach helps filter out the market noise and focuses your attention on the more established turning points that really matter.
- Five-Candle Swing High: Here, you're looking for a peak candle that has two lower highs on its left and two lower highs on its right. This five-candle structure confirms a much more significant peak.
- Five-Candle Swing Low: This is a valley candle with two higher lows to its left and two higher lows to its right. This setup confirms a more substantial market bottom.
Using the five-candle rule naturally gives more weight to the swing high swing low you identify. It requires a more sustained push from the market to form, which helps you concentrate on the pivots that are actually defining the market structure.
This infographic breaks down how these swing points build the three market trends you'll see every day.

As you can see, it's pretty straightforward: a series of higher highs and higher lows builds an uptrend, lower lows and lower highs create a downtrend, and a failure to make new highs or lows puts you in a range.
The Importance of Timeframe Context
The last, and maybe most important, piece of the puzzle is context. A swing low on a weekly chart is a completely different beast than a swing low on the 5-minute chart. The power of a swing point is tied directly to the timeframe where it forms.
- Higher Timeframes (Daily, Weekly): Swings on these charts are the big kahunas. They establish the dominant market trend and create massive support and resistance levels that can hold for weeks, months, or even longer. A daily swing high is a major roadblock for price.
- Lower Timeframes (1-Hour, 15-Minute): Swings here define the short-term, intraday trends. They are fantastic for fine-tuning your entries and managing your trades, but they have far less structural significance on their own.
Top-down analysis is everything. I always start on the higher timeframes to find the major swing high swing low levels that are in control. Only then do I zoom into the lower timeframes to see how price is behaving around these key areas and look for trading opportunities that align with that bigger picture.
Using Swing Points to Define and Confirm Market Trends

So, you’ve learned how to spot a swing high swing low. Great. Now, this is where your trading clarity really starts to sharpen. These points aren't just random peaks and valleys; they are the market's footprints, leaving a trail that tells you exactly where it's been and where it's likely headed.
Think of it this way: spotting individual swing points is like learning the letters of the alphabet. Using them to define the trend is like starting to read actual words and sentences. It's the skill that lets you understand the story the market is telling, moment by moment, without having to guess.
The rules for this are incredibly simple, but I treat them as gospel. They form the very foundation of how a price action trader deciphers market direction.
Mapping the Uptrend
An uptrend has a very specific and repeating rhythm. It's the clear signature of buyers being in full command, consistently willing to pay higher prices.
To confirm that you’re in a healthy uptrend, you need to see two things happening in sequence:
- Higher Highs (HH): Each new swing high must push above the previous one. This is a clear sign of strength and aggressive buying.
- Higher Lows (HL): Every time the price pulls back, the resulting swing low forms higher than the last one. This tells you buyers are stepping in earlier on dips, propping the price up.
A clean series of higher highs and higher lows is the undeniable fingerprint of an uptrend. When you see this, your main job is to find a good spot to join the buying party. Trying to fight this kind of momentum is a quick way to drain your account.
Mapping the Downtrend
A downtrend is simply the mirror image of an uptrend, showing that sellers have taken control. The momentum is pointing firmly down, and the sequence of swing points will prove it.
For a downtrend to be confirmed, I look for this pattern:
- Lower Highs (LH): Each attempt to rally fails before it can reach the previous peak. This creates a swing high that's lower than the one before it, signaling that buyers are losing steam.
- Lower Lows (LL): Each wave of selling drives the price to a new swing low, breaking below the previous one. This is the classic sign of dominant selling pressure.
When you spot a clear pattern of lower highs and lower lows, the market is telling you it's in a confirmed downtrend. This isn't the time to be a hero and try to pick a bottom. Instead, your focus should shift to finding logical places to join the sellers. If you want to dig deeper into this, check out our guide on how to use lower highs and higher lows for specific trade signals.
By simply tracing the sequence of a swing high and a swing low, you can align your trades with the dominant force in the market. This single habit can dramatically increase your probability of success.
When the Trend Breaks or Pauses
Of course, trends don't go on forever. The same swing points that help us confirm a trend are also the first to warn us when that trend is getting tired or is about to reverse. This is one of the most powerful concepts in all of price action trading.
A Break of Structure (BOS) is exactly what it sounds like: the established trend pattern gets violated. For example, in a textbook uptrend making higher highs and higher lows, what happens if the price suddenly drops below the most recent higher low? That’s your break of structure. It’s a massive red flag that the uptrend is in serious trouble.
On the other hand, what if the market just goes sideways, failing to make a new swing high or swing low? We call this consolidation, or a range-bound market. Price is in a state of balance, coiling up as it waits for either buyers or sellers to finally make a decisive move. The eventual breakout from that range is often what kicks off the next big trend.
Actionable Swing Trading Strategies for Real-World Profits

Knowing how to spot a swing high swing low is one thing, but actually making money from them is where the real work begins. Now, let’s turn that theory into concrete trading plans you can actually use. This is where the rubber meets the road.
A trading strategy is not just an entry signal. It’s a complete plan. It has to tell you exactly where to get in, where to place your stop-loss, and how you’ll take your profit. If you’re missing any of those three pieces, you’re not trading—you’re just gambling.
The strategies below are built directly on the price action ideas we’ve already covered. They give you a rules-based framework for trading the market, whether it's trending strongly or looking like it’s about to turn on a dime.
Strategy 1 The Trend-Following Pullback
This is the bread-and-butter for any serious price action trader. The idea is simple: find an established trend and join it when it takes a breather. We wait for price to pull back to a previous structure point, turning an old ceiling into a new floor.
In a clear uptrend (a series of higher highs and higher lows), the classic entry is when price dips back to the level of a prior swing high. That old peak, once resistance, now has a great chance of acting as a springboard for the next leg up.
Uptrend Pullback Entry Rules:
- Confirm the Trend: You need to see a clear uptrend with at least two higher highs and two higher lows. No ambiguity.
- Wait for the Pullback: Once a new high forms, sit on your hands. Wait for the price to retrace back towards the level of the last swing high.
- Look for an Entry Signal: Watch for a bullish candlestick pattern, like a bullish engulfing bar or a pin bar, to pop up right on this new support level. This is your proof that buyers are coming back in.
- Execute the Trade: Enter a buy order after that confirmation candle closes. Place your stop-loss just underneath the most recent swing low of the pullback. Your first target can be the most recent swing high.
Following a method like this keeps you aligned with the market's main momentum. It’s a disciplined approach.
Strategy 2 The Reversal Failure Swing
Trends don’t go on forever. The failure swing is one of the earliest and most dependable clues I’ve found that a trend is running out of gas. This strategy is all about spotting that weakness and getting positioned for a potential reversal.
Let’s look at a bearish failure swing in an uptrend. Price rallies to make a new high, but the next attempt to push higher stalls out, creating a lower swing high. This is a massive red flag that the buyers are getting tired.
Failure Swing Entry Rules (Bearish Example):
- Spot the Weakness: In an uptrend, price makes a new swing high. It then pulls back, tries to rally, but fails to break that peak. It has now printed a lower high.
- Confirm the Structure Break: The trigger is a clean break below the swing low that sits between those two peaks. This is your break of market structure.
- Execute the Trade: Enter a short (sell) trade once a candle closes firmly below that key swing low. Your stop-loss goes just above the new lower high.
- Set Profit Targets: Take your first profits at the next major swing low on the chart. You can set further targets based on a solid risk-to-reward ratio.
This disciplined approach to identifying swing points isn't just theory; it has a real impact. Some studies show that 60-70% of profitable traders lean on swing point analysis as a core part of their strategy. What’s more, traders who use a swing high swing low to set stops and targets often achieve risk-to-reward ratios of 1:2 or better.
A trading strategy is your shield against emotional decisions. By defining your rules in advance—based on the market's swing structure—you create a systematic process that protects your capital and fosters discipline.
Before you ever risk real money on a strategy, you must validate it. Using methods like Monte Carlo backtesting gives you statistical confidence in how it might perform. This is a crucial step to make sure your strategy actually has an edge before you trade it live.
Trading Like an Institution by Understanding Liquidity
Learning how to spot a swing high swing low is a great first step. But the real "aha!" moment comes when you understand why the market behaves the way it does around these key points. This is what separates the pros from the crowd, and the secret lies in one of the market's most powerful forces: liquidity.
Simply put, liquidity is the fuel that makes the market move. For the big institutions that need to fill enormous orders, liquidity is everything. It's the pool of willing buyers and sellers they need to execute their trades. And where do you think this liquidity conveniently gathers? You guessed it—right above a key swing high and just below a key swing low.
The Magnetism of Buy-Side and Sell-Side Liquidity
Take a moment and think about where most retail traders are told to place their stop-loss orders. If they're shorting, their stop-loss (which is a buy order) is almost always sitting just a few pips above a recent swing high. If they're going long, their stop-loss (a sell order) is tucked neatly below a recent swing low.
This creates massive, predictable pools of orders.
- Buy-Side Liquidity (BSL): This is the giant cluster of buy orders sitting above a clear swing high. It's a mix of breakout traders trying to get in and short sellers' stop-losses.
- Sell-Side Liquidity (SSL): This is the corresponding pool of sell orders that builds up below a well-defined swing low, made up of breakout sellers and long traders' stops.
These BSL and SSL zones act like powerful magnets for institutional algorithms. This "smart money" needs to trigger all those waiting orders to get enough volume to fill their own huge positions without sending the price haywire. It’s a predictable, and often manipulated, part of the market.
To trade like an institution, you must stop thinking like a retail trader. Instead of placing your stops in the most obvious places, start seeing those areas as institutional targets.
The Anatomy of a Liquidity Sweep
This brings us to a concept you’ll see constantly on the charts: the liquidity sweep. You might also hear it called a "stop hunt" or "liquidity grab." It’s when the big players deliberately push the price just past a key swing high or low, specifically to trigger the clusters of stop-loss orders, before aggressively reversing the price.
Imagine a crystal-clear swing high that everyone on the planet is watching. Smart money knows there’s a treasure chest of buy-side liquidity just waiting to be taken above it. They can engineer a quick price spike, triggering all those stops, which in turn fuels their own large short positions. Once their orders are filled, they have zero incentive to keep the price up there. The price then often reverses violently, trapping all the breakout traders who just bought the "new high."
The numbers don't lie. This is a go-to tactic for institutions. Analysis reveals that liquidity dynamics are a huge part of modern markets, with institutional traders orchestrating 'liquidity sweeps' in roughly 25-35% of major price reversals. Pools of buy-side liquidity above a swing high trigger false breakouts before a reversal 40-50% of the time, while sell-side liquidity below a swing low is targeted in 35-45% of these sweeps. You can dig deeper into this in the smart money concepts research on Altrady.com.
How to Use This Knowledge to Your Advantage
Understanding this concept is a complete game-changer. It allows you to flip the script and go from being the hunted to becoming the hunter.
Avoid Becoming Liquidity: The first step is the easiest. Stop placing your stop-losses in the most obvious spots—right above a swing high or just below a swing low. Give your trade more breathing room, or base your stop on a different structural point.
Anticipate the Sweep: When you see a clean, obvious swing high or low that hasn't been touched in a while, don't just see a potential breakout. See it as a target. Ask yourself, "If I were an institution with a massive order to fill, where would I drive the price to find the fuel?"
Trade After the Sweep: The highest-probability entries often come after the liquidity grab has happened. Once you see the price spike above a swing high and then slam back down below it, that's a massive clue that the institutional move is done. This "fakeout" gives you a fantastic opportunity to enter short, placing your stop safely above the high of the sweep itself.
By viewing every swing high swing low not just as a point of structure but as a potential liquidity zone, you start to align your thinking with the market's biggest players. Getting a solid grasp on what market liquidity is and how it works is a cornerstone of this advanced technique. This shift in perspective is a major step on the path toward consistent trading.
Frequently Asked Questions About Swing Trading
As you start putting these ideas into practice, some questions will inevitably pop up. It happens to every trader. This final section is where we tackle the most common hurdles I see traders face when trying to analyze a swing high swing low on a live chart.
Let's clear up these last few points so you can hit the markets with confidence.
What Timeframe Is Best for Identifying a Swing High and Swing Low?
There's no single "best" timeframe. It all comes down to what kind of trader you are and what you're trying to achieve. A day trader trying to scalp a few pips will live on the 15-minute or 1-hour charts. For me, as a swing trader looking to hold for days, the 4-hour and daily charts are where the real story is.
The key here is consistency and understanding the hierarchy. A swing point's importance is tied directly to its timeframe.
- Higher Timeframes (Daily, Weekly): A swing low on the daily chart is a major support level. It's a foundational pillar of market structure. You can lean on it. A 5-minute swing low? Not so much.
- Lower Timeframes (1-Hour, 15-Minute): I use these swings to zoom in. They're perfect for fine-tuning an entry or managing a stop-loss, but they don't have the same structural weight by themselves.
The real power comes from combining them. I always start on a higher timeframe, like the daily, to get the big picture and mark out the major swing high swing low levels. Then, I’ll drill down to a lower timeframe, like the 1-hour, to find a precise spot to get in that aligns with that bigger trend.
How Do I Avoid Fakeouts or False Breaks of Swing Points?
Learning to sidestep false breakouts, or "fakeouts," is what separates the traders who make it from those who don't. It's frustrating to get faked out, but there are a few rules I follow to protect myself.
First, be patient. Always, always wait for a candle to close decisively above a swing high or below a swing low. If you just see a long wick poke through the level but the body of the candle closes back inside the range, that's often a trap—a liquidity grab, not a real breakout. Don't take the bait.
Second, look for confirmation. Does this breakout move with the main trend you found on your higher timeframe? Can you see a spike in volume that tells you there's real conviction behind the move? A breakout that goes against the primary trend on low volume is a massive red flag.
A breakout without confluence is just a gamble. But a breakout with trend alignment, volume confirmation, and a strong candle close? That’s a trade I’m interested in.
Finally, you might even consider a "two-candle rule." After the breakout candle closes, wait to see if the next candle continues in the same direction. It's a simple filter, but it will keep you out of so many quick reversals and stop you from buying the exact top or selling the exact bottom.
Can I Use Swing Highs and Lows with Trading Indicators?
Of course, but you have to know their place. Price action—the story told by your swing high swing low analysis—is always the truth. Indicators are just a commentary on that truth. They should only ever be used to confirm what you already see in the price, never to generate the idea itself.
For example, if the swing points are clearly showing you an uptrend, you could glance at a 200-period moving average to visually confirm that bullish bias. Or, if the price pulls back to a major swing low support level, seeing the RSI dip into oversold territory can give you that extra bit of confidence to take a long trade.
The big danger here is "analysis paralysis." If the price structure is telling you one thing, but three different indicators are all screaming something else, who do you trust? Trust the price. Indicators always lag; swing points tell you what the market is doing right now.
How Do I Know If a Swing Point Is Significant?
Not all swing points are created equal. The real skill is learning to spot the difference between a minor, short-term pivot and a major structural level that could define the trend for weeks. I look at three things to judge the significance of a swing high swing low.
- The Timeframe: We've covered this, but it’s the most important rule. A swing high on a weekly chart is a beast. It's infinitely more important than a swing high on a 1-minute chart. Higher timeframes carry more weight. Period.
- The Reaction: How did the price behave after the swing point formed? Did it reverse violently with big, powerful candles? That sharp rejection tells you that a ton of supply or demand is sitting at that level. It's a clue.
- Confluence: Does the swing point line up with anything else? Is it also a major historical support/resistance zone? A key Fibonacci level? A big round number? The more reasons you have to pay attention to a level, the more significant it becomes.
When you find a swing point where multiple factors all line up, that's a five-star level. That's a zone you have to mark on your chart and watch like a hawk, because something big is likely to happen there.
At Colibri Trader, we take these core price action principles and help you build a complete, indicator-free trading strategy around them. My action-based programs are designed to give you the skills and confidence to read market structure like a pro. Find out how you can transform your trading at https://www.colibritrader.com.