


Stop Loss Take Profit Strategies to Safeguard Trades

Stop loss and take profit orders are two of the most critical tools in a trader's arsenal. They are, quite simply, your automated exit plan for every single position you open. A stop loss is an order to sell your position if the price hits a certain level, capping your potential loss. On the other hand, a take profit order is set to automatically sell when your position reaches a specific profit target.
The Trader's Framework for Managing Risk
Let's get one thing straight: trading is not about predicting the future. It’s about managing probabilities and, most importantly, managing risk. This is exactly where the stop loss and take profit framework becomes absolutely essential. It forces you to define your exit points before you even click the "buy" or "sell" button, taking your emotions out of the equation when it matters most.
Think of your stop loss as your non-negotiable financial safety net. It's the maximum amount you are willing to lose on a trade, determined by cold, hard analysis—not by hope. I've seen it countless times; without a stop loss, a small, manageable loss can quickly spiral into an account-crippling disaster.
A take profit order is your defense against the universal trading sin of greed. So many traders watch a great winning trade turn into a loser because they got greedy, hoping for "just a little more." A take profit order executes your pre-determined plan with mechanical precision, securing your gains.
Key Takeaway: Using a stop loss and take profit for every trade creates a predefined structure. You know your maximum risk and your potential reward from the outset. This discipline is the cornerstone of building a consistent, long-term trading career.
Creating a Clear Exit Strategy
This isn't just about placing orders; it's about cultivating the professional mindset that separates successful traders from gamblers. A predefined exit strategy accomplishes several critical goals. For a deeper dive, you can explore our complete guide on managing trading risk.
A solid framework helps you:
- Remove Emotion: Fear and greed are a trader’s two biggest enemies. Automated orders are triggered by price levels, not your gut feelings.
- Improve Consistency: By defining your risk and reward parameters before each trade, you ensure your decisions are consistent over time.
- Free Up Mental Capital: Once your orders are set, you don't have to be glued to the screen, watching every single tick. This frees you up to find the next great trading opportunity instead of micromanaging a current one.
To put it simply, here’s a quick breakdown of how these two order types compare.
Stop Loss vs Take Profit at a Glance
This table shows the core differences in function and strategic purpose between a stop loss and a take profit order.
| Feature | Stop Loss Order | Take Profit Order |
|---|---|---|
| Primary Goal | Limit potential losses | Secure profits at a target |
| Trigger Condition | Price moves against you | Price moves in your favor |
| Psychological Defense | Protects against fear/hope | Protects against greed |
| Market Placement (Long) | Placed below entry price | Placed above entry price |
| Market Placement (Short) | Placed above entry price | Placed below entry price |
| Impact on Account | Prevents catastrophic loss | Locks in realized gains |
Ultimately, mastering the use of stop loss and take profit orders is about taking control. Instead of reacting emotionally to the market, you are acting on a well-defined and disciplined plan. This simple but powerful habit is what allows traders to survive the inevitable losses and effectively capitalize on their winning trades.
Setting Your Stop Loss with Price Action
Placing a stop loss based on some random percentage is a bit like sailing without a map—you might get lucky, but you're really just leaving your fate to chance. A much more professional way to go about it is to let the market itself tell you where to place your financial safety net. This is the heart of using price action, the most direct form of market analysis there is.
Instead of just guessing, we need to look for structural clues on the chart. These clues show us the logical points where our trade idea is proven wrong. They are objective, based on real data, and help you avoid that classic, painful mistake: getting "stopped out" by normal market noise, only to watch the trade immediately move in your favor. For a deeper dive into this, check out our essential guide on understanding price action trading.
Using Support and Resistance Levels
The most fundamental way to set a stop loss is by identifying key support and resistance levels. Think of support as a price floor where buying pressure has historically stepped in and pushed prices up. Resistance is the opposite—a ceiling where selling has consistently overwhelmed buying.
Here's how to apply it:
- For a long (buy) position: Your stop loss needs to be placed just below a clear support level. If the price breaks decisively through this floor, the original reason for your trade is probably gone.
- For a short (sell) position: Your stop should be placed just above a clear resistance level. A break above this ceiling signals the bears have lost control, and it’s time to get out.
The image below gives you a clear visual of setting up a trade with a logical entry, stop loss, and take-profit target.
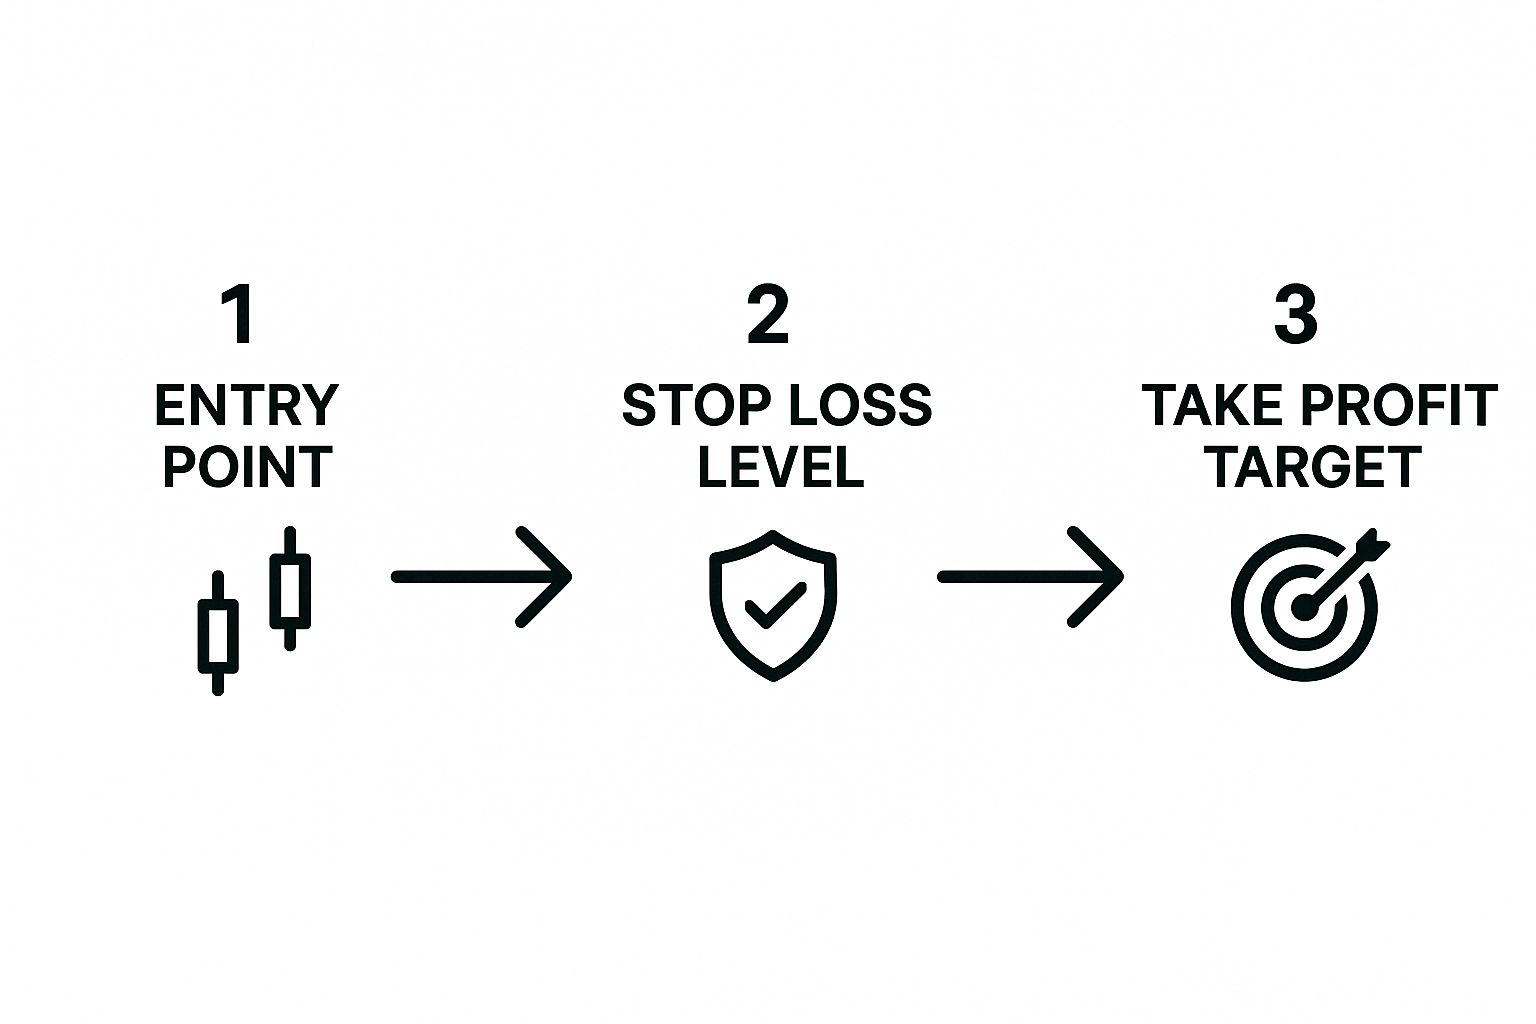
As you can see, your stop loss and take profit aren't random numbers; they're determined logically based on the market structure around your entry point.
Identifying Swing Highs and Swing Lows
Another powerful technique I use involves recent swing highs and swing lows. A swing low is the bottom of a "V" shape on a price chart, and a swing high is the peak of an "A" shape. These points mark recent turning points where market sentiment has shifted.
When you enter a long trade, a logical place for your stop is just below the most recent significant swing low. For a short trade, placing it just above the most recent swing high gives you a clear line in the sand.
A stop loss is not an admission of failure; it is an act of disciplined risk management. Placing it based on price structure transforms it from an emotional decision into a strategic one.
Calculating Stops with Average True Range
Now, structural levels are crucial, but they don't tell the whole story. They don't account for a particular asset's volatility. A stock that typically moves $5 a day needs a much wider stop than one that moves just $0.50. This is where the Average True Range (ATR) indicator becomes an invaluable tool.
The ATR measures how much an asset's price moves, on average, over a specific period (I usually stick with the standard 14 days). You can use this data to set a dynamic stop that adapts to the current volatility.
Let's walk through an example.
Imagine you want to buy a stock trading at $100. Its 14-day ATR is $2.50.
- First, you identify a key support level at $98.
- Instead of placing your stop just below it at, say, $97.99, you can give the trade more breathing room. A common approach is to subtract a multiple of the ATR, like 1.5x ATR ($3.75).
- Your new, volatility-adjusted stop loss would be $98 – $3.75 = $94.25.
This method helps ensure your stop is wide enough to survive the normal daily chop but still tight enough to protect your capital if the trade really goes against you.
While price action is my go-to, it's worth noting that even fixed percentage stops can have their place. An extensive 11-year study I came across found that a 10% stop-loss level produced the highest cumulative return of 57.1%, which just goes to show the long-term power of having a disciplined exit plan.
Nailing Your Take Profit for Optimal Gains
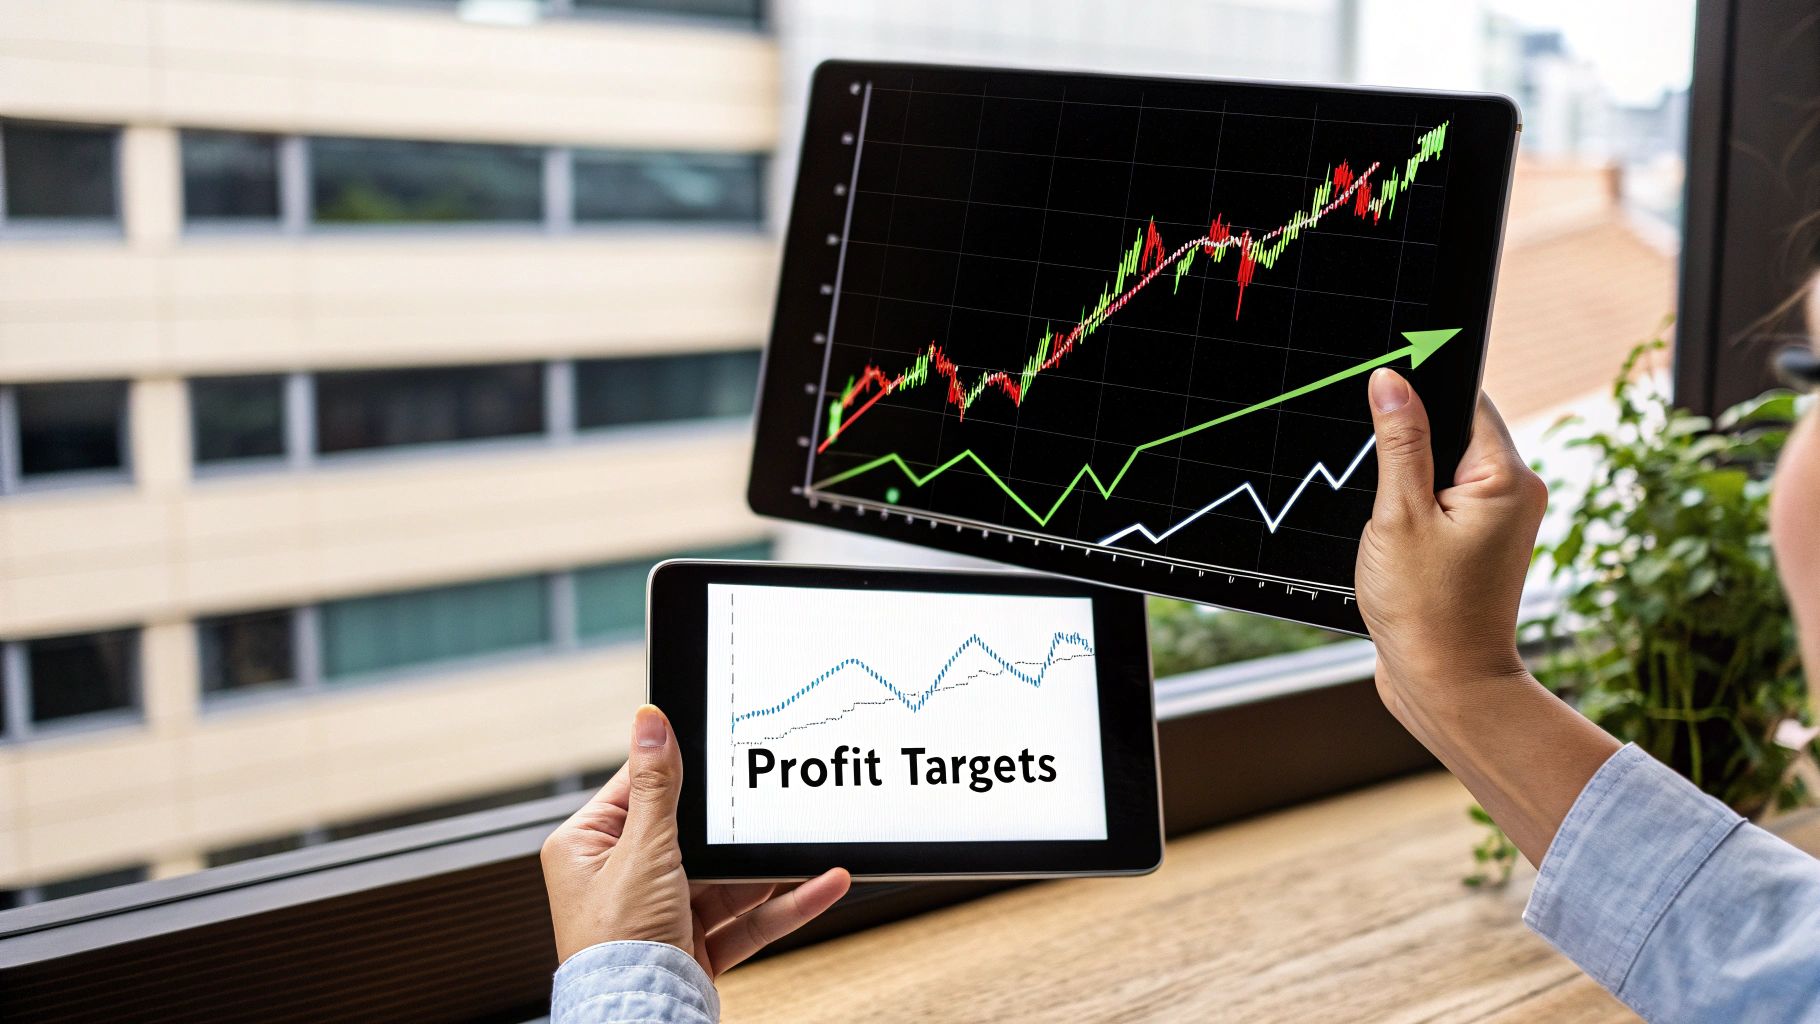
While your stop loss is there to protect your capital, your take profit is how you actually make money and grow your account. Think of it as the proactive side of trade management—it’s how you lock in your wins before the market snatches them back.
If you don't have a clear profit target, you're just trading on hope and greed. I've seen it a thousand times: traders let a winning position run, get greedy, and then watch it reverse all the way back to their entry or worse. Those two emotions have no place in a solid trading plan.
Let’s be clear: the goal isn’t to perfectly time the absolute top or bottom of every single move. That’s a fool’s errand. The real objective is to consistently capture a significant, high-probability chunk of the price move. The stop loss and take profit relationship is a delicate balancing act. You need a target that’s ambitious enough to be worth the risk, but realistic enough that the price will actually hit it.
Aligning Profits with Market Structure
Just like we use support levels to figure out where to place a stop loss on a long trade, we can use resistance levels to define our take profit. It’s the same logic, just flipped. Resistance is simply an area on the chart where sellers have historically stepped in and pushed the price back down. It’s a natural barrier where a long trade is likely to lose steam.
By placing your take profit order just below a key resistance level, you’re planning your exit at a point where the odds of a reversal are stacked against you. This isn’t guesswork; it's a price-action approach based on how the market has behaved in the past.
For short trades, you just invert the concept. Look for a strong support level and set your take profit just above it, anticipating that buyers will emerge at that price floor and stall your trade's momentum.
Calculating Your Risk-to-Reward Ratio
This is probably the most critical concept when setting a take profit: the risk-to-reward ratio (R:R). It's a simple piece of math that compares how much you're risking to how much you stand to gain. Honestly, this is the bedrock of profitable trading.
To calculate it, just divide your potential profit (the distance from your entry to your take profit) by your potential loss (the distance from your entry to your stop loss).
Here’s a quick example:
- Entry Price: $50
- Stop Loss: $48 (Your risk is $2 per share)
- Take Profit: $56 (Your reward is $6 per share)
- Risk-to-Reward Ratio: $6 / $2 = 3. This is a 1:3 R:R.
A favorable risk-to-reward ratio ensures your winners are big enough to more than cover your losers over the long haul. Sticking to trades with at least a 1:2 or 1:3 R:R is a hallmark of professional trading discipline.
This framework forces you to be selective. You only take trades where the potential payout justifies the risk you're taking. Sure, a 1:1 ratio can work if you have a sky-high win rate, but for most of us trading price action, aiming for a higher R:R gives you a much-needed cushion for long-term consistency.
This isn’t just theory; it plays out constantly. For a real-world example, look at how a well-placed take-profit order worked for investors in United States Steel (ticker: X) in late 2023. After acquisition news sent the stock flying, traders who had a take-profit set near the obvious resistance around $52 automatically locked in profits of over $13 per share before the price rolled over. You can dig into the specifics of this take-profit order example and its effectiveness.
Using Trailing Stops to Maximize Winning Trades
A static stop loss is great for protecting you from a nasty, unexpected loss, and a fixed take profit is perfect for locking in a gain you planned for. But what about those trades that just keep on running, blowing past your initial target?
This is exactly where the trailing stop loss comes into play. It's a dynamic tool I use specifically to get the most out of my winning trades.
Instead of staying put, a trailing stop automatically follows the price in your favor. If you’re long, your stop loss will "trail" the price as it climbs, but it will never move back down. This is a brilliant way to give a strong trend the room it needs to breathe while you systematically lock in your paper profits along the way.
A trailing stop loss is the ultimate tool for letting your winners run. It automates the process of protecting profits during a strong market move, removing the emotional impulse to either take profit too early or give back all your gains.
How to Implement a Trailing Stop
There are a few solid ways to put a trailing stop to work, and each one fits different trading styles and market conditions. It's worth exploring the pros and cons of using trailing stops to figure out which one clicks with your own strategy.
Here are three of the methods I see used most often:
- Fixed Percentage: You can set the stop to trail the current price by a set percentage, maybe 5%. If the price moves from $100 to $110, your stop automatically adjusts from $95 to $104.50. It’s a great way to adapt to the size of the move.
- Fixed Points or Pips: In markets like forex or indices, you might prefer setting a fixed distance of, say, 50 points. The stop will always keep this exact distance from the highest price the trade has reached.
- Moving Average: This is a more hands-on technique, but very effective. You can use a key moving average, like the 20-period EMA, as your guide. You’ll manually adjust your stop loss to sit just below the moving average as it rises, and you only exit if the price closes decisively below it.
When a Trailing Stop Makes Sense
A trailing stop isn’t a tool for every single trade. It really shines when you’ve caught a powerful, trending move and you want to ride that momentum without having to stare at your charts all day.
Picture this: you buy a stock at $50, and your analysis suggests it will hit resistance at $60. But then, some surprise news hits the wires, and the stock smashes right through $60 and just keeps climbing.
A fixed take profit at $59.50 would have banked a nice, clean profit. No complaints there. But a trailing stop? That could have let you capture a much bigger chunk of the move to $70, $80, or even higher before the trend finally gave out.
Research actually backs this up. One analysis showed that a trailing stop can seriously outperform a traditional fixed stop. In one study, a trailing stop strategy at a 20% threshold delivered returns that were 27.47% higher than a static stop. You can see more on these stop-loss findings and their implications here.
By adapting to what the market is actually doing, you can turn your good trades into truly exceptional ones.
Avoiding Common and Costly Trading Mistakes

Knowing the theory of how to set a stop-loss and take-profit is one thing. Actually sticking to your plan when your own money is flashing on the screen? That's a different game entirely.
I’ve seen it countless times. Traders learn the rules, they can even teach them to you, but they fall victim to the same psychological traps that turn a potentially winning strategy into a blown account.
The most lethal mistake? Widening your stop-loss when a trade starts to go against you. You picked your stop based on sound analysis, but as the price gets dangerously close, that fear of being wrong—and taking a loss—kicks in. So you nudge it "just a little further," hoping the market will turn around.
This one move, this single act of breaking your own rule, destroys your entire risk management plan. It's how small, manageable losses turn into catastrophic ones.
On the flip side, I also see traders setting their stops way too tight. They get spooked by the market's normal ebb and flow and place their stop so close to their entry that a random tick knocks them out of a perfectly good trade. Then they have to watch in agony as the price runs to their original target without them.
Overcoming Greed and Sticking to the Plan
The other beast you have to tame is greed. It's the impulse to cancel your take-profit order because a trade is screaming in your favor. You start daydreaming about a massive payday.
And sure, sometimes it works out. But more often than not, this habit leads to you watching a beautiful winner reverse course and turn into a tiny gain or, even worse, a loss.
A trader’s discipline isn't tested when they're right; it's tested when they are tempted to abandon their plan. Your initial analysis is your anchor. Trust it. That's the key to long-term, consistent success.
These emotional biases are powerful, but they aren't unbeatable. You just need a structured, almost mechanical, approach to keep them in check.
Here are a few tips from my own experience to help build that discipline:
- Treat your orders like a contract. Once you place that stop-loss and take-profit, they are set in stone. Don't touch them unless new, objective price action gives you a valid, strategic reason to adjust. Emotion doesn't count.
- Walk away from the screen. Seriously. Once the trade is live and your exits are in place, get up. Go do something else. Micromanaging every pip only fuels emotional decisions.
- Keep a trading journal. Write down every single time you break a rule and what it cost you. Seeing the financial damage in black and white is a powerful motivator to change your behavior.
In the fast-paced global Forex market, the disciplined use of automated orders is your best defense against emotional errors and a crucial tool for protecting your capital. You can discover more about how these orders help traders in volatile markets on tiomarkets.com.
By building these habits, you let your well-thought-out strategy do the work for you, free from emotional interference.
Got Questions About Stop Loss and Take Profit?
Even when you think you’ve got a handle on setting your exits, a bunch of practical questions always pop up in the heat of the moment. It happens to everyone.
Let’s go through some of the most common things traders ask when they start using stop loss and take profit for real. Getting these points straight in your head will make a world of difference in your confidence and precision.
What’s a Good Risk to Reward Ratio?
If you're looking for a starting point, a 1:2 risk-to-reward ratio is a solid place to begin. It's a classic for a reason. This just means for every dollar you're willing to lose, you’re aiming to make at least two dollars. It’s a simple structure that allows you to be profitable even if you lose more trades than you win.
But here's the thing: the "best" ratio is completely tied to your trading strategy and its win rate. Someone day trading with a scalping strategy that wins 80% of the time might do just fine with a 1:1 ratio. On the other hand, a trend-following trader who only catches a few massive moves a year might need a 1:3 or even 1:5 ratio to stay profitable.
Key Insight: Forget about finding a single "perfect" ratio. It doesn't exist. Instead, dig into your own trading stats. The right risk-to-reward for you is the one that works with your strategy's historical win rate and keeps your account equity climbing over time.
Should I Use a Percentage or a Price Level for My Stop Loss?
This one trips up so many traders, and it's a critical distinction. A fixed percentage stop loss—say, 5% below your entry—seems easy, but basing your stop on technical price levels is almost always the better way to go.
Why? Because market volatility is always changing. It expands, it contracts, and a 5% stop on a volatile stock is totally different from a 5% stop on a slow-moving currency pair. A stop loss based on price action, like placing it just below a key support level or a recent swing low, is a decision based on what the market is actually doing. It tells you that the structural reason for your trade is broken.
A fixed percentage is just an arbitrary number. It has nothing to do with the market's behavior or the reason you took the trade in the first place.
How Is a Trailing Stop Different from a Regular Stop Loss?
Think of it as a static defense versus a dynamic one. They serve two very different purposes.
-
A regular stop loss is a fixed price point. You set it, and it stays there unless you manually move it. Its only job is to cap your maximum loss and get you out if the trade goes south.
-
A trailing stop loss is all about protecting profits on a winning trade. For a long position, it automatically creeps up as the price moves higher, but it freezes in place if the price starts to fall. This genius little tool lets you ride a strong trend for all it's worth, automatically locking in more and more profit as the trade moves in your favor. Its job isn't just to prevent losses, but to let your winners run.