


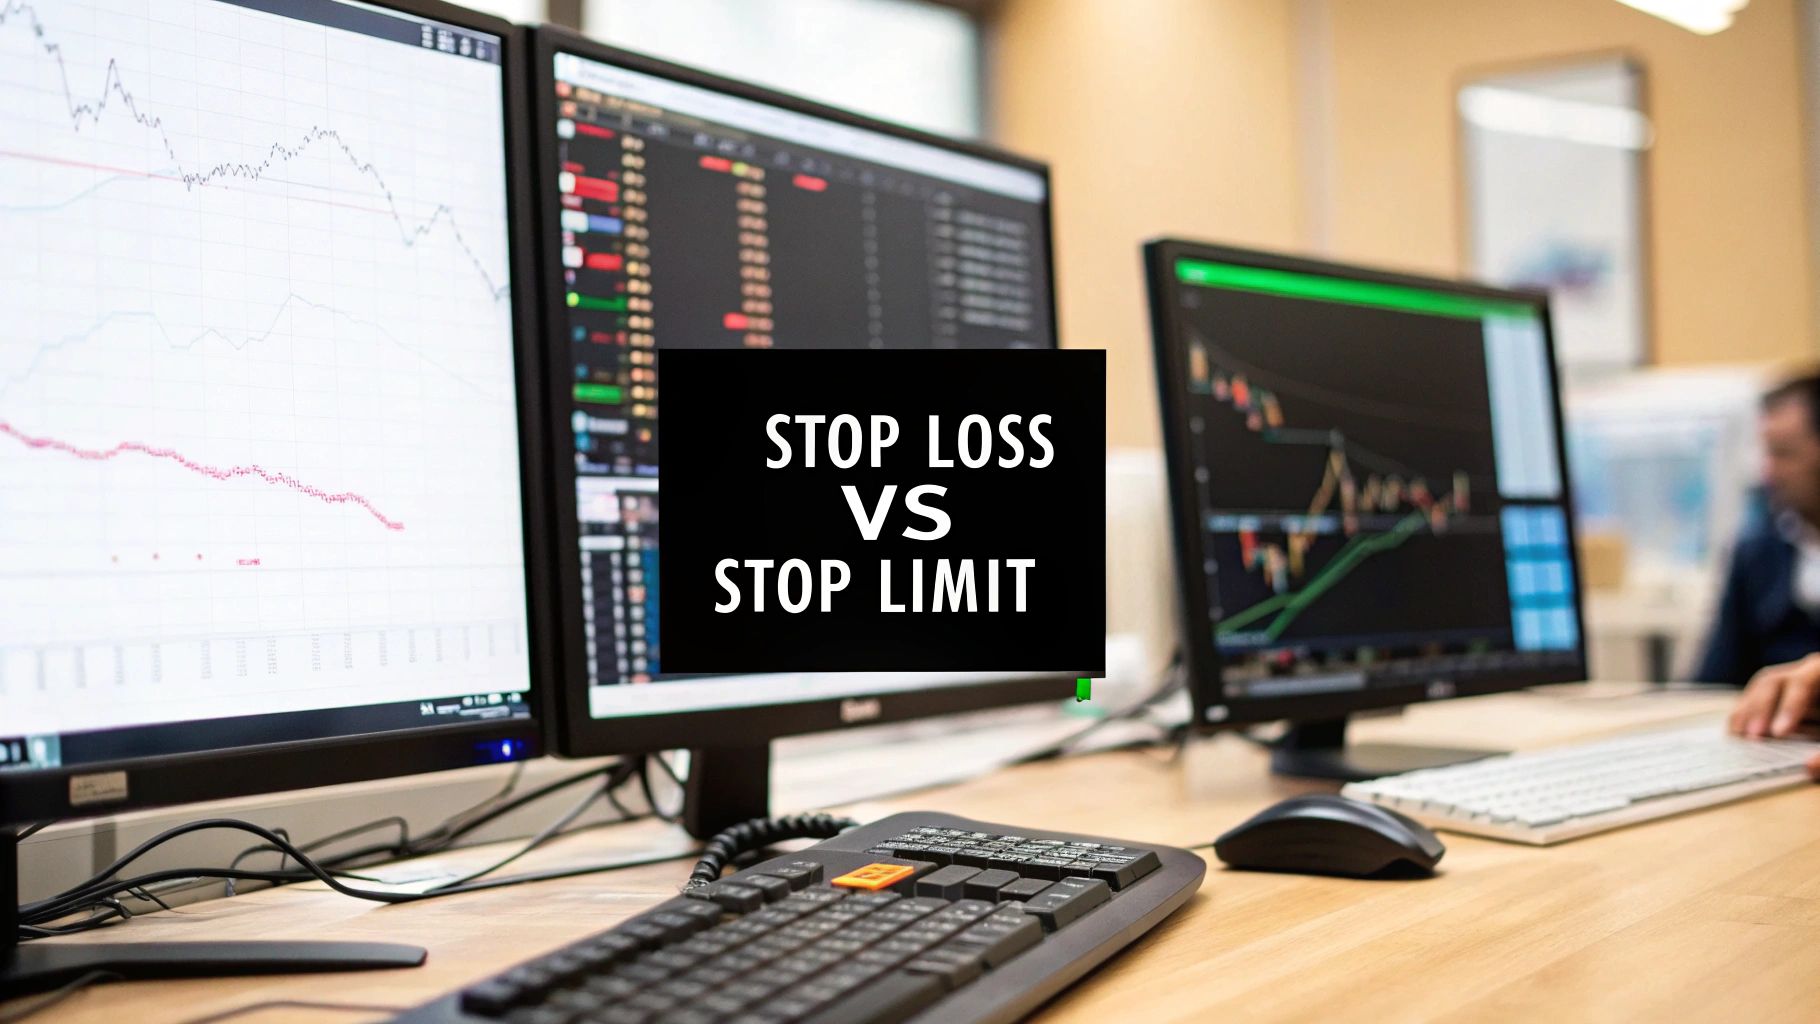
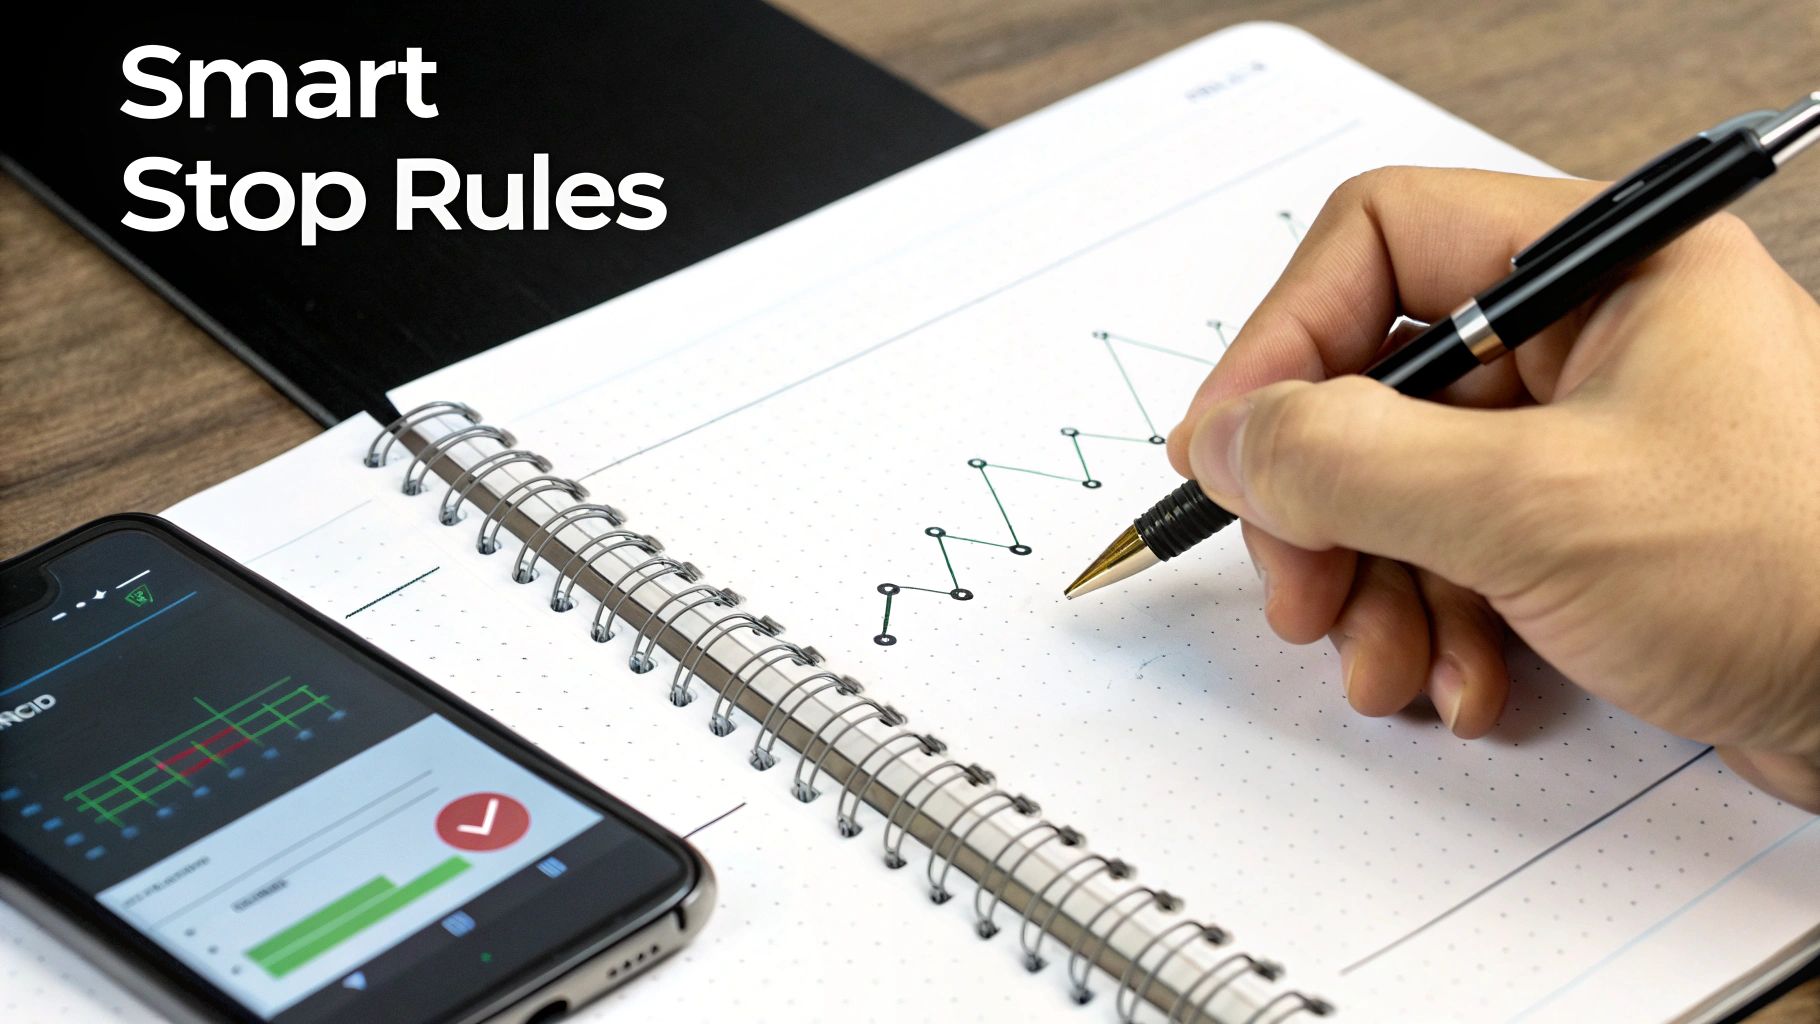
Stop Limit and Stop Loss: A Trader’s Definitive Guide
If there's one thing you need to burn into your trading brain, it's this: a stop loss guarantees an exit but not a specific price, while a stop limit guarantees a price but not an exit. This single trade-off is the absolute cornerstone of managing risk. Get this wrong, and you're just gambling.
Stop Limit Vs Stop Loss: The Core Difference
Look, your entry point is important, but your exit strategy is what keeps you in the game. Both stop-loss and stop-limit orders are your automated eject buttons, but they operate on completely different logic. The one you choose reveals what you fear more in a chaotic market: getting a bad price or not getting out at all.
Think of a stop loss order as your fire escape. The moment the market touches your stop price, your broker is ordered to dump your position at whatever the next available market price is. It instantly becomes a market order—no questions asked. Get me out, now.
A stop limit order, on the other hand, is a more calculated, two-step command. You set a stop price to activate the order, but you also set a separate limit price. Once triggered, it becomes a limit order that says, "Sell my shares, but only if you can get me this price or better."
Stop Loss vs Stop Limit: A Quick Comparison
Here's the rub. That difference creates a critical trade-off every trader has to weigh. A stop loss ensures you're out of a losing trade, but if the market is plummeting, you might get a much worse price than you planned for. This is called slippage.
The stop limit protects you from that nasty slippage, but it carries a far bigger risk: what if the price gaps down right past your limit and never comes back up? You're left holding the bag, watching your losses mount, because your order never got filled.
This quick table breaks it down.
| Feature | Stop Loss Order | Stop Limit Order |
|---|---|---|
| Execution Certainty | High (almost always gets you out) | Low (might not fill if the price moves too fast) |
| Price Control | Low (you get whatever the market offers) | High (executes only at your price or better) |
| Slippage Risk | High (can fill at a much worse price) | Low (your limit price is your floor) |
| Order Trigger | Becomes a market order | Becomes a limit order |
| Ideal Use Case | Liquid, fast-moving, or volatile markets | Illiquid markets or to avoid flash crash exits |
Choosing the right tool is all about context. It depends on the stock's volatility, the overall market conditions, and your personal risk tolerance. Are you trying to decisively cut a loss, or are you trying to exit with precision? Your answer to that question will tell you which order type to use.
How a Stop Loss Order Protects Your Trades
If there's one tool every single trader needs to master, it's the stop-loss order. Think of it as your automated safety net, the absolute bedrock of protecting your trading account from disaster.
Its job is brutally simple: get you out of a losing trade before it spirals out of control. You decide on a price—your line in the sand—and if the market touches it, your broker is instructed to sell. Period.
This automation is what makes it so powerful. It rips the emotion out of a losing position. No more hoping, no more "it'll come back." The order just executes.
The key thing to understand about a stop-loss is its promise of guaranteed execution. Once your stop price is hit, the order instantly becomes a market order. It will be filled, which is essential for strict risk management and what's known as capital preservation.
The Trade-Off Slippage in Fast Markets
But here’s the trade-off for that guaranteed exit: you have zero control over the fill price. The instruction is to sell at the next available price, and in a chaotic market, that can be a world away from your stop price.
This gap between your stop price and your actual execution price is called slippage.
It tends to show up in a couple of nasty scenarios:
- High Volatility: Think big news events or sudden market panics. Prices can flash-crash so fast that by the time your order hits the market, the price has already plummeted further.
- Market Gaps: This is common with individual stocks. Bad news breaks overnight—a disastrous earnings report, for example—and the stock opens for trading at a price far below the previous day's close. It literally "gaps" right over your stop.
A stop-loss prioritizes your exit over your price. In a free-falling market, getting out with a bigger-than-expected loss is infinitely better than not getting out at all.
A Real-World Stop Loss Example
Let’s make this real. Imagine you buy XYZ Corp at $50 per share, feeling optimistic. Being a disciplined trader, you place a stop-loss order at $47. You've mentally accepted a maximum loss of $3 per share.
That night, disaster strikes. XYZ releases a terrible earnings report.
The market opens the next day not at $49, not at $48, but gaps all the way down to $42.
Your stop-loss at $47 is triggered the moment trading opens. Since the first available price is $42, that’s roughly where your shares are sold. Your planned $3 loss just became an $8 loss. It stings, no doubt. But the stop-loss did its job—it cut the position loose and saved you from the potential of riding the stock all the way down to $30 or even lower.
How a Stop Limit Order Provides Price Control
A stop limit order adds an incredible layer of precision to your exit strategy. Think of it less like a fire escape and more like a pre-set negotiation with the market. It’s a two-part instruction built for traders who absolutely must control their exit price, even if it means not getting out at all.
This order type needs you to set two different price points:
- The Stop Price: This is your trigger. As soon as the market hits this price, your order wakes up and becomes active.
- The Limit Price: This is your non-negotiable floor. Once triggered, your order becomes a limit order that can only be filled at your limit price or better.
This dual-trigger mechanism is the critical difference between a stop limit and a stop loss. The stop price activates the order, but the limit price is the final gatekeeper, telling your broker the absolute worst price you're willing to accept. This completely eliminates the risk of negative slippage.
The Double-Edged Sword of Price Precision
The main advantage here is simple: you will never, ever get a worse price than the one you specified. This is a lifesaver when you're trading thinner markets or assets with wide bid-ask spreads, where a standard market sell order could get you a truly disastrous fill. These situations are all about understanding market liquidity and its impact, because a lack of it is what makes slippage so dangerous.
But this precision comes with a massive trade-off: the risk of not getting filled.
If the market gaps down hard, blowing right past your stop price and your limit price without a single trade happening in between, your order activates but just sits there, unfilled. You're left holding a losing position, completely stuck, as the price continues to plummet.
A stop limit order essentially says, "Get me out, but only on my terms." This control is its greatest strength and, in a full-blown market panic, its most critical weakness.
A Real-World Stop Limit Failure
Let's walk through a classic example. Imagine you own shares of a stock currently trading at $25. You want to protect your downside but you're worried about getting a terrible price on a volatile drop. So, you set a stop limit order with a stop price of $22 and a limit price of $21.50.
Overnight, the company drops some bombshell news about unexpected legal trouble.
The market opens the next morning, and the stock is trading at $20. Because the price gapped straight through both your stop ($22) and your limit ($21.50), your order was triggered but couldn't be filled. Your instruction to sell at $21.50 or better is now impossible, and you are trapped in the position as it continues to bleed.
In high-volume, liquid markets, this risk is much lower. When you're trading a big-name stock, for instance, there are usually plenty of buyers and sellers to fill your order with minimal issue. This is why setting a reasonable range between your stop and limit is so critical—make it too tight, and you risk not getting filled; make it too wide, and you lose the very price control you were trying to gain.
When to Use a Stop-Loss Order
When you’re weighing a stop-limit against a stop-loss, it all comes down to a single, critical question: what’s more important—getting a specific price or just getting out? If your answer is getting out, no matter what, then the stop-loss order is your tool. It's the go-to for traders who put capital preservation above everything else.
A stop-loss really proves its worth when markets get wild and unpredictable. Think about holding a position right before a huge economic announcement, like an interest rate decision or a jobs report. The risk of a sudden, violent price swing is massive. In those moments, a stop-loss is your emergency eject button, pulling you from the trade if the market turns against you instantly.
The same logic holds true for highly volatile assets or during a full-blown market panic. When liquidity vanishes and prices are in freefall, the absolute certainty of a market order being triggered by your stop-loss is priceless.
This decision tree nails the critical risk of a price gap. In this scenario, a stop-loss gets you out, while a stop-limit could leave you trapped in a losing position.
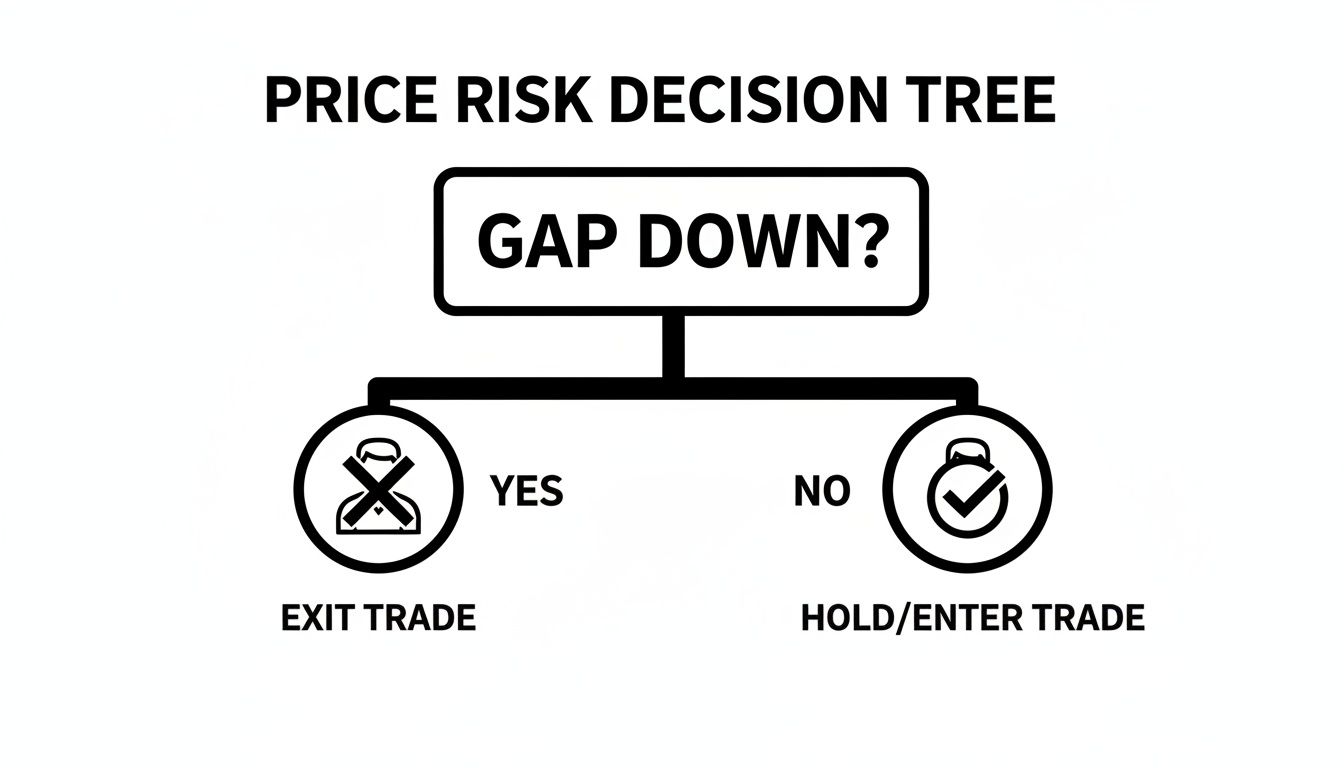
As you can see, when a stock gaps down hard, your stop-loss becomes a market order and executes immediately. A stop-limit, with its price conditions, might not fill at all, leaving you completely exposed. It’s a pure safety net.
Placing Stops with Technical Analysis
Placing a good stop isn't about plucking a random percentage from the air. It has to be grounded in the asset's actual price action. Your stop-loss should be placed at a logical level on the chart—a point that completely invalidates your original reason for taking the trade.
Here are a few common technical spots:
- Below a recent swing low: This is a natural floor where buyers previously stepped in. If the price breaks below it, the trend might be turning sour.
- Beneath a key support level: This could be a solid horizontal price shelf or a major moving average that has historically held the price up.
- Using volatility indicators: Tools like the Average True Range (ATR) help you set a stop that respects the asset's normal price swings. This keeps you from getting shaken out by routine market noise.
The bottom line is simple: getting out at a bad price is infinitely better than not getting out at all. A stop-loss order is the embodiment of this defensive mindset. It’s your non-negotiable exit plan when a trade goes wrong.
This isn't just theory; it's backed by data. An 11-year study on the OMX Stockholm 30 Index, which covered major market crises, discovered something powerful. A straightforward 15% stop-loss strategy delivered the highest average returns, beating a buy-and-hold approach while slashing downside risk. You can dig into the details in Quant Investing's analysis of stop loss effectiveness.
Ultimately, for any trader whose top priority is to cut a losing position loose, the stop-loss is the more reliable choice. Period.
When to Use a Stop Limit Order
Where a stop-loss is all about a guaranteed exit, the stop-limit order is for traders whose top priority is price control. You’re telling the market that precision matters more than speed.
Essentially, you accept the risk of not being filled in exchange for avoiding a terrible sale price. This trade-off is what makes it a specialist's tool.
Its real power comes into play when you're trading assets with low volume or huge gaps between what buyers are willing to pay and what sellers are asking. In those volatile conditions, a simple market sell can get chewed up by slippage, taking a nasty bite out of your capital.
The stop-limit is your shield against that. It’s the go-to order for disciplined traders who’ve done their homework and would rather hold a position than dump it at a price they know is unacceptable.
Navigating Illiquid Markets
The classic reason to reach for a stop-limit is when you're wading into less liquid markets. Think small-cap stocks, obscure cryptocurrencies, or any security with a glaringly wide bid-ask spread.
In these markets, a sudden rush for the exits (often a cascade of triggered stop-losses) can send the price into a nosedive. A regular stop-loss would get you out, but likely at a horrible price. The stop-limit, however, holds the line.
This gives you a huge leg up in a few key situations:
- Wide Spreads: When there's a big gap between the highest bid and lowest ask, a market order can fill much lower than the price you see. A stop-limit puts a floor on that.
- Thin Order Books: If there aren't many buyers, your own sell order could be the very thing that crashes the price. A limit prevents you from becoming your own worst enemy.
- Off-Hours Trading: Pre-market and after-hours are notorious for low liquidity. This makes them a playground for wild price swings and slippage.
Using a stop-limit order is a calculated bet. You're prioritizing the right price over immediate execution. You're acknowledging that sometimes, a bad fill is a bigger risk than no fill at all.
Avoiding Flash Crash Exits
Here’s another scenario where a stop-limit can be a portfolio-saver: protecting yourself from a "flash crash." These are those heart-stopping moments when a price plummets in seconds, only to snap right back up. They’re often caused by haywire trading algorithms or a sudden, temporary lack of buyers.
A standard stop-loss is pure poison here. It will almost certainly trigger at the absolute low of the crash, kicking you out of a good position at the worst possible moment, right before it rebounds.
The stop-limit, however, can save your skin. If the price blows past both your stop and limit prices without finding a buyer, your order simply won't fill. You remain in the trade, ready to ride the recovery. It's a strategic decision to weather a momentary, machine-driven panic instead of surrendering to it.
Advanced Risk Management Strategies and Common Mistakes
Getting a handle on basic stop-loss and stop-limit orders is one thing, but truly seasoned traders know that’s just the starting line. They bring more dynamic tools into play to protect their profits and roll with the punches as the market moves.
One of the most powerful tools in that arsenal is the trailing stop order. Think of it as a smart stop-loss that automatically follows a winning trade.
Instead of being anchored to one spot, a trailing stop inches up as the price climbs, effectively locking in your paper gains. But here’s the key: it only moves one way. If the price starts to fall, your stop level stays put, protecting the profits you’ve already banked. For anyone running a trend-following strategy, understanding the finer points of a trailing stop order can be an absolute game-changer. This fits into the bigger picture of broader financial risk management, which is all about safeguarding your capital.
Avoiding Costly Stop Placement Errors
It doesn’t matter how good your order type is if you put it in the wrong place. I’ve seen two classic mistakes sabotage countless trading accounts, turning perfectly good trade ideas into unnecessary losses.
- Setting Stops Too Tight: It feels safe to place your stop just a few ticks below your entry, but it’s often a fast track to getting shaken out by random market noise. The real move hasn't even had a chance to start.
- Placing Stops at Obvious Levels: Big round numbers like $50 or $100 are psychological flashpoints. They’re where everyone else piles their stop orders, making them juicy targets for institutional players to go "stop hunting."
The whole point of a stop isn't just to cap a loss. It's to give your trade idea enough breathing room to play out. A badly placed stop can be even more destructive than having no stop at all.
Using Volatility to Set Smarter Stops
So where is the sweet spot? The answer is in the data, not your gut feeling.
The Average True Range (ATR) indicator is an incredible tool that tells you how much an asset has been moving lately—its recent volatility. By setting your stop-loss based on a multiple of the ATR (say, 2x ATR) below your entry, you're grounding your risk in the stock's actual, demonstrated behavior.
This data-driven method takes the guesswork out of the equation. Some traders live by a fixed percentage rule, like never risking more than 1-3% of their portfolio on a single trade. That's a solid principle, but it needs context.
A 5% stop on a stock that routinely swings 5% every day is asking for trouble. But that same 5% stop on a slow-and-steady blue-chip stock? That’s a fortress. Using the ATR helps you tailor your risk specifically to the asset you're trading, right now.
Common Questions I Get About Trading Orders
Even when you think you’ve got a handle on stop-loss and stop-limit orders, questions always pop up when it's time to put real money on the line. Getting these details straight is what separates guessing from trading with confidence.
Can a Stop Loss Fail?
Yes, but probably not how you're imagining. A standard stop-loss is built to get you out, period. It will almost always execute.
The real failure isn't that it won't trigger; it's slippage. In a chaotic market—think a sudden gap down at the open or a flash crash—your order will get filled, but it could be at a price that’s way worse than you planned for. So, it succeeds in getting you out, but it can fail to protect your capital at the exact price you set.
How Wide Should the Gap Be Between Stop and Limit Prices?
This is a balancing act, and there’s no single right answer. It's a trade-off.
If you set a really tight spread—maybe just a few cents between your stop and limit—you get great price protection. The problem? In a fast-moving market, the price can blow right past your limit price before your order even has a chance to fill. A wider spread makes it much more likely you'll get filled, but you're also accepting more potential slippage.
My advice is to look at the instrument's typical bid-ask spread and its recent volatility. You want your limit to be wide enough to absorb normal price ticks but tight enough to prevent a truly catastrophic fill.
Can You Use These Orders for Buying Too?
Absolutely. We've mostly talked about selling to protect a long position, but these tools work just as well on the buy-side.
- A buy stop order goes above the current price. You use it to jump into a trade once the price breaks through a key resistance level.
- A buy limit order goes below the current price. This is for buying a dip or a pullback to a support level.
And yes, you can combine them into a buy stop-limit order. This gives you incredibly precise control for entering breakouts without chasing the price too high.
At Colibri Trader, we don't just teach you what the buttons do. We teach you how to read pure price action, so you can build a robust trading strategy that you can rely on. Find out what you're capable of and learn more at https://www.colibritrader.com.