




How to Trade Range Bound Markets: A 2026 Strategy Guide
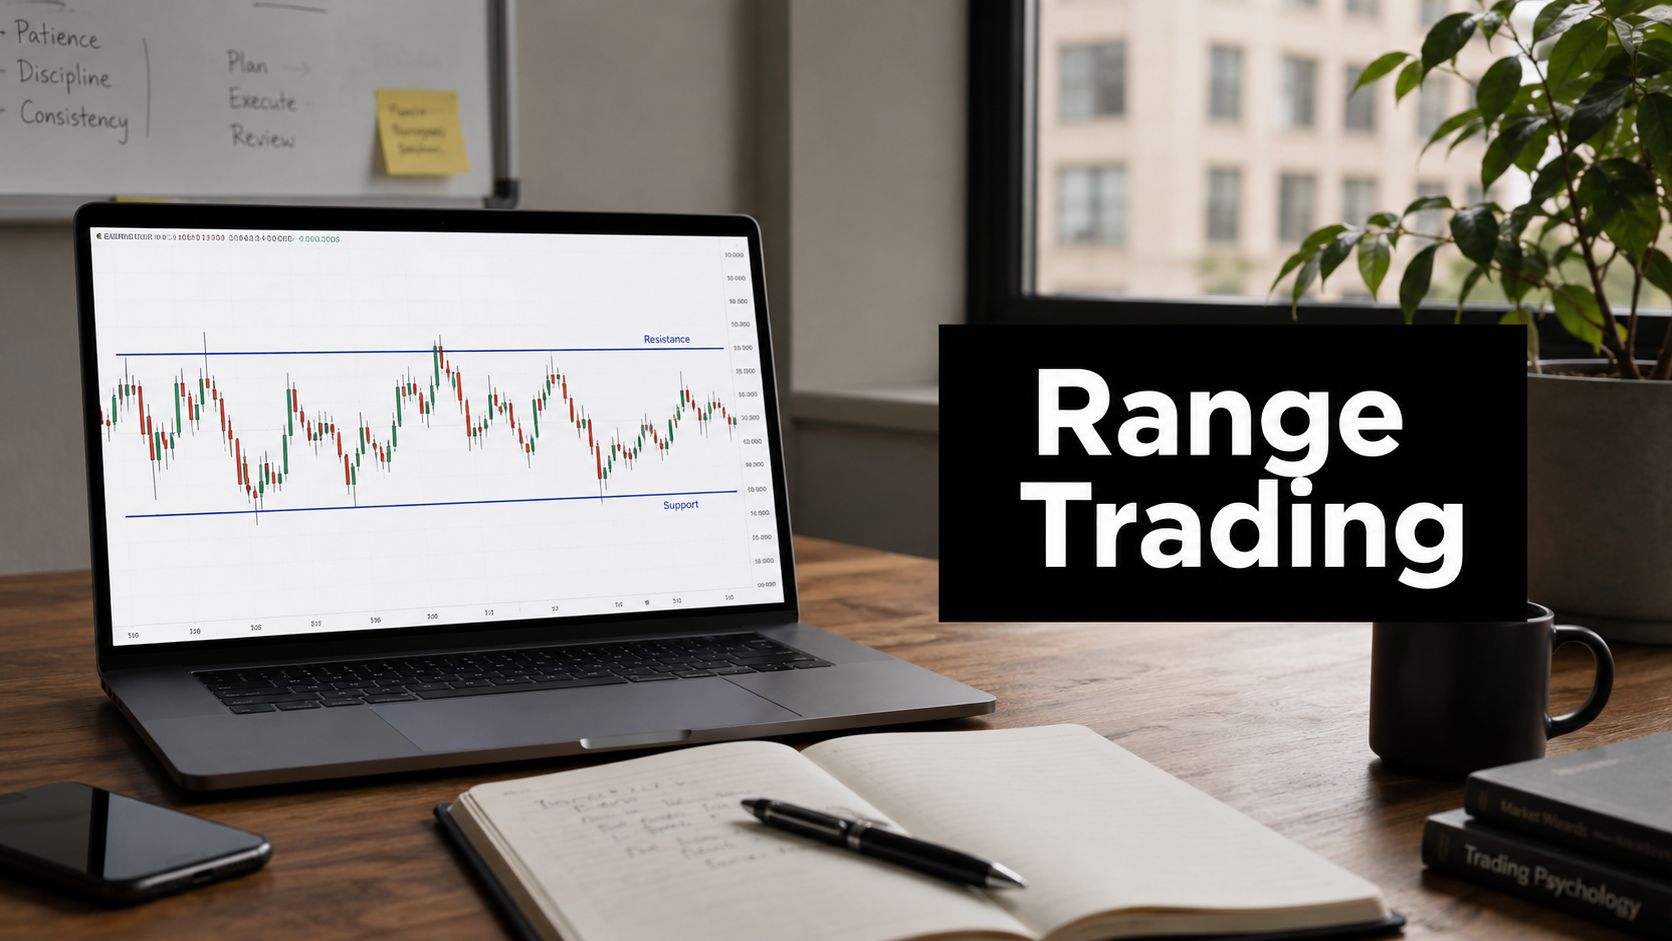
Most traders hit the same wall with ranges. Price bounces a few times, the chart looks clean enough, and then the moment you buy support or sell resistance, price pokes through your level, tags your stop, and snaps right back without you.
That usually isn't a market problem. It's a process problem.
If you want to learn how to trade range bound markets, strip it down. You don't need a screen full of oscillators, custom scripts, or a dozen colored moving averages. You need to read horizontal levels, wait for price to confirm, and manage risk like the setup can fail at any moment. That's the game.
My playbook is minimalist on purpose. The fewer things you need to see, the more clearly you see them.
Identifying High-Probability Trading Ranges
A tradeable range isn't just a chart moving sideways. A lot of sideways price action is sloppy, uneven, and not worth touching. The good ranges are obvious. Price respects a ceiling, respects a floor, and keeps coming back into the same area.
That sounds simple, but most traders force it. They draw lines around random congestion and call it a range. Then they wonder why entries feel like coin flips.

What a clean range looks like
Start with your eyes before you touch any tool.
A clean range has horizontal support and resistance that price keeps reacting to. The reactions don't need to be pixel-perfect, but they should be consistent enough that you can see where buyers tend to step in and where sellers tend to hit back.
I look for structure like this:
- Clear floor: Price turns higher from roughly the same support zone more than once.
- Clear ceiling: Price rejects roughly the same resistance zone more than once.
- Contained movement: Most candles close inside the band between support and resistance instead of constantly stretching beyond it.
- Balanced swings: The market rotates from one side of the range toward the other, instead of drifting in one direction with shallow pauses.
If you want a useful primer on the broader idea of sideways structure, this guide on market consolidation patterns is worth reading.
What to avoid
Messy ranges waste time and capital. A bad range often has one or more of these traits:
| Problem | What it usually means |
|---|---|
| One side is well defined but the other isn't | You're probably looking at a pause in trend, not a true range |
| Repeated deep spikes beyond both boundaries | Liquidity is unstable and stops are easy targets |
| Price spends most of its time in the middle | There's no edge because buyers and sellers aren't defending boundaries cleanly |
| Boundaries slope too much | The market may be channeling, not ranging |
Practical rule: If you have to keep redrawing the box to justify the setup, it probably isn't a range worth trading.
Use ADX as a filter, not a crutch
I don't like leaning on indicators to make decisions for me. But one filter can save you from trying to fade a market that's developing trend strength.
In range-bound markets, ADX falls below 20, which confirms the market lacks strong trend direction and is better suited to mean reversion tactics, according to this ADX explanation of sideways market conditions.
That's useful because price can look sleepy right before it expands. ADX gives you a simple second check. If your chart looks range-bound and ADX is under that threshold, your read has more support. If price looks sideways but ADX is high, I get cautious fast.
A simple range qualification process
You don't need complexity. You need consistency.
- Mark the obvious turning points. Draw support under repeated lows and resistance over repeated highs.
- Check the spacing. If price has room to travel between those levels, the range is usable. If it's too compressed and noisy, leave it alone.
- Watch the behavior at the edges. Good ranges show rejection, hesitation, or strong response at the boundaries.
- Use ADX only after the visual read. It should confirm what the chart already suggests, not override it.
A range should feel boring. That's usually a good sign. The setups that look exciting are often the ones sitting on top of a breakout waiting to happen.
Confirming Entries with Price Action Triggers
The biggest mistake in range trading is entering because price touched a level.
Touch alone means nothing. Levels are areas, not magic lines. Price can tag support, trade through it, run stops, and only then reverse. If you enter on first contact every time, you'll spend a lot of energy being "right" about the level and still lose money on the trade.
I wait for price to show me rejection.

The only triggers I care about
At support, I want to see evidence that sellers pushed and failed. At resistance, I want to see buyers push and fail. The cleanest signals are basic candlestick reversals.
At support, pay attention to:
- Bullish engulfing bars: A candle that fully overwhelms the prior bearish candle shows buyers stepped in with intent.
- Hammer or pin bar rejection: A long lower wick with price closing back up tells you lower prices were rejected.
At resistance, I want the mirror image:
- Bearish engulfing bars: Sellers take control after buyers test higher prices.
- Shooting star rejection: A long upper wick with failure to hold above resistance often signals trapped breakout buyers.
A good companion concept is the inside bar candlestick pattern, especially when it forms after a rejection candle and shows the market pausing before the next move.
Why patience changes everything
The market doesn't pay you for predicting. It pays you for waiting until risk becomes clear.
A touch at support is only location. A bullish engulfing candle at support is location plus reaction. That difference matters. One is a guess. The other is a setup.
Price action confirmation isn't about being late. It's about making sure the trade exists before you commit capital.
Some traders like to use RSI as extra confirmation. In range-bound markets, a 14-period RSI dipping below 30 at support or rising above 70 at resistance has been linked with reversals happening 65 to 70 percent of the time within a defined range, based on this range trading RSI study. I treat that as secondary. If price action is weak, I don't care what RSI says.
What a proper entry sequence looks like
This is the sequence I trust:
| Step | What I'm watching |
|---|---|
| Price reaches boundary | Support or resistance zone is actually being tested |
| Rejection appears | Wick rejection, engulfing bar, or another clear reversal signal |
| Close matters | I want the candle to close in a way that shows the rejection held |
| Entry follows structure | Entry happens after confirmation, not before it |
What doesn't work
A lot of bad range trades come from impatience disguised as decisiveness.
- Entering mid-candle: You're reading a signal that hasn't finished forming.
- Buying because "it can't go lower": It can, and often will, before reversing.
- Treating every boundary touch the same: Some touches are weak drifts. Others are aggressive stop runs. Learn the difference.
- Ignoring candle quality: Small indecisive candles at a level don't carry the same weight as a decisive rejection bar.
I'd rather miss a move than force one. Missed trades don't damage your account. Undisciplined entries do.
Setting Stops and Targets for Positive Returns
Most range traders don't lose because their idea was terrible. They lose because their stop is in the wrong place, their target is unrealistic, or both.
Range trading stops being visual and becomes mechanical. You need rules that don't change based on hope.

Stop placement has to match the setup
If you're buying support, your stop belongs beyond support. If you're selling resistance, your stop belongs beyond resistance. Anywhere else is noise management pretending to be risk management.
According to this range strategy guide with stop and target rules, the optimal stop-loss is typically 5 to 10 pips beyond the range boundary in forex or 0.50% to 1.00% in equities, and the minimum profit target should equal the full size of the range.
That makes sense because a range trade is invalidated when price meaningfully breaks the structure. A stop inside the range gets clipped by normal movement. A stop too far outside the range bloats your risk and ruins the trade math.
If you want a broader framework for execution, this guide on stop-loss and take-profit placement is useful.
Think in trade math, not in hope
A range gives you a natural map. You already know where you're wrong and where price is likely to react next. Use that.
Here's the simplest framework:
- Entry at the edge after confirmation
- Stop beyond the invalidation level
- Target based on the range structure
In many cases, the opposite boundary is the obvious target. In others, especially when the range is less clean or momentum is weak, taking profit before the far edge is more practical. The key point is that the target must justify the risk before you enter.
Non-negotiable: If the distance to your logical target doesn't clearly outweigh the distance to your stop, skip the trade.
This video gives a practical visual on managing that balance inside a structured plan:
A simple decision table
| Situation | Better response |
|---|---|
| Entry is close to support but stop must be wide | Pass on the trade |
| Entry is late and price is already moving away from support | Pass on the trade |
| Resistance target is nearby and offers clean room | Take the setup if confirmation is solid |
| Range is too narrow to cover spread, slippage, or normal volatility | Ignore it |
The discipline traders skip
Most novice traders move stops because they don't want to be wrong. That habit turns a planned small loss into a messy decision tree.
Don't bargain with the market after entry. If the stop gets hit, the setup failed. Take the loss and move on. If price moves toward your target, don't panic out just because the candles get noisy. A well-placed stop and a rational target give the trade room to do its job.
Good range trading feels repetitive. That's a feature, not a flaw.
Managing Trades and Handling False Breakouts
A range trade gets hardest after entry. Before you're in, everything is clean. Support is marked, confirmation printed, stop is set. Then price starts moving, stalls halfway, wicks beyond the edge, and your brain starts inventing emergencies.
Traders sabotage themselves at this point.

A live trade scenario
Let's say price has been rotating cleanly between support and resistance for several sessions. It drops into support, prints a bullish engulfing candle, and you buy. The initial reaction is good. Price lifts off the floor and starts working higher.
Then it stalls.
A few candles later, price snaps back down, pierces support with a long wick, and closes back inside the range. That single candle creates confusion because it looks dangerous in real time. New traders often dump the trade right there.
I don't. Not automatically.
A wick through the boundary isn't the same as acceptance beyond the boundary. In ranges, that kind of move often clears stops and then reverses. It's a trap if the market quickly rejects the breakout attempt and returns inside structure.
What I watch during the scare
I narrow the decision to a few things:
- Did price only wick through, or did it close convincingly outside the range?
- Was the return inside the range fast, or is price hanging outside the boundary?
- Does the candle structure show rejection, or does it show pressure building?
- Is the original range still recognizable, or has the market changed character?
Those questions matter more than my feelings about the trade.
A false breakout usually feels dramatic while it's happening. A real breakout usually keeps pressing and doesn't ask for your permission.
Boundary discipline matters
The hard rule from the data helps. Expert analysis notes that mean-reversion strategies in range-bound markets tend to show a success rate of about 60 to 65 percent when traders stick to boundary-only entries, while mid-range entries suffer failure rates above 70 percent, according to this range trading breakdown from Capital.com.
That lines up with what traders see every day. The middle of the range is where conviction dies. You have no clean invalidation point, no strong location, and too much room for random movement.
A practical response map
| What price does | My response |
|---|---|
| Wicks outside the range and closes back inside | Hold to plan if the setup still looks intact |
| Closes outside the range with follow-through | Respect the break and prepare for the stop |
| Chops near the boundary without reclaiming clearly | Reduce confidence and avoid adding |
| Re-enters the range with strong rejection | Let the original thesis play out |
Emotional control inside the trade
Managing false breakouts isn't about being fearless. It's about refusing to improvise under pressure.
I've found that traders usually make one of two mistakes. They either exit on the first sign of discomfort, or they refuse to accept that the range is broken and turn a failed range trade into an unwanted swing position. Both come from ego.
The better approach is boring. Follow the original plan unless price clearly invalidates it. If the range still holds, let the trade breathe. If the structure is gone, get out without debate.
You don't need to win every fakeout battle. You need to keep losses contained when the market stops behaving like a range.
Advanced Range Trading Tactics and Mindset
A clean range trade often looks obvious before entry and messy after entry. Price tags support, reacts as expected, then stalls halfway and starts chopping. Traders who insist on holding every winner for a full edge-to-edge move often turn good trades into average ones.
That is where range trading gets more professional. The basic pattern stays the same, but the expectations get tighter.
Use the midpoint as a working target, not a prediction
In mature ranges, the center often matters more than traders want to admit. Price regularly bounces off an edge, reaches the midpoint, loses urgency, and starts rotating again. I treat that midpoint as a real decision area, not empty space.
That shift solves a common problem. Traders learn to buy the lower boundary and sell the upper boundary, then assume every valid entry should travel the full width of the range. In practice, many good setups only pay the easy portion of the move.
The cleaner approach is simple. Take entries at the edge where risk is defined, then judge the middle objectively. If price reaches the center and starts hesitating, taking partial profit or tightening risk is often the better decision than waiting for a perfect target that never prints.
Size has to match realistic travel
Target distance and position size are tied together. If the likely move is only from the edge to the midpoint, oversized positions make no sense. The trade has less room to pay you, so risk has to stay controlled.
I cut size when the range looks tired. Repeated tests of the same boundary usually weaken the structure, and weaker structure deserves smaller exposure. A fresh, well-respected box can support more confidence. A late-stage range cannot.
A few adjustments help keep that discipline in place:
- Reduce size on older ranges. Valid does not mean strong.
- Watch internal levels inside the box. Round numbers and half-levels often interrupt otherwise clean rotations.
- Treat the midpoint like a checkpoint. If momentum fades there, respect what price is showing.
Advanced range trading comes from making better decisions inside familiar setups, not from adding more tools.
Minimalism gets harder once you know enough to overcomplicate things
This is the trap experienced traders walk into. They start with clean charts, gain some skill, then slowly bury price under filters, confirmations, and indicator stacks because uncertainty feels uncomfortable.
I have seen that happen many times, and I have done it myself.
The chart usually gets worse, not better. More tools create more excuses to override clear structure. A minimalist approach forces better reading of context, cleaner risk decisions, and more patience at the edges of the range. That is the advantage. You build understanding instead of outsourcing judgment to lagging signals.
Colibri Trader teaches price-action based trading with an emphasis on market structure rather than heavy indicator use.
The mindset is plain. Wait for price to reach a meaningful location. Wait for a clear trigger. Accept that some trades will fail even when the read is correct. Skill in range-bound markets comes from selectivity, not activity.
The traders who handle ranges well are usually the least busy. They do less, but what they do is done at better prices, with clearer invalidation, and with far less noise.